
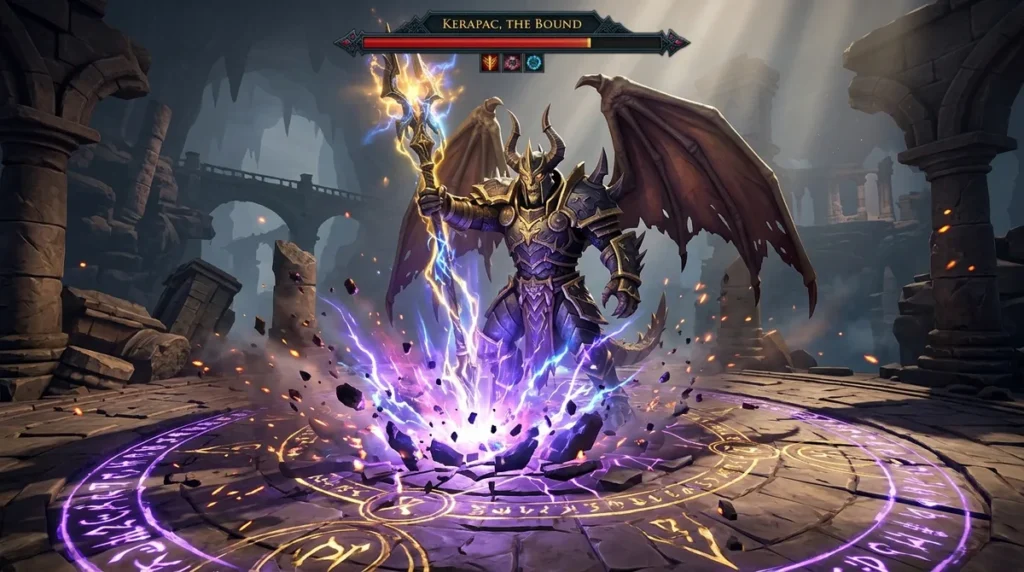
Kerapac, the Bound, is a solo-focused RuneScape 3 boss in the Grand Colosseum of Senntisten, though one to three players can take him on together. If you are hunting for an RS3 Kerapac guide, start with the basics: he was added to the game on July 26, 2021, and both normal and hard mode have four phases each. Normal mode asks you to deal at least 525,000 total damage, while hard mode raises that to 1,700,000. The two versions test your gear and nerve in very different ways.
Hard mode is where the real challenge begins. Phases 1 to 3 each start at 450,000 health and require 400,000 damage per phase. Lightning Strike walls build up as the fight goes on, with one in phase 1, two in phase 2 and three in phase 3. Time Warp unlocks once phase 2 starts. Phase 4 then brings three echoes with 100,000 health each, plus three player clones that must fall before Kerapac takes any damage.
Key Takeaways
- Kerapac, the Bound, is a solo-focused RS3 boss in the Grand Colosseum of Senntisten, and you can take him on alone or with one or two friends, since his health and drop rate stay the same no matter how many players join.
- You need to deal at least 525,000 total damage to finish Kerapac in normal mode, but you need at least 1,700,000 total damage in hard mode, so your hard mode sessions will run much longer.
- In hard mode, Kerapac’s first three phases each start at 450,000 health and require 400,000 damage per phase, so you should track your damage phase by phase to see where you lose the most ground.
- Practice Shatter, Jumping Slam and Lightning Strike in normal mode first, because normal mode’s final phase has no echoes or clones and gives you a lower-pressure way to build your timing before hard mode.
- In hard mode phase 4, you must kill the three player clones before Kerapac takes any damage, so clear the clones first and then focus on the echoes before you return to the boss.
What Is Kerapac and Where Do You Fight Him?
Kerapac, the Bound, is a boss in the Grand Colosseum of Senntisten, and you can fight him alone or with up to two friends. He was added to RS3 on July 26, 2021, and he is built as a solo-focused fight that stays the same size no matter who joins you. The RuneScape Wiki lists one to three players as the team size, and his health and drop rate do not change with the number of people in the fight. A duo faces the same Kerapac as a solo player, so teaming up makes the fight easier to manage without making him weaker.
Both normal and hard mode have four phases, so the structure you learn in one carries over to the other. The fight is built on a few recurring attacks. Shatter has Kerapac raise his staff and slam it down, which stuns you and opens a time rift. If you move under him before the slam lands, you avoid both effects. Jumping Slam repeats three times, can stun you, and deals melee damage, but a mobility ability will get you out of its way. Lightning Strike leaves walls behind that stay in place as the fight goes on.
Time Warp is the one tool that changes the rhythm of the fight. It only appears once phase 2 begins, so you cannot rely on it early on. Echoes are the other twist. They bring earlier attacks back, so a move you dodged in phase 1 can show up again later in the fight.
Normal mode is the place to learn these attacks before the stakes go up. Its final phase works differently from hard mode’s, so you will want to test your timing on the easier version first.
How Does Hard Mode Differ From Normal Mode?
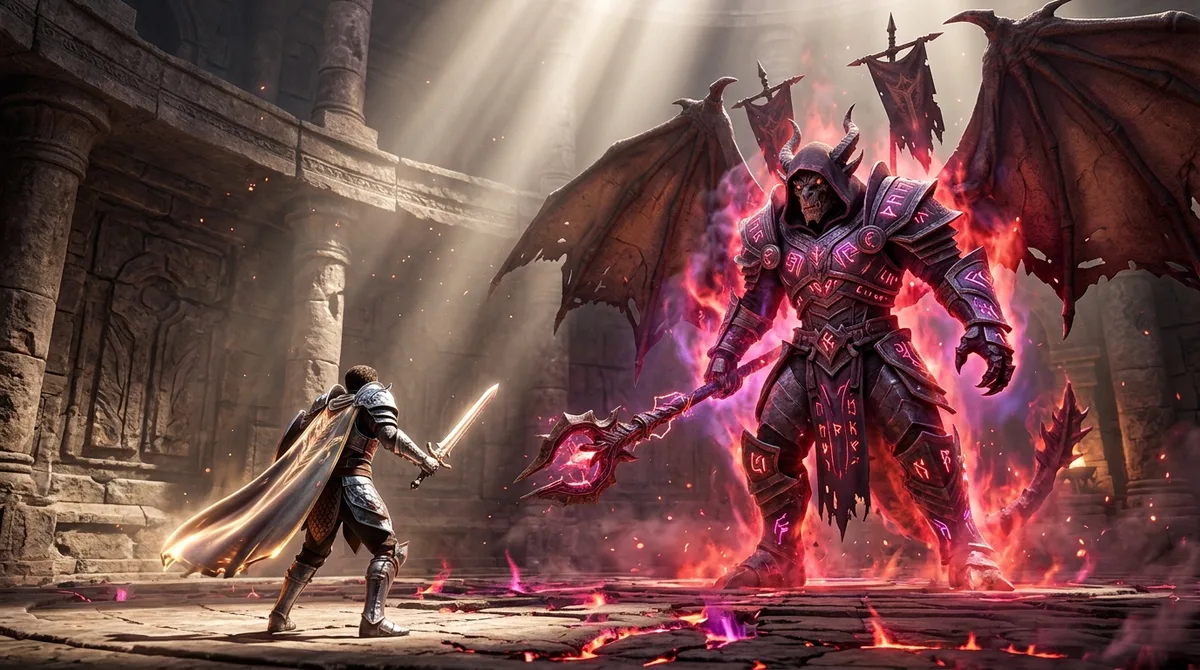
Hard mode asks for far more damage than normal mode, and the health bar is the least reliable number to watch. Normal mode caps Kerapac at 200,000 health, so the bar can look short, but you still need to deal at least 525,000 total damage to finish him. The damage you deal decides how long a fight takes, not how quickly the bar drops.
Hard mode works the same way on a much bigger scale. Its first three phases each start at 450,000 health and move on at 50,000, so every phase asks for 400,000 damage. Across the whole fight, you need at least 1,700,000 total damage, a little over three times the normal mode requirement. If your damage per attack stays the same, a hard mode kill needs roughly three times as many hits as a normal mode kill, so plan for a much longer session.
The biggest change comes in the final phase. Normal mode’s last phase works differently from hard mode’s, and hard mode’s phase 4 is built around echoes and player clones. Kerapac summons his echoes and your clones, and the clones must be killed before he can take damage. Your damage output in phase 4 starts later than you might expect, so plan how you will clear the clones before you start swinging at Kerapac.
Hard mode also makes your mistakes cost more. Lightning Strike walls stack up across the phases, and Time Warp only becomes available once phase 2 begins. Normal mode lets you practice the rhythm of the attacks with less pressure, so use it to build your timing before you commit to the longer hard mode fight.
What Happens in Each Hard Mode Phase?
Phases 1 to 3 in hard mode use the same repeating rotation, so once you learn the order, you can see each move coming and react in time. Count the auto-attacks in each cycle so you know what comes next.
- Take three auto-attacks while you keep dealing damage.
- When Kerapac raises his staff for Shatter, move under him before the slam lands.
- Take three more auto-attacks.
- When Jumping Slam starts, use your mobility ability to get clear of the jumps.
- Take three auto-attacks again.
- When Lightning Strike hits, step around the wall it leaves behind instead of walking into it.
- Take seven auto-attacks, the longest stretch and your best window to deal damage.
- Go back to step 2, because the rotation repeats from Shatter.
Shatter is the first big move you will face in each cycle. Kerapac raises his staff and slams it down, which stuns you and opens a time rift. Moving under him before the slam lands prevents both effects, so treat the raised staff as your cue to move rather than to keep attacking.
Jumping Slam is a three-part attack. Kerapac jumps and slams three times, and each one can stun you and deal melee damage. Save your mobility ability for this move, because you will need it more than once during the attack.
Lightning Strike is the move that changes the arena for the rest of the fight. It leaves a wall behind, and there is one wall in phase 1, two in phase 2 and three in phase 3. The walls persist into later phases, so by phase 3 you may be working around three of them at once. Choose a clear path early and keep checking it as the walls build up.
Time Warp is your emergency reset, but it only unlocks once phase 2 begins. After you activate it, there is a 10.2 second wait before it reverts your position, adrenaline, cooldowns and health to how they were before activation. Because of that delay, use it before a big hit lands, not after your health is already low.
How Do You Survive Kerapac’s Echoes and Clones?
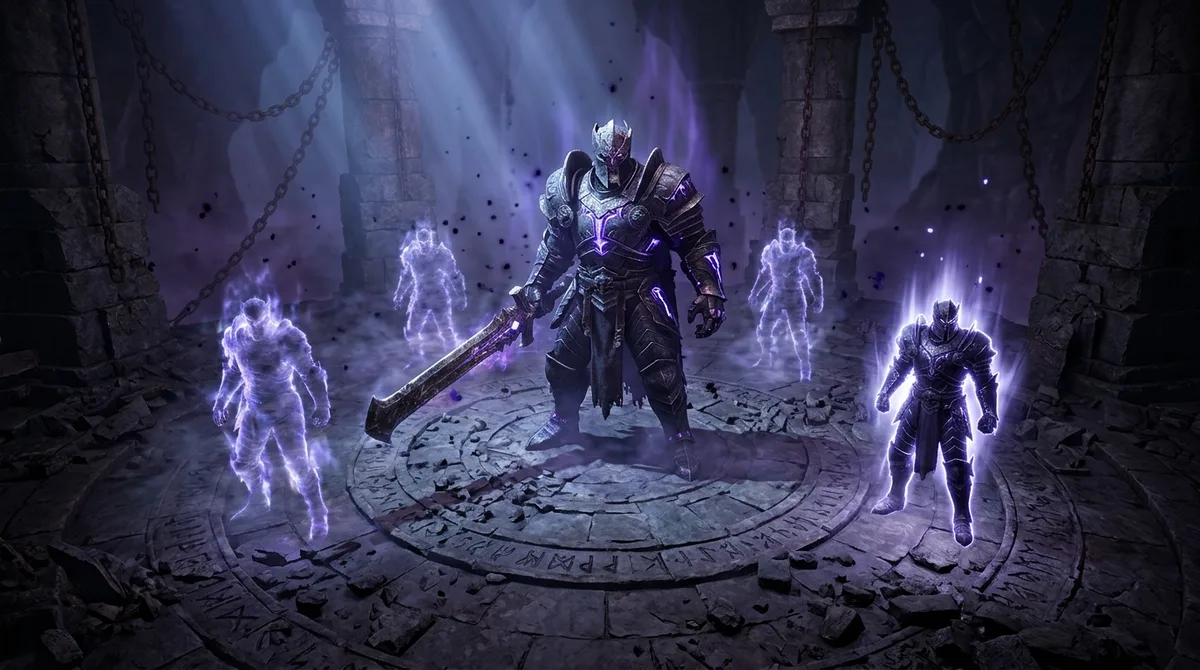
To survive Kerapac’s echoes and clones in hard mode, clear the threats in a set order: keep yourself alive first, remove the clones second, and then deal with the echoes before you go back to Kerapac. Phase 4 is where the fight changes most. Kerapac spawns three echoes with 100,000 health each, plus three player clones. The clones must be killed before Kerapac can take any damage, so your first job in this phase is clearing them, not hitting the boss.
The echoes add a second problem because they bring earlier attacks back into the fight. A Shatter or Jumping Slam you dodged in phase 2 can show up again while you are busy with a clone. That is why your phase 1 to 3 habits matter here. Watch for the raised staff, move under Kerapac before the slam lands, and keep your mobility ability ready for the jumps.
Incoming damage is heavy in this phase, so prayer and healing timing matter far more than they did in normal mode. Switch on the prayer you need before the attack that calls for it, not after the hit has already landed. Decide on your eating point before the fight starts, such as a set health level, so you are not guessing while the clones and echoes close in.
When you are solo, work through the threats in a fixed order. Stay alive first by keeping prayer, food and mobility under control. Next, clear the clones one at a time, because Kerapac stays untouchable until the last one falls. Once the clones are gone, focus on whichever echo is closest to your safe spot, and only then return to Kerapac.
Time Warp can save a bad phase 4 if you still have it, but its 10.2 second delay means you have to see the spike coming. Activate it while your health is still safe, not when three attacks are already on you. Normal mode’s final phase does not include echoes or clones, so it cannot give you a real rehearsal for this part. You will need to go into hard mode with a plan already in your head.
What Gear, Prayers and Relics Should You Bring?
Bring a banked loadout for each phase, a stock of food and prayer restores, and only the relics and incense sticks your stats can support. Before you enter, set up your usual combat gear in the bank as separate loadouts, such as one for dodging and one for damage. Name them clearly so you can switch quickly when a new phase starts.
Relics and artefacts change how much damage you deal in general terms. A well-matched set adds to your damage output, so you can cover more of the 1,700,000 total damage in each session. Choose the ones that fit the way you already train, rather than rebuilding everything for one fight.
Incense sticks help you keep your prayers and combat stats ready for the heavy hits. Used before a long stretch of auto-attacks, they reduce how often you have to stop hitting to top up. That matters most in phases 1 to 3, where the seven auto-attack window is your best chance to deal damage.
Food and prayer restores are a must for hard mode. Time Warp can undo a bad moment, but its 10.2 second delay means you still need to survive the gap, so keep food ready. Prayer restores matter because echoes and clones keep the incoming damage high, and you will switch prayers often.
Exact gear depends on your stats and goals, so there is no single setup that suits everyone. A player with high melee levels will build differently from someone who trains ranged or magic. The strategy page for the fight lists the items people use, so check it, then compare those lists against what you already own before you spend anything.
Should You Go Solo or Duo for Kerapac?
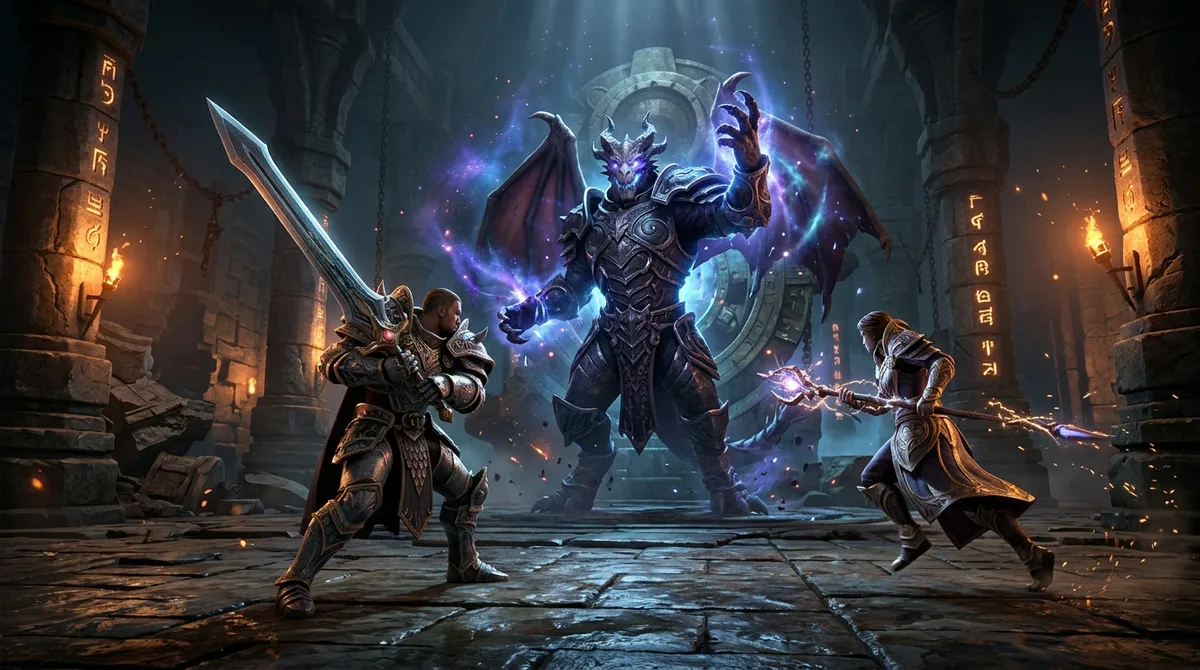
Going solo is the simpler choice for most players, because Kerapac is built as a solo-focused boss, so one player can learn every phase alone. A duo faces the same Kerapac, so teaming up changes how the work is shared, not how tough he is.
In a duo, one player takes the main damage role and keeps hitting Kerapac during the long auto-attack stretches. The partner handles the clones and echoes in phase 4, so the damage player does not have to stop and clear them. In phases 1 to 3, the partner mostly watches for Shatter and Jumping Slam and calls out the raised staff so the damage player can move in time.
Many players search for necromancy presets because the right setup can change how much damage you deal in each window and how well you survive the heavy hits. A damage-focused preset helps you make the most of the seven auto-attack window in each cycle. A survival-focused preset gives you more room when echoes and clones push the incoming damage up. Choose the one that matches the role you are playing.
Clone tactics depend on how many people are in the fight. Solo, you clear the three clones one at a time, since Kerapac stays untouchable until the last one falls. In a duo, the partner can take clones while the main player stays out of range, which keeps the damage player’s attention on Kerapac. Either way, killing the clones first matters because every second spent on them is a second without damage on the boss.
How Long Does a Kerapac Kill Take and Is the Drop Worth It?
A Kerapac kill takes as long as it takes you to deal the damage he requires, and no single time fits every player. Your gear, your damage per hit and the number of deaths you take all change the clock. Normal mode needs at least 525,000 total damage, while hard mode needs at least 1,700,000, so a hard mode session will run far longer even with the same setup.
Deaths can add more time than most players expect. Each one breaks the rhythm you built in the current phase, and you have to rebuild it from the start. Track how often you go down, because a run with fewer deaths often finishes sooner than a faster but messier one.
The loot side changed in July 2025. On July 14, 2025, an update raised normal-mode Kerapac rare drop rates by 1%. The same update lifted the maximum Manuscript of Jas per loot pile from one to two. A 1% rise is a modest change, so judge the fight by the loot you collect across many kills rather than by one rare item.
Balance updates can also shift the plan. A patch may change how much damage an attack deals or how a phase is timed, which means your old numbers may no longer hold. Check the Kerapac wiki page after every patch, and compare its phase details with what you have been seeing in your own fights.
The most useful habit is to track your own damage per attempt. Write down your total damage, how many times you died, and which phase you reached. Each phase asks for 400,000 damage in hard mode, so a phase-by-phase log shows you exactly where you lose the most ground. Divide 1,700,000 by your average damage per attempt, and you will have a fair estimate of how many full attempts you need.
Planning Your First Kerapac Attempt
Your first step is to practice in normal mode until you can get through all four phases without panicking. Normal mode has no echoes or clones, so it is the best place to learn the rhythm of Shatter, Jumping Slam and Lightning Strike before the stakes rise.
Next, write a short plan on paper. For each phase, note when you will move under the raised staff, when you will switch to your dodging loadout and when you will step around the next Lightning Strike wall. Keep that page beside you during your first few runs.
Then set up your banked loadouts with clear names, and pack food and prayer restores before you enter the Grand Colosseum. Compare your gear against your own stats rather than copying someone else’s build, since a melee-heavy setup will look very different from a ranged or magic one.
When you feel ready for hard mode, decide how long you can focus without getting tired. Plan your first attempt as a learning session, not a full kill. Log your total damage, how many times you went down and which phase you reached. Those three numbers will tell you exactly where to adjust your plan before your next attempt.