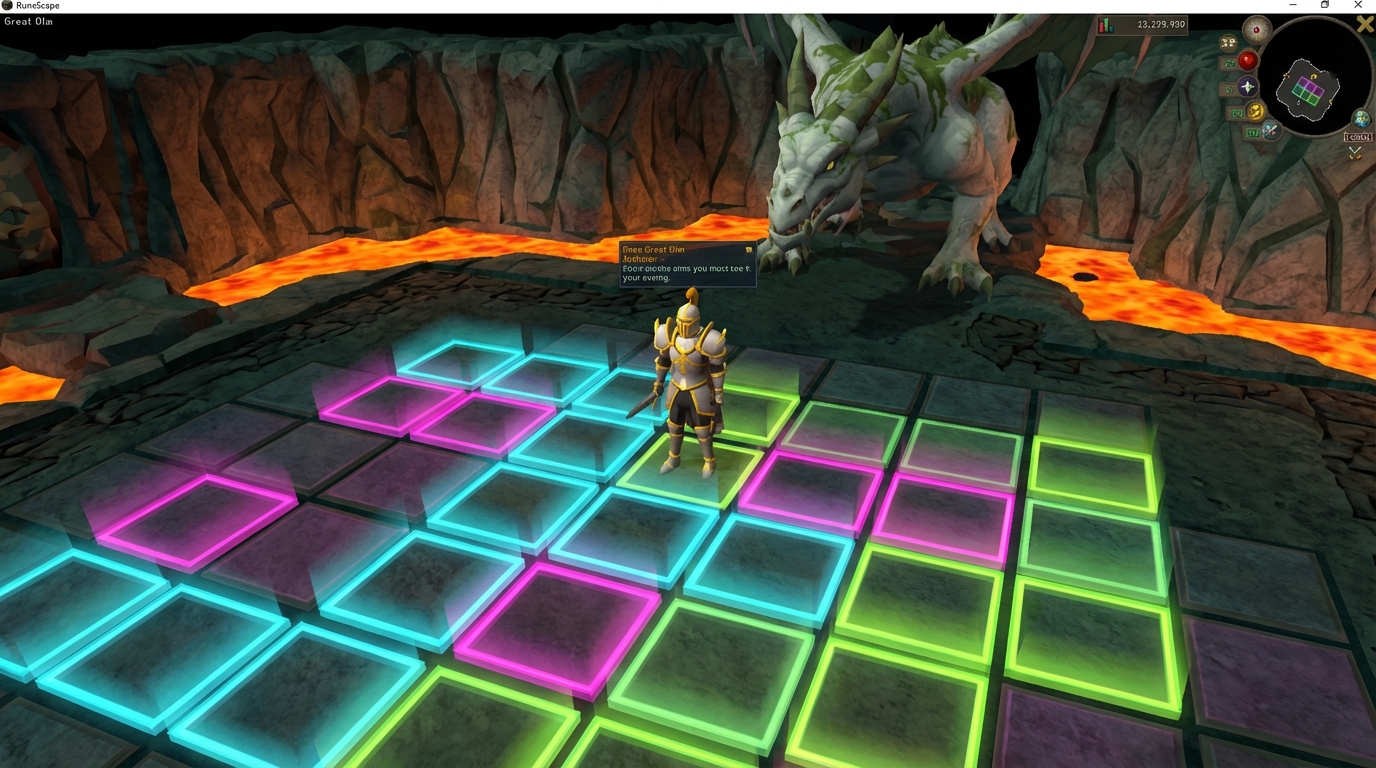
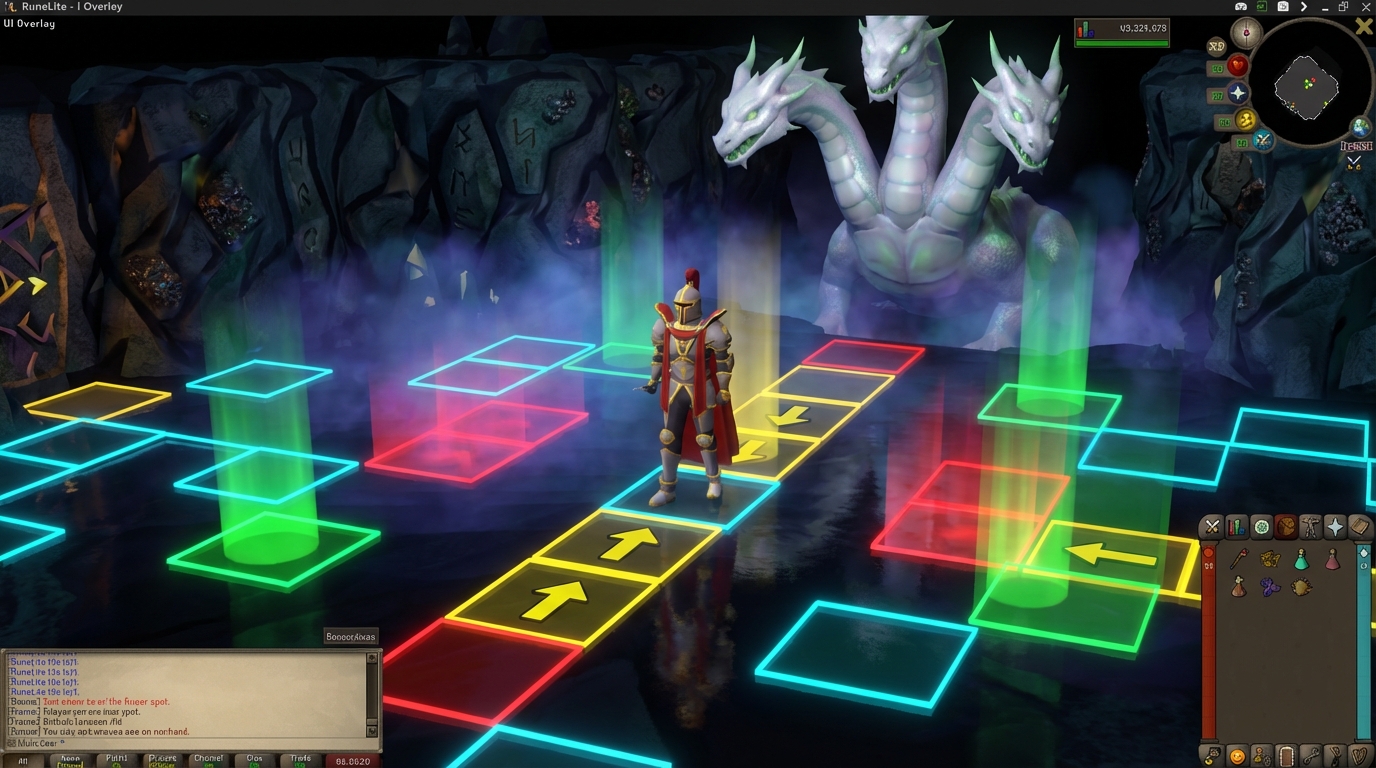
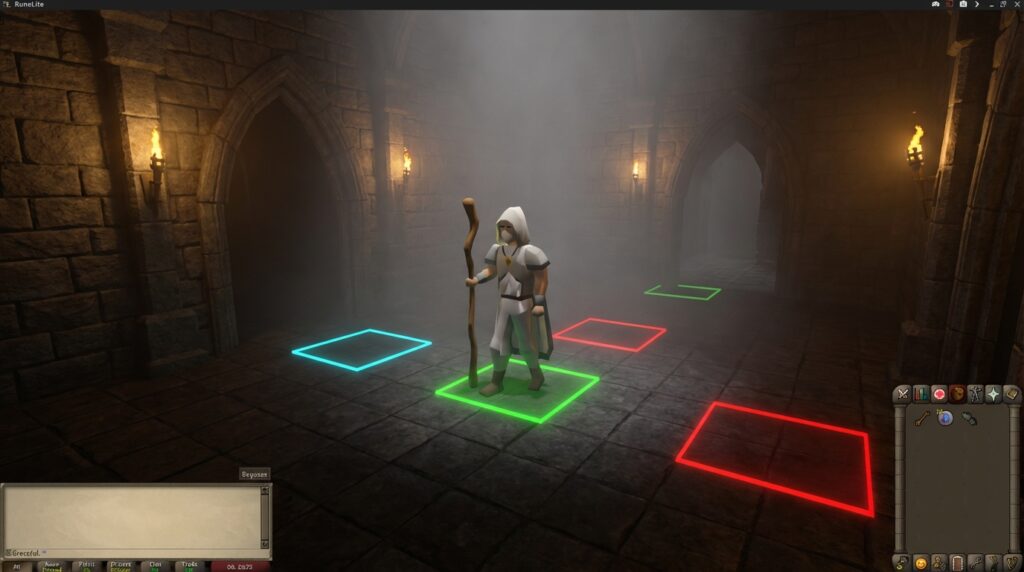
Navigating the high-stakes world of Old School RuneScape becomes much easier when you have a clear map right under your feet. This runelite tile markers guide will help you master the Ground Markers plugin so you never miss a step during a chaotic boss fight. Whether you are highlighting the perfect safe spot for the Fight Caves or marking where to stand for the 3-tick teak woodcutting method, these colorful squares are your best friend.
By simply holding the Shift key and right-clicking, you can turn a confusing dungeon floor into a perfectly labeled path. You can customize your layout by labeling tiles for specific mechanics, like the lightning spots at Olm or the run tiles for Vorkath’s acid phase. Adjusting the colors and border thickness ensures your screen stays clean while giving you the exact visual cues needed to survive the game’s toughest challenges.
Key Takeaways
- Ground markers are essential visual aids for mastering high-level PvM content by transforming chaotic boss rooms into predictable, labeled paths.
- Holding the Shift key while right-clicking allows you to instantly mark tiles, add custom text labels, and color-code specific mechanics for better organization.
- Importing community-created tile strings provides immediate access to professional layouts for complex raids like the Theatre of Blood and the Inferno.
- Fine-tuning visual settings, such as reducing border thickness and lowering fill opacity, ensures markers remain visible without obstructing critical ground animations or projectiles.
Setting Up Your First Ground Markers
To get started with your first ground markers in Old School RuneScape, all you need to do is hold down the Shift key and right-click on any tile in the game world. From the menu that pops up, select the Mark Tile option to create a colored border around that specific square. This simple shortcut is the foundation for mastering high-level PvM content like the Inferno or Chambers of Xeric. Once a tile is marked, it stays there even if you log out, making it easy to remember exactly where to stand for safe spots. You can quickly clear a marker by repeating the same Shift and right-click process on a tile that is already highlighted.
Customizing your markers is where the real strategy comes into play for complex boss fights. By right-clicking a marked tile while holding Shift, you can change the color to help you distinguish between different phases of a fight. For example, you might use blue tiles to mark where to stand during the Great Olm’s acid phase and red tiles for the flame phase. You can also add text labels to tiles, which is incredibly helpful when learning the movement patterns for the True Tile of the Verzik Vitur fight in Theatre of Blood. Adjusting the fill opacity and border width in the plugin settings allows you to make these markers as bold or as subtle as you prefer for your screen.
These visual aids are vital for surviving mechanics that require precise positioning, such as the prayer flicking spots behind pillars in the Inferno. Instead of guessing where the edge of a safe zone is, you can have a clear, colored box guiding your every step. Many players use specific colors to indicate when to run, when to hide, or where a boss like Vorkath might launch a deadly fireball. By organizing your ground markers with consistent colors across different bosses, you create a visual language that makes learning new content much faster. This simple setup turns a chaotic screen into a clear map for victory in any dungeon.
Mastering High Level PvM With Tile Labels

Mastering high-level encounters like the Inferno or Chambers of Xeric requires more than just good gear, as precise movement is often the difference between life and death. By using the Ground Markers plugin in Old School RuneScape, you can transform a chaotic boss room into a guided path by labeling specific tiles with helpful text. To do this, simply hold the Shift key and right-click a marked tile to add a custom label that describes exactly what you need to do there. This is incredibly helpful for remembering where to stand during the Great Olm fight to avoid falling crystals or to stay in cycle with the boss’s head movements. Instead of guessing where the safe zone is, you can look down and see a tile clearly labeled as your primary standing position.
Adding text to your markers is also helpful for the grueling waves of the Inferno where every mistake counts. You can mark tiles behind pillars with labels like Nibbler Safe or Zuk Shield Path to ensure you never lose your cool during the final moments of the challenge. These visual cues act like a personal coach, reminding you of the specific mechanics you practiced without you having to memorize every single coordinate. You can even color-code your labels to distinguish between offensive positions and defensive safe spots. Using these tools effectively allows you to focus on your prayer flicking and gear switches while your tile labels handle the navigation for you.
Importing Pro Tile Packs For Raids
Setting up for high-level encounters like the Theatre of Blood or the Inferno can feel overwhelming when you have to mark every single tile by hand. Instead of spending hours watching guides and clicking individual squares, you can use the import feature to instantly load professional layouts created by the community. These tile strings are long codes that contain the exact coordinates and colors for every essential spot in a raid. By simply copying a string to your clipboard and right-clicking your world map icon, you can populate your entire game world with perfect markers. This ensures you are standing in the exact right spot to dodge Verzik Vitur’s attacks or navigate the complex rotations of Zulrah without any guesswork.
Using these imported packs is one of the best ways to bridge the gap between a beginner and an expert player in Old School RuneScape. When you import a pro pack for the Chambers of Xeric, you will immediately see highlighted paths for running the Great Olm or safe zones for the flame walls. These markers act as a visual roadmap, telling you exactly where to click so you can focus on your prayer flicking and gear switches. You can even customize the imported tiles later by holding Shift and right-clicking them to change their colors or add specific labels. This system takes the stress out of learning new bosses and lets you jump straight into the action with a setup that experienced players use.
Finding these tile strings is easy if you look through community hubs or dedicated servers where high-level PvMers share their setups. Once you have a string copied, look for the Ground Markers plugin in your sidebar and select the option to import from your clipboard. You will instantly see the ground light up with colored boxes that indicate where to stand for the triple jads or where to path during the final phase of the Inferno. It is a great tool for anyone looking to master difficult content because it removes the human error of placing a marker on the wrong square. With a few clicks, you will have a world-class raiding setup that helps you stay alive and secure those valuable unique drops.
Fine Tuning Your Visuals For Bossing

Mastering the visual settings of your tile markers is helpful when you are tackling high level encounters like the Inferno or Chambers of Xeric. While a solid border helps you identify exactly where to stand, a width that is too thick can actually hide ground animations or projectiles that you need to see to survive. You should aim for a thin border width, usually around two or three pixels, so the tile remains distinct without blocking your view of the floor. This balance ensures you can still see the shadow of a falling rock at Olm or the subtle animations of a boss’s attack. Keeping your visuals clean allows you to focus on your character’s true position rather than getting lost in a mess of colorful lines.
Adjusting the fill opacity is the next step to creating a professional setup that won’t distract you during a chaotic fight. Setting your opacity to a low value, like twenty or thirty, creates a soft tint that makes the tile easy to spot while remaining mostly transparent. This is incredibly helpful during the Great Olm fight where you need to see crystal spawns or lightning paths appearing directly underneath you. If your markers are too opaque, you might miss these deadly mechanics and take unnecessary damage. A lighter fill provides just enough color to guide your movement without turning your screen into a confusing grid of solid blocks.
You can also use different colors and labels to categorize your markers so you never forget why a specific tile is highlighted. For example, you might use a bright red border for danger tiles at the Alchemical Hydra and a soft blue for safe spots during the flame phase. Adding short labels through the shift and right-click menu can remind you exactly when to move to a specific spot. This level of customization turns your screen into a roadmap that guides you through the most difficult mechanics in Old School RuneScape. By fine tuning these small details, you create a personalized interface that helps you stay calm and precise when the pressure is on.
Master Your Movement with Tile Markers
Mastering tile markers is the secret to turning chaotic boss fights into predictable routines. By labeling specific tiles for the Great Olm’s flame wall or highlighting safe spots in the Fight Caves, you remove the guesswork from your movement. These visual cues help you maintain perfect positioning during the Zebak wave phase or while kiting Kril Tsutsaroth. Instead of panicking when mechanics overlap, you can simply follow your colored paths to safety. Having these markers on your screen ensures that you spend less time clicking and more time dealing damage.
Personalizing your ground markers allows you to create a visual language that works specifically for your playstyle. You might use bright red borders to warn yourself of dangerous zones in ToB or soft blue fills to mark where to stand for efficient bird house runs. Remember that you can always adjust the opacity and border width if your screen starts to feel too cluttered during a busy raid. These small adjustments make a huge difference when you are trying to tick-eat a hit or lure a monster into a specific corner. Your setup will evolve as you learn more shortcuts and pro OSRS organization tips for your favorite activities.
Now that you have your tiles set up, it is time to head back into Gielinor and put these navigation skills to the test. You will find that high-level PvM feels much more manageable when you aren’t fighting against the game’s camera angles or misclicking on the floor. Whether you are aiming for your first Fire Cape or pushing for a high-invocation ToA completion, these markers are your best friends. Keep experimenting with different colors and labels until your interface feels like a natural extension of your gameplay. Go ahead and jump into your next challenge with the confidence that you are standing exactly where you need to be.
Frequently Asked Questions
1. How do I start marking tiles on my screen?
Simply hold down the Shift key on your keyboard and right-click on any ground tile in the game world. Select the Mark Tile option from the menu to create a colored border around that square immediately.
2. Will my tile markers disappear when I log out of Old School RuneScape?
No, your markers are automatically saved to your profile. They will stay exactly where you placed them every time you log back in to take on bosses like Vorkath or Zulrah.
3. Can I use different colors for different boss mechanics?
Yes, you can customize colors by holding Shift and right-clicking an existing marker to help you tell mechanics apart. Use blue markers for safe spots during the Great Olm acid phase and red for flame phases to keep your strategy organized.
4. How do I remove a tile marker if I don’t need it anymore?
Removing a marker is just as easy as placing one. Hold the Shift key, right-click the highlighted tile, and select the option to clear the marker from your floor.
5. Can I add text to my markers so I remember what they are for?
You can add labels to your marked tiles to give yourself specific instructions during a fight. This is perfect for labeling the exact tiles you need to stand on for the 3-tick teak woodcutting method or specific positions in the Inferno. For those looking to maximize efficiency between bossing trips, learning how to unlock fairy rings is just as important as your tile markers. For those looking to maximize efficiency between bossing trips, perfecting your OSRS house layout optimization is just as important as your tile markers.
6. Is it possible to change how thick the tile borders look?
You can adjust the border thickness and color transparency within the Ground Markers plugin settings in your sidebar. This helps you keep your screen clean while still seeing your visual cues clearly during chaotic fights like the Theatre of Blood.

