Stepping into high-level combat in RuneScape 3 can feel overwhelming, but finding the right rs3 beginner bossing order makes the journey much smoother. You do not need maxed stats or billions of gold to start earning impressive loot and rare drops. With the power of Necromancy, you can bypass steep learning curves and focus on mastering boss mechanics at your own pace.
Starting with a boss like the Arch-Glacor allows you to toggle specific mechanics on or off, making it the perfect training ground for prayer flicking and shield switching. From there, you can transition to Hermod to upgrade your power armor or take down classic foes like the King Black Dragon for quick kills. Following a logical progression ensures you build your confidence and your bank account without getting frustrated by constant deaths.
Key Takeaways
- The Arch-Glacor is the premier training ground for new players because its customizable mechanics allow you to practice prayer flicking and shield switching at your own pace.
- Necromancy is the most effective combat style for beginners due to its built-in healing, simplified ability rotations, and clear gear progression path through bosses like Hermod.
- Entry-level bosses like the Giant Mole and King Black Dragon are essential for mastering fundamental skills such as phase transitions, resource management, and specialized protection.
- Progressing from basic encounters to God Wars Dungeon 2 bosses like Helwyr and Vindicta builds the mechanical muscle memory required for late-game PvM challenges.
Entry Level Bosses for Combat Basics
Starting your bossing journey in RuneScape 3 can feel intimidating, but the Giant Mole and King Black Dragon are the perfect places to build your confidence. These classic encounters provide a low-stress environment where you can practice staying calm while managing your health and prayer points. The Giant Mole teaches you how to handle boss movement and phase transitions as she tunnels through her lair under Falador. Meanwhile, the King Black Dragon introduces you to the importance of specialized protection like Super Antifire potions or dragonfire shields. These early fights ensure you understand how boss respawn timers work so you can find a rhythm for longer sessions.
Once you feel comfortable with the basics of staying alive, you can use these entry-level bosses to refine your combat rotations. Since the introduction of Necromancy, these fights have become even more accessible for players looking to earn their first few boss kills. You can practice summoning your spirits and managing your necrosis stacks without worrying about instant death mechanics or complex puzzles. Learning how to effectively use your abilities while dodging the Mole’s mud falls or the Dragon’s breath will prepare you for more difficult challenges later on. These bosses act as a vital bridge, turning you from a casual slayer into a capable monster hunter.
Master Mechanics with the Arch-Glacor

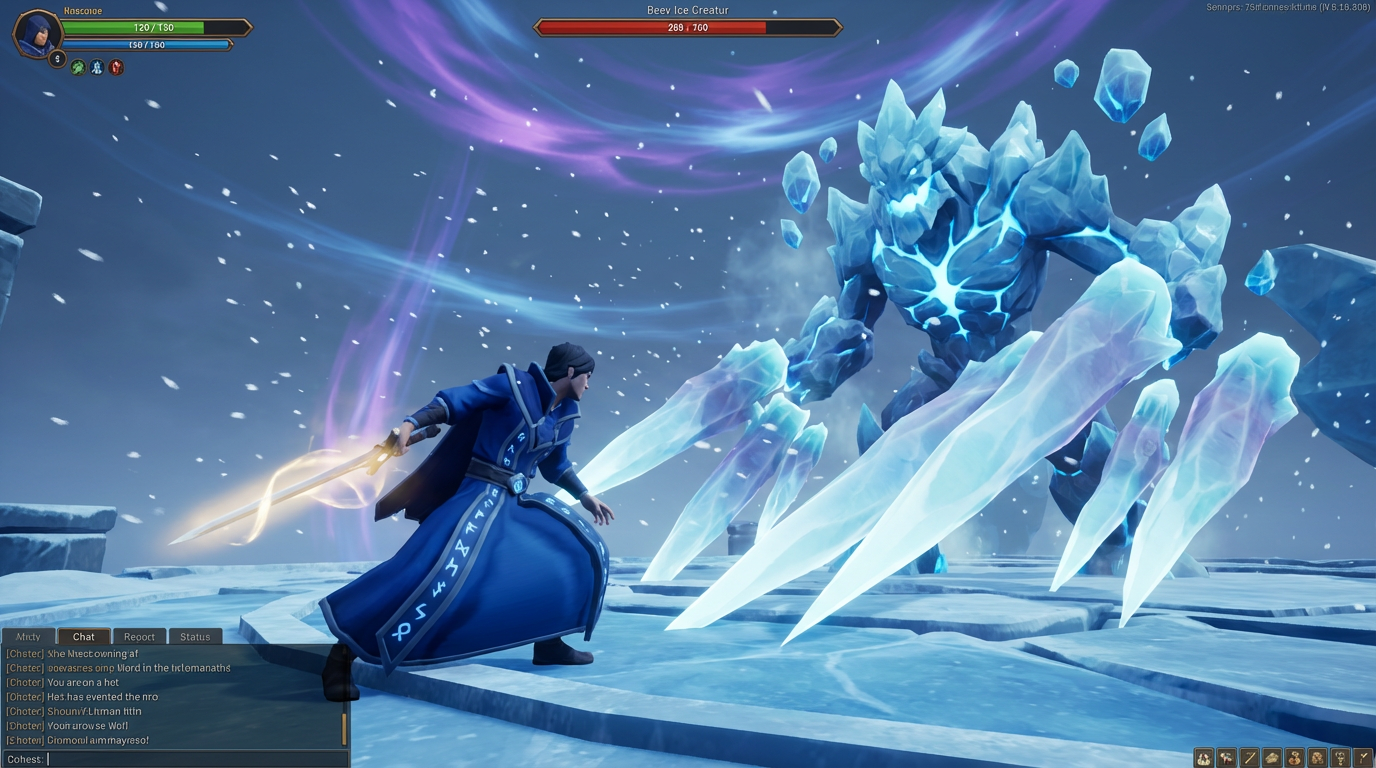
The Arch-Glacor is the ultimate training ground for any aspiring boss hunter in RuneScape 3. Unlike other bosses that throw every attack at you at once, this icy elemental allows you to toggle five unique mechanics on and off. You can start with a simple target that just sits there, letting you practice your basic ability rotations without any pressure. As you get comfortable, you can activate the Flurry mechanic to practice your overhead prayer flicking. This customizable approach means you never have to feel overwhelmed by too many things happening on your screen at the same time.
Once you have mastered the basics, you can turn on the Pillars of Ice or the Cannon attack to learn about movement and defensive abilities. The Cannon mechanic is especially helpful for learning how to use the Resonance ability or a shield switch to turn a massive hit into a huge heal. If you make a mistake, the normal mode is very forgiving and offers a safe death mechanic so you do not lose your items. This makes it the perfect place to build muscle memory before you move on to more punishing encounters like God Wars Dungeon 2.
The best part about the Arch-Glacor is that it scales with your confidence and gear progression. You can slowly add the Minions or the Core mechanics to test your area of effect damage and your ability to prioritize targets. By the time you are comfortable fighting with all five mechanics active, you will have a solid foundation in modern combat. These skills translate directly to almost every high level boss in the game, from dodging beams at Telos to managing minions at Raksha. Your journey into bossing truly begins here because it transforms a stressful learning curve into a manageable series of small wins.
Necromancy Progression and Hermod Battles
Necromancy has changed how you approach bossing in RuneScape 3 by offering a much smoother learning curve. Unlike older combat styles that require complex gear setups, Necromancy provides a clear path forward through its unique talent tree and gear tasks. As you grow your skills, you will find that the style’s built-in healing and reliable damage make early encounters much less stressful. This is the perfect starting point if you want to move away from simple targets like the Giant Mole and start tackling more rewarding challenges. You will quickly see how this style simplifies the transition into mid-level combat.
Hermod, the Spirit of War, serves as your first major milestone in this journey because he is specifically designed to teach you bossing fundamentals. He has a very predictable attack pattern and manageable health, making him the ideal candidate for practicing your ability rotations. Defeating him is essential because he drops plates needed to upgrade your Necromancy power armor to higher tiers. This gear upgrade order is vital for your success as it increases your damage output and survivability for future fights. By farming Hermod, you gain the confidence and equipment necessary to take on tougher foes like those found in God Wars Dungeon 2.
Upgrading your armor through these battles bridges the gap between basic combat and high-level PvM mechanics. Once you have mastered the rhythm of the Hermod fight, you will notice that your gear feels significantly more powerful. This sense of progression is rewarding because it gives you a tangible goal to work toward while you learn. Better armor means you can stay at bosses longer and use fewer resources like food or potions. Taking the time to focus on these Necromancy upgrades ensures you are fully prepared for the mechanical complexity of modern RuneScape bosses.
Conquering God Wars Dungeon Favorites

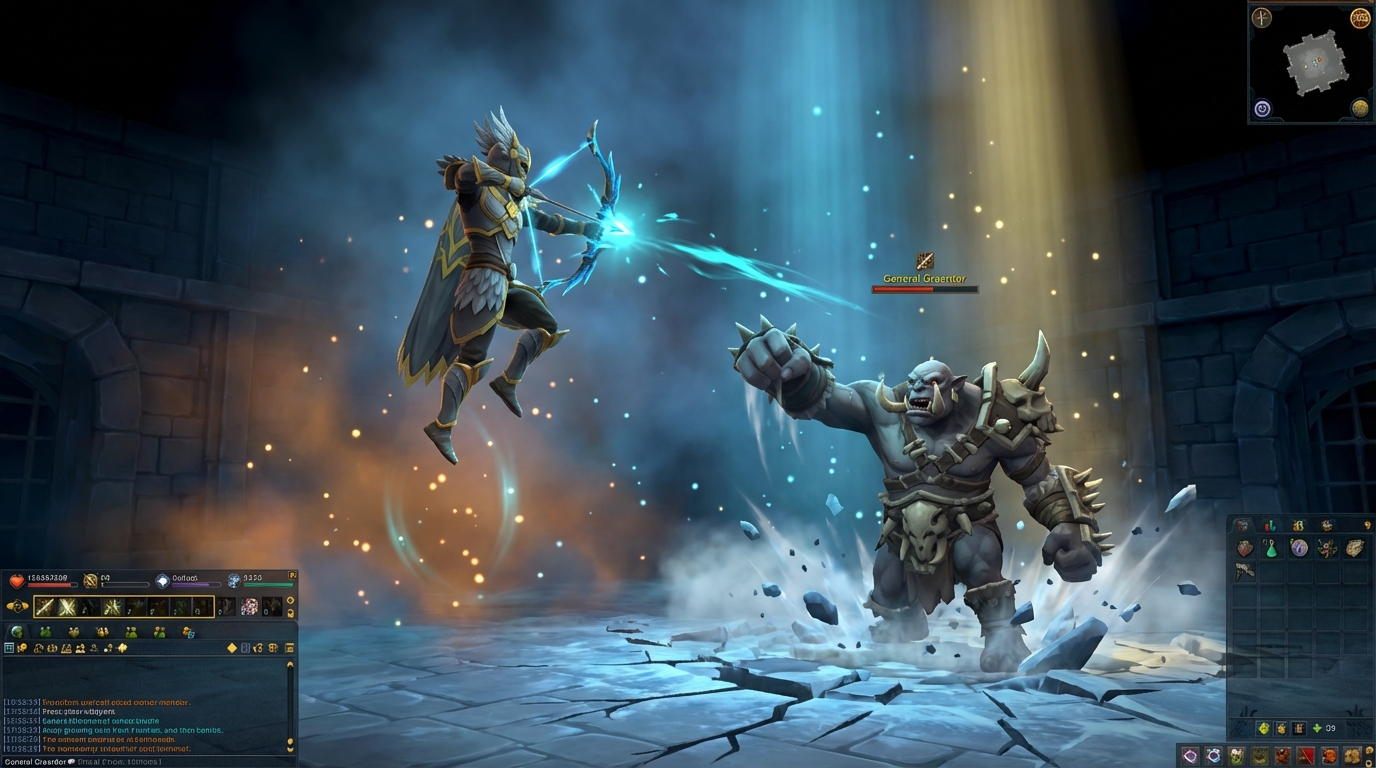
Once you have mastered the basics with the Giant Mole or Arch-Glacor, it is time to step inside the God Wars Dungeon to face General Graardor and K’ril Tsutsaroth. These bosses serve as the perfect training ground for refining your combat rotations while you manage your health and prayer points. Graardor hits hard with physical attacks, forcing you to pay attention to your defensive buffs and armor ratings. K’ril introduces a unique mechanic where he can bypass your protection prayers if you do not defeat him quickly enough. These encounters bridge the gap between simple clicking and the more active gameplay found in high-level bossing.
Managing your resources becomes much more important during these fights compared to the entry-level bosses you have already defeated. You will need to bring along better potions and food to sustain yourself through longer sessions in the dungeon. Using the Necromancy combat style can make this transition smoother because it offers consistent healing through the Ghost summon and powerful damage from your spectral abilities. While fighting these generals, you should focus on keeping your overhead prayers active to mitigate the constant damage from their minions. Successfully farming these bosses will give you the confidence to handle more complex mechanics as you move toward late-game challenges.
Bridging the Gap to Mid-Level PvM
Once you feel comfortable with the entry-level bosses, the Gate of Elidinis is a fantastic next step to test your movement and timing. This encounter is unique because it is a skilling boss, meaning you use your non-combat skills like Divination and Agility to deal damage instead of traditional weapons. You will need to dodge falling rocks and navigate the arena while cleansing corruption, which teaches you how to maintain your focus under pressure. This fight is perfect for training your eyes to watch the environment while also managing your character’s actions. It removes the stress of complex combat rotations so you can master the art of dodging telegraphed attacks.
Moving from the desert to the Heart of Gielinor, Helwyr serves as the ultimate training ground for managing predictable boss cycles. This leader of the Cywir clan uses a specific rotation of attacks that includes a heavy bleed and a massive “You Will Bleed” swipe. You will learn how to use defensive abilities like Resonance to heal from his attacks or Freedom to clear nasty debuffs. Handling his wolf summons also teaches you how to manage multiple targets at once without losing your cool. Mastering Helwyr gives you the confidence needed to handle the high-speed mechanics found in late-game raids and elite dungeons.
Your Ideal RS3 Bossing Progression Path
Stepping into bossing can feel like a massive hurdle, but following a logical progression path makes the learning process much more manageable. Starting with the Arch-Glacor allows you to practice mechanics at your own pace without the fear of a punishing death. Once you feel comfortable with basic movement and prayer flicking, moving on to bosses like Hermod or the King Black Dragon provides the confidence needed for longer encounters. These early victories are essential because they build the muscle memory you will rely on for the rest of your combat career. Success in RuneScape is less about having the most expensive gear and more about understanding how to react to the environment around you.
As you move toward God Wars Dungeon 2, you will start to see how all these individual lessons come together in a real fight. Bosses like Helwyr and Vindicta challenge you to manage your health and cooldowns while dealing consistent damage to the target. Using the Necromancy combat style can be a huge help during this transition because it offers reliable healing and a very easy learning curve for your abilities. You are no longer just clicking and waiting, but instead actively participating in a rhythmic battle that feels rewarding to master. Each kill brings you closer to better loot and the chance to take on the most legendary foes in the game.
The journey from the Giant Mole to high level monster hunting is a marathon rather than a sprint, so remember to celebrate your progress along the way. Every time you successfully resonance a hit or survive a difficult phase, you are becoming a more capable player. Do not be afraid to revisit easier bosses if you need a break or want to test out a new equipment setup. Gielinor is full of challenges, but with this roadmap, you have the tools to conquer every single one of them. Your adventure is just beginning, and the elite gear and titles you want are now well within your reach.
Frequently Asked Questions
1. What is the best boss to start with as a total beginner?
The Arch-Glacor is your best starting point because its mechanics are fully customizable. You can turn off every special attack to practice your basic combat rotation and then slowly toggle them back on as you get more comfortable.
2. Do I need high level gear to begin my bossing journey?
You do not need billions of gold or top tier equipment to get started. Basic Necromancy gear or Tier 70 power armor from Hermod is more than enough to handle entry level bosses like the Giant Mole and King Black Dragon.
3. Why is Necromancy recommended for new bossers?
Necromancy is the most beginner friendly combat style because it has a very smooth learning curve and built in healing abilities. It allows you to focus on boss mechanics like prayer flicking without worrying about complex ability rotations.
4. How do the Giant Mole and King Black Dragon help me improve?
These bosses teach you the fundamentals of bossing like managing your health and using specific protection items. The Giant Mole helps you learn about phase transitions while the King Black Dragon teaches you the importance of using Super Antifire potions.
5. When should I move from entry level bosses to more difficult ones?
You should consider moving up the ladder once you can kill bosses like the Arch-Glacor or Hermod without eating much food. If you find yourself consistently surviving full sessions at the God Wars Dungeon, you are ready for more mechanical challenges.
6. What items should I always bring to a boss fight?
Always bring a preset that includes high quality food like Rocktail, prayer restoration potions, and a teleport out for emergencies. Just as you would refine your house layout optimization for efficiency in other versions of the game, having a clean inventory setup ensures you are ready for any encounter. If you are fighting dragons, remember to bring a Dragonfire shield or the appropriate Antifire potions to stay safe.

