Mastering the art of the undead in Gielinor requires more than just high levels. You need the right equipment to channel your spectral power. Following rs3 necromancy gear progression takes you from basic robes to Tier 100 mastery using the Soul Forge in the City of Um. By completing Kili’s Knowledge tasks after the Kili Row quest, you will transform simple materials like ensouled bars and necrotic runes into powerful weapons and armor.
You have a big choice to make between the survivability of Deathwarden tank armor or the raw damage of Deathdealer power armor. While your Death Guard and Skull Lantern grow stronger with every upgrade, deciding which path to take affects how you face bosses like the First Necromancer. Starting with tank gear is a great way to learn because the dodge bonuses help you stay alive while you gather the materials needed for high-level rituals.
Key Takeaways
- Complete the Kili Row quest and Kili’s Knowledge tasks in the City of Um to unlock the Soul Forge, which is the essential hub for crafting and upgrading all Necromancy equipment.
- Choose between Deathwarden tank armor for increased health and dodge mechanics or Deathdealer power armor for the Death Mark execution effect to match your combat experience level.
- Progress through tiered combat milestones and rituals to upgrade gear to Tier 90 before challenging Rasial, the First Necromancer, for elite Tier 95 drops.
- Balance the use of both tank and power gear sets to safely learn new boss mechanics while maintaining the ability to maximize damage output and gold efficiency.
Unlocking Kili Row And The Soul Forge
To begin your journey into Necromancy gear, you must head to the City of Um and complete the Kili Row quest. This foundational mission introduces you to Kili, a talented ghost who acts as your primary contact for all future equipment upgrades. Once the quest is finished, you gain access to the Soul Forge, which serves as your central hub for crafting and improving your robes and weapons. You will use this forge to combine ensouled bars, necrotic runes, and various ritual outputs to strengthen your gear. This process is essential because you cannot simply buy higher-tier Necromancy armor on the Grand Exchange. You must earn your upgrades by proving your skills and gathering the necessary materials yourself.
Starting at level 60, Kili will offer you specific tasks that you must complete to unlock the next tier of equipment. You will have to choose between crafting Deathwarden tank armor or Deathdealer power armor depending on your preferred playstyle. The tank path is excellent for beginners because it provides a dodge chance and extra health, making boss fights much more forgiving. If you want to maximize your damage, the power armor path offers the Death Mark effect which can execute enemies when their health gets low. Regardless of which path you choose, you will always need to upgrade your Death Guard and Skull Lantern to keep your accuracy and damage high.
The gear progression system is designed to grow alongside your combat level, requiring you to balance rituals and combat challenges. For example, reaching tier 60 requires a mix of Runecrafting for runes and successful rituals to prepare your bars at the Forge. As you move toward the powerful tier 95 First Necromancer gear, the tasks will become more difficult and require you to face off against dangerous bosses. Always check your quest journal to see exactly which monsters Kili wants you to defeat for your next set of upgrades. By staying on top of these tasks, you ensure that your character is always prepared for the next big challenge in the underworld.
Choosing Between Deathwarden Tank And Deathdealer Power Armor

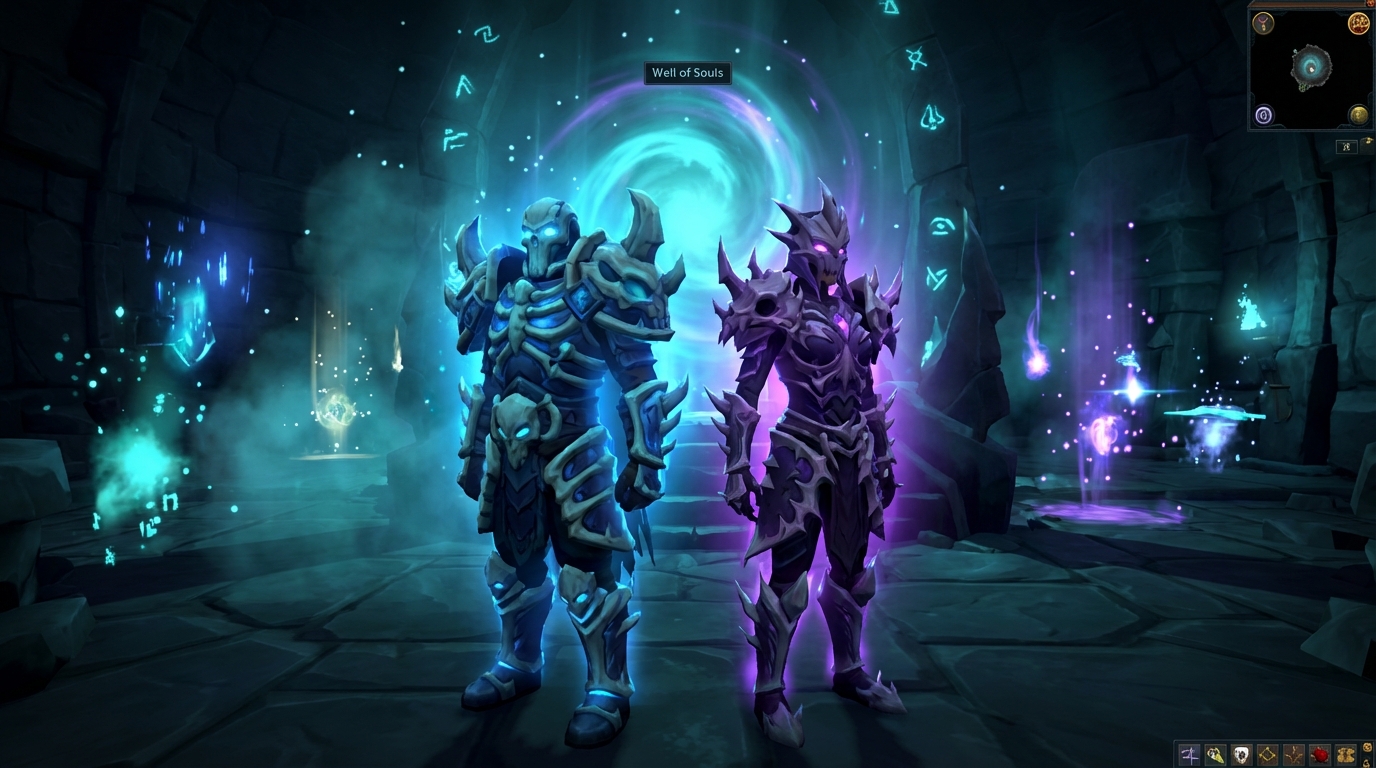
Deciding between the Deathwarden tank set and the Deathdealer power armor is one of the most important choices you will make as you progress toward level 120. If you are new to high level PvM or find yourself struggling to stay alive against bosses like Vindicta, the Deathwarden tank path is your best friend. This gear provides a significant boost to your maximum health and features a unique dodge mechanic that can completely negate incoming damage. Choosing this path makes your upgrade tasks much easier to complete, though you will sacrifice some raw damage output in exchange for that extra safety net.
On the other hand, the Deathdealer power armor is designed for players who want to end fights as quickly as possible. This set increases your overall damage and grants a special chance to apply a Death Mark, which instantly executes enemies when they fall below twenty percent health. While the power armor tasks are often more difficult and require defeating tougher bosses, the reward is a much faster kill time during your Slayer tasks or bossing trips. Many experienced players prefer this offensive route because it prepares you for the massive damage requirements of the Tier 95 First Necromancer gear.
You do not have to feel locked into just one choice forever since you can eventually create both sets to suit different situations. For example, you might use your Deathwarden robes to learn the mechanics of a new boss like Rasial without the constant fear of dying. Once you feel comfortable with the fight, you can switch to your Deathdealer robes to maximize your gold per hour. Balancing these two paths allows you to enjoy the best of both worlds while you work your way through Kili’s knowledge tasks and master the City of Um.
Mastering Kilis Knowledge Tasks For Tiered Upgrades
To upgrade your Necromancy equipment in RuneScape 3, you must first complete the Kili Row quest to unlock Kili’s Knowledge tasks. These challenges serve as the gatekeepers for your progression, requiring you to defeat specific enemies and collect unique materials for the soul forge in the City of Um. As you move from Tier 10 toward Tier 90, you will need to gather ensouled bars and various ritual outputs to strengthen your Death Guard and Skull Lantern. Each tier introduces new combat milestones, such as defeating the Giant Mole or tackling the Queen Black Dragon. Completing these tasks ensures you have the actual combat experience needed to handle your upgraded power.
The path diverges at Tier 60, forcing you to choose between power armor and tank armor for your journey to level 120. If you prefer high damage, the Deathdealer robes offer a chance to apply a Death Mark, which instantly executes enemies when their health gets low. On the other hand, beginners often find the Deathwarden tank armor more forgiving because it provides a helpful dodge chance and increased health. While the tank tasks are generally easier to finish, remember that power armor is the standard for high-level bossing later on. You can eventually unlock both sets, but picking one to focus on first helps you manage your resources efficiently.
Reaching the higher tiers requires a mix of high-level Runecrafting for necrotic runes and intense boss encounters. For example, the Tier 90 upgrade task demands that you face off against formidable foes like Araxxor and Telos to prove your mastery over death. You will spend a significant amount of time at the ritual pedestal in the City of Um, refining your materials into their final forms. Once you hit Tier 95, you will transition from Kili’s tasks to hunting for rare drops from the First Necromancer himself. Staying organized with your materials and task list is the best way to ensure your gear keeps pace with your rising combat level.
Reaching The First Necromancer For Tier 95 Gear

To bridge the gap between your self-crafted gear and the ultimate power of the First Necromancer, you must first master the upgrade tasks set by Kili in the City of Um. While you can choose between the survivability of Deathwarden tank armor or the raw damage of Deathdealer power armor, focusing on the power path is essential for high-level bossing. These tasks require you to hunt down specific bosses and use the Soul Forge to infuse your equipment with ensouled bars and ritual outputs. Completing the Tier 90 requirements is your final stepping stone before you are ready to face the true master of the dead. This progression ensures you have the necessary damage bonuses and accuracy to survive the intense mechanics found in the Citadel of Resurrection.
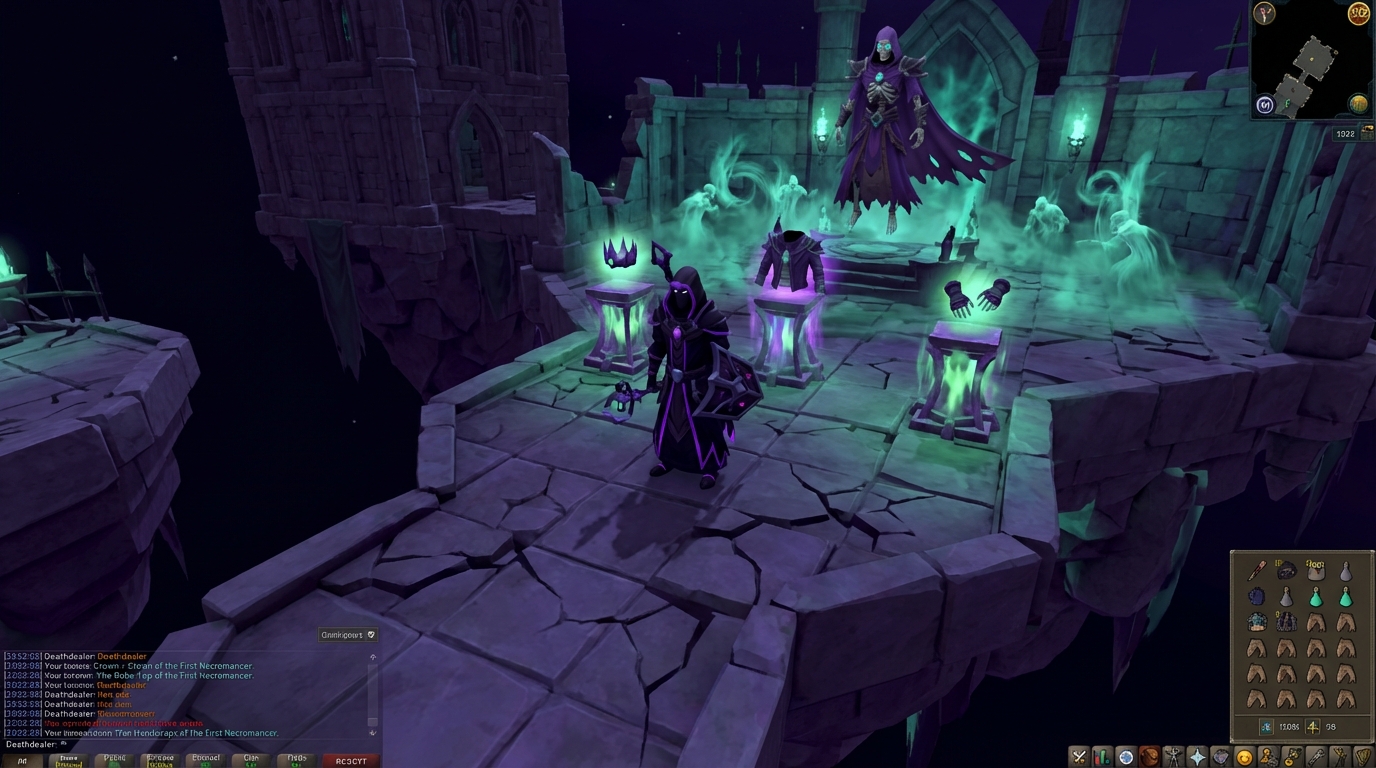
Once you have secured your Tier 90 Deathdealer robes and weapons, your sights should be set firmly on Rasial, the First Necromancer himself. Unlike previous tiers that you craft manually, the Tier 95 First Necromancer equipment is obtained exclusively as rare drops from this formidable boss encounter. You will need to bring your best combat strategy to earn the Omni-guard and Soulbound Lantern, which provide a massive jump in damage over the Tier 90 Skull Lantern. The full robes set also offers unique set effects that significantly boost your conjured spirits, making your undead army more effective than ever before. This transition marks your move from a student of the craft to a true master of Necromancy in Gielinor.
Defeating Rasial consistently is the most efficient way to reach the current ceiling of the skill, including the prestigious Tier 100 upgrades. Because Rasial is a solo boss, you can focus on perfecting your personal rotations without needing to coordinate with a large group of players. As you collect his unique drops, you will notice a drastic improvement in your kill times and overall resource management during combat. This gear is widely considered the best-in-slot option because it provides the highest possible power bonus for your spells and abilities. Reaching this level of equipment transforms your gameplay, allowing you to tackle any other boss in RuneScape 3 with ease and confidence.
Mastering Your Journey to Tier 95 Necromancy Gear
Mastering the path from a basic Spirit Wolf to the devastating power of the First Necromancer is a journey that transforms your entire approach to combat in RuneScape. By completing Kili’s Knowledge tasks and working your way through the Soul Forge in the City of Um, you have built a foundation that handles everything from Slayer mobs to high-level encounters. Whether you chose the survivability of Deathwarden tank gear or the aggressive damage of Deathdealer power robes, your kit is now ready for the ultimate test. You have learned to balance ensouled bars and necrotic runes to create a weapon that feels like an extension of your own character.
Now that you possess your fully upgraded T95 or T100 gear, the toughest bosses in the Heart of Gielinor and beyond are finally within your reach. You can confidently step into the Citadel of the First Necromancer to face Rasial or challenge the Great Wight, Amanishi, with your superior damage output and specialized abilities. Remember to keep practicing your rotations to maximize the Death Mark chance from your power armor or the dodge bonuses from your tank set. Your progression does not end here, as the mastery of Necromancy allows you to conquer challenges that once seemed impossible.
Take a moment to appreciate the hard work you put into gathering ritual outputs and conquering those specific boss challenges required for each tier. Your dual-wield Death Guard and Skull Lantern are now some of the most powerful tools in the game, capable of summoning a literal army to fight by your side. With your gear fully augmented and your perks optimized, you are no longer just a student of the underworld but a true master of death. Step out into the world and show the inhabitants of Gielinor the true potential of a fully realized Necromancer.

