
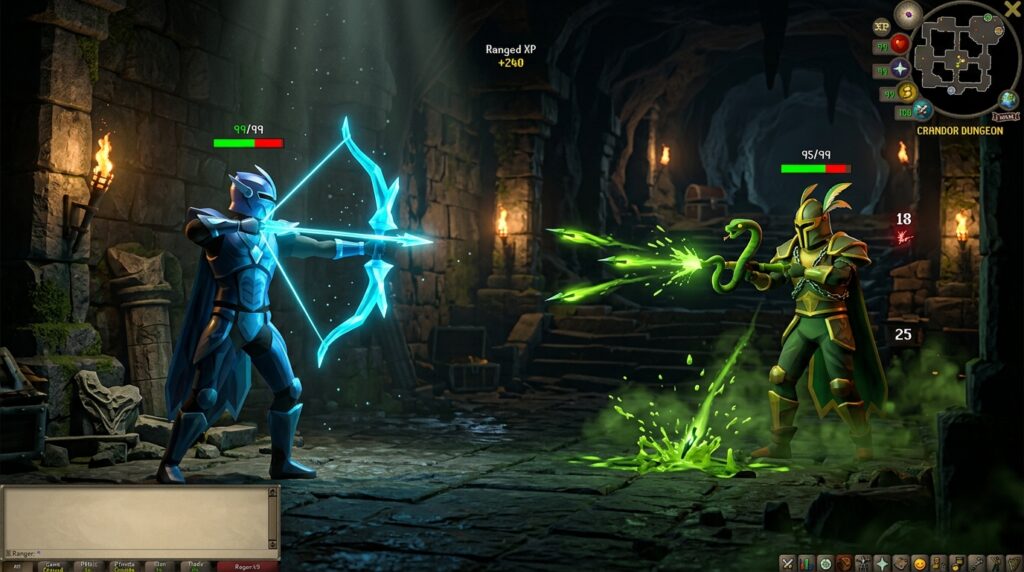
When you reach the mid-to-endgame in Old School RuneScape, picking the right ranged weapon can make or break your boss runs. Deciding between the Bowfa and the Blowpipe usually comes down to whether you need high accuracy against tough bosses or rapid-fire damage against weak targets. While the Bow of Faerdhinen pairs with crystal armor to hit hard from a long distance, the Toxic Blowpipe shoots at lightning speed and heals you during battle. Choosing between these iconic weapons changes how you take on bosses like Zulrah, General Graardor, or Tombs of Amascut.
If you are tired of splashing attacks on high-defense monsters, the Bowfa gives you incredible accuracy without needing a multi-hundred-million gold budget. On the other hand, the Blowpipe remains an absolute king for quick Slayer tasks and clearing low-defense targets in the Fight Caves. Knowing when to use each weapon saves you millions of gold on scales, darts, and armor charges over time. Understanding how their unique speeds and accuracy work lets you gear up smarter so you can land bigger hits and collect better loot.
Key Takeaways
- The Bow of Faerdhinen (Bowfa) paired with Crystal Armor excels against high-defense bosses through long-range accuracy, while the Toxic Blowpipe dominates low-defense targets with rapid 2-tick attack speed.
- While the Blowpipe requires ongoing expenses for scales and darts, corrupting a Bowfa requires a steep upfront investment that permanently eliminates all future ammo costs.
- The Bowfa’s 10-tile range enables safe long-distance boss kiting, whereas the Blowpipe offers unmatched survivability through its health-restoring special attack.
- Use the Blowpipe for early money-making and Slayer tasks, then prioritize saving for a Bowfa setup around the 100 million gold mark to bridge the gap toward endgame raids.
Bowfa Accuracy Versus Blowpipe Speed on Bosses
When you face off against tanky bosses with massive defense stats, accuracy becomes your absolute top priority. The Bow of Faerdhinen fires at a standard 4-tick attack speed, but when you pair it with a full set of Crystal Armor, its accuracy and damage skyrocket. This deadly combo lets you shred high-defense monsters like Commander Zilyana or General Graardor without watching your shots constantly splash for zero damage. You get long-range safety and reliable high hits, making it the premier choice for drawn-out boss encounters where landing every single arrow counts.
- Bowfa (4-tick): Dominates high-defense bosses with massive accuracy boosts from Crystal Armor.
- Blowpipe (2-tick): Destroys low-defense targets with rapid speed using Amethyst Darts.
On the flip side, the Toxic Blowpipe thrives on raw speed when your target lacks heavy armor. Attacking at a blistering 2-tick speed on rapid, it launches a stream of Amethyst Darts that melts low-defense targets before they even know what hit them. You will see its true power shine against boss minions, the vents at Abyssal Sire, or low-defense targets in raids like Tombs of Amascut. Plus, its special attack heals your hitpoints based on the damage you deal, giving you valuable extra health during tough fights.
Choosing between these two ranged weapons usually comes down to your current bank balance and the specific content you want to farm. Sticking with a Blowpipe costs significantly less upfront gold and covers your basic slayer and low-defense bossing needs with ease. However, investing your hard-earned coins into a Bowfa setup unlocks high-tier bossing where high accuracy is non-negotiable. If you want to tackle tough encounters smoothly without needing ultra-expensive mega-rares, saving up for the crystalline bow is well worth every single coin.
Upkeep Costs and Corrupting Your Bowfa
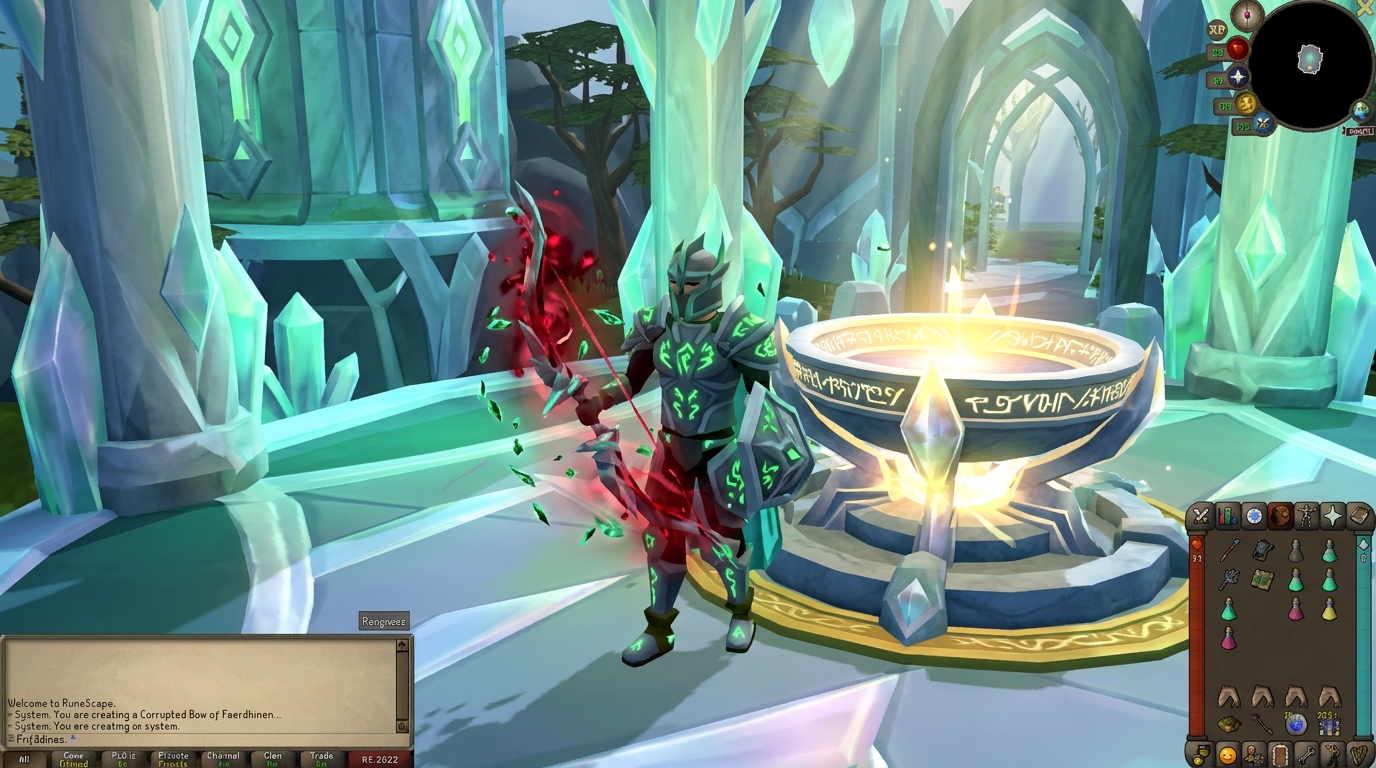
When you choose the Toxic Blowpipe, you are signing up for a constant stream of pay-as-you-go costs. Every single attack consumes a Zulrah scale along with a dart, which quickly adds up during long gaming sessions. If you use Amethyst darts, each shot costs a noticeable amount of gold, and upgrading to Dragon darts turns every attack into a major expense. Over hundreds of hours grinding bosses like Vorkath or tackling Tombs of Amascut, these small charges slowly eat away at your hard-earned loot profits. You also have to constantly keep an eye on your ammo counts so your bow does not run completely empty mid-fight.
On the flip side, the Bow of Faerdhinen takes the exact opposite approach by demanding a massive pile of gold right upfront. Acquiring the bow and the full Crystal armor set requires a huge financial commitment before you even fire your first arrow. To make matters sweeter, you can corrupt your Bowfa using 2,000 Crystal Shards to give it infinite charges permanently. While gathering those shards or converting extra weapon seeds takes a lot of time and effort, it completely removes any future ammo expenses. Once your bow is glowing red, you can shoot as many arrows as you want without ever spending another single coin.
- Toxic Blowpipe: Low starting buy price, but high long-term hourly running costs from scales and darts.
- Corrupted Bowfa: High initial purchase and corruption cost, but zero future costs for unlimited firing.
Deciding between these two options comes down to how much spending money you have in your bank account right now. If you are strapped for cash, buying a Blowpipe lets you dive straight into high-tier bossing without waiting months to save up. However, if you plan on farming endgame content for hundreds of hours, corrupting a Bowfa is easily one of the best quality-of-life investments you can make. You will never have to pause a raid night to go buy scales on the Grand Exchange ever again. Over time, the infinite ammo of a corrupted Bowfa pays for itself and gives you complete peace of mind.
Tile Range Advantage and Special Attack Healing
Setting up a safe distance from dangerous bosses can make or break your trips in Old School RuneScape. The Bow of Faerdhinen grants you a massive ten-tile attack range, allowing you to hit high-level targets long before they can reach you. This incredible reach makes kiting God Wars Dungeon bosses like Commander Zilyana or K’ril Tsutsaroth surprisingly simple, as you can continuously shoot while running around the edge of the room. You will spend far less gold on food and potions because you take significantly less damage while executing these room-running strategies. In contrast, the Toxic Blowpipe forces you into a short five-tile range, placing you dangerously close to heavy incoming attacks.
While the Bowfa gives you safety through distance, the Toxic Blowpipe offers unmatched survivability through its powerful special attack. The Blowpipe features the Toxic Siphon special attack, which restores your hitpoints by fifty percent of the damage you deal on that hit. When you run high-level raids like Tombs of Amascut, using this special attack on low-defense targets like Akkha’s shadows or Ba-Ba’s baboons can instantly heal you back to full strength. This self-healing ability lets you save precious inventory space by bringing fewer Saradomin brews into long encounters. Having a Blowpipe in your inventory acts as a reliable emergency tool whenever a sudden hit catches you off guard.
- Bowfa: Ideal for long-range boss kiting, preserving food, and maintaining high accuracy against heavy armor.
- Blowpipe: Ideal for rapid hitpoint restoration, clearing low-defense minions, and quick health management during raids.
Deciding between these two options often comes down to the specific content you plan to tackle first. You will definitely want the Bowfa for long-range encounters like the Phantom Muspah or the Alchemical Hydra where avoiding damage is your primary goal. On the other hand, bringing a Blowpipe as a secondary weapon is almost mandatory for clearing waves of minions in the Inferno or sustaining yourself through raid puzzle rooms. Combining both items eventually gives you the ultimate ranged setup for almost every fight in the game. Owning both allows you to switch between long-distance kiting and rapid healing whenever the situation demands it.
Pick Your Weapon Based on Defense and Budget
Deciding between the Bow of Faerdhinen and the Toxic Blowpipe ultimately comes down to target defense and your current budget. The Blowpipe fires at rapid speed and shreds low-defense monsters like lizardman shamans, while its special attack offers crucial healing during long Slayer tasks. In contrast, the Bowfa paired with crystal armor slices through high-defense boss armor, making it the clear winner for encounters like Commander Zilyana or Phantom Muspah. While the Blowpipe relies on constant upkeep with scales and darts, the Bowfa offers long-range precision and reliable damage. Both ranged options deserve a place in your arsenal, but their roles in your PvM journey are very different.
Your immediate path forward should depend heavily on your total bank value and personal combat goals. If you have under twenty million gold, stick with the Blowpipe using amethyst darts to efficiently farm bosses like Vorkath and Zulrah for profit. As your bank grows toward one hundred million gold, making the jump to a Bowfa and crystal set should become your top priority for raids like Tombs of Amascut. This massive upgrade bridges the gap before mega-rares like the Twisted Bow, completely changing how you tackle high-level content. Focusing on this progression route gives you a direct, rewarding roadmap for account growth.
Earning your gear through genuine gameplay guarantees that you build the actual skill required to handle endgame mechanics. Taking shortcuts to jump straight into high-tier PvM often leads to severe security issues and lost progress. If you are tempted to skip the grind to get raid-ready gear faster, learn why Paying For OSRS Raid Services Is A Massive Risk To Your Account to keep your profile safe. Discover how our resources can transform your approach to gear progression so you can conquer Gielinor with confidence.