
RS3 mining training gives you experience with every strike, and the 2019 Mining and Smithing rework changed how the whole skill feels. Experience now builds as you fill a progress bar, one swing at a time. The bigger change is that rocks no longer deplete once you have taken ore from them. Before 7 January 2019, players raced to claim a limited number of rocks. Now you can stay on the same rock as long as you like. That takes the old competition out of the picture and lets you focus on your pace instead of your position.
Your speed is where the numbers get interesting. Training rate estimates assume you hold the best pickaxe for your Mining level and use no experience boosts, so your real results will vary. At levels 60 to 70, orichalcite or drakolith come in around 74,202 XP per hour with rockertunities and 59,805 XP per hour semi-AFK. Climb to levels 80 to 90 with banite, and the figures jump to 104,520 and 84,240. Use those gaps to decide how much attention you want to give each session, and plan your route before you log in.
Key Takeaways
- On RS3, rocks no longer deplete after you take ore from them, so you can stay on the same rock for as long as you like since the 7 January 2019 Mining and Smithing rework.
- Rockertunities beats semi-AFK mining at every band listed, so at levels 60 to 70 you can expect about 74,202 XP per hour with orichalcite or drakolith compared with about 59,805 XP per hour semi-AFK.
- Your RS3 mining rate depends on holding the best pickaxe for your Mining level, because the guide’s XP-per-hour estimates assume you are using that top tool and no experience boosts.
- Energetic mining starts at Mining level 15, and your strikes drop to 20% power at zero stamina, so you should top up your stamina before it reaches zero during long sessions.
- Corrupted ore requires at least level 89 Mining and completed Plague’s End, while primal ores require level 100 Mining, so check your quest log and level before you head out.
How Does Mining Training Work in RS3 Now?
Mining in RS3 now follows a simple loop. You swing your pickaxe at a rock, you earn experience with each strike, and the rock stays there so you can keep mining. The Mining and Smithing rework, released on 7 January 2019, changed the skill in two major ways.
Experience now builds with each strike as you fill a progress bar. Every swing moves that bar closer to a full cycle, and the XP lands as the bar fills. You don’t have to wait for a specific ore before you earn anything, so each swing pushes you toward your next level.
The other big change is that rocks no longer deplete after you obtain ore. Before the rework, a rock could run dry, so players raced to claim the next one and fought over the same limited spots. Now you can stay on one rock as long as you like. That removes the old competition, so you can focus on your pace instead of racing other players for a spot.
Your pace still depends on stamina. At Mining level 15, energetic mining kicks in. The RuneScape Wiki’s pay-to-play guide says your strikes deal full power at full stamina, 90% power with stamina above zero, and 20% power at zero stamina. Keeping your stamina topped up is the easiest way to protect your rate, especially during long sessions on one rock.
The same guide gives baseline rate estimates for the early levels. For levels 1 to 10, copper or tin with rockertunities is estimated at 5,025 XP per hour, while the semi-AFK method comes in at about 4,050 XP per hour. For levels 10 to 20, iron is estimated at 13,845 XP per hour with rockertunities and 10,530 XP per hour semi-AFK. These figures assume you hold the best pickaxe for your level and use no experience boosts, so treat them as a guide to the gap between methods rather than a promise for your own session.
Which Pickaxe Should You Use at Each Level?
Use the best pickaxe your Mining level allows, because every XP rate in this guide assumes you are holding exactly that. Pickaxe tiers unlock as your level climbs, so the pick that carried you at one level can slow you down at the next.
Think of the pickaxe as the tool that sets how quickly each strike lands. A higher tier swings faster, which means more strikes every hour and more progress bar fills. An old pick still works, but it quietly drags your numbers below the estimates. The rates in this guide assume you have moved on to the newer tool.
- Bronze and iron for your first few levels
- Steel and mithril for the early middle levels
- Adamant and rune for the mid levels
- Dragon and other top tiers as you push higher
Upgrade as soon as your level allows it. If you levelled up during a session, don’t wait until you finish the rock you’re on. Make a note to swap at your next bank visit, and check your bank for the new pick before you log in again.
Before each session, check your pickaxe. Open your equipment and inventory, confirm that the pick is the highest tier you can use at your current Mining level, and make sure you haven’t left a lower tier in your bag. This takes seconds and stops you from training for an hour at a slower rate than you planned.
Remember what the baseline numbers leave out. The estimates exclude experience-boosting items and bonus experience. If you use boosts, your real rate can climb above the figure. If you don’t, expect your rate to land at or below it. Either way, the best pickaxe is the starting point, not the whole story.
Which Ores Give the Best Experience at Each Level?
Each ore has a level range, so the best ore for you is the highest tier you can mine at your current level. Copper and tin are where most players start. For levels 1 to 10, copper or tin comes in at about 5,025 XP per hour with rockertunities, or about 4,050 XP per hour semi-AFK.
Iron takes over from level 10. Between levels 10 and 20, it is estimated at 13,845 XP per hour with rockertunities and 10,530 XP per hour semi-AFK. That’s a big step up from the early ores, so don’t stay on copper or tin longer than you have to.
The middle levels work the same way. Each new tier of ore opens as your level climbs, and the rate you earn rises with it. Mine the highest tier you qualify for, and check the rock you’re on before you start each session.
Around levels 60 to 70, orichalcite or drakolith become the ores to mine. Their baseline rate is about 74,202 XP per hour with rockertunities and about 59,805 XP per hour semi-AFK. The gap between the two methods is still wide at this stage, so your choice of method matters more than it did at the start.
Banite is the ore to aim for in the 80s. In levels 80 to 90, it is estimated at 104,520 XP per hour with rockertunities and 84,240 XP per hour semi-AFK. Those are the highest baseline figures in this range, and they give you a clear reason to keep pushing your level.
Treat every figure here as a baseline, not a guarantee. The estimates assume you hold the best pickaxe for your level and use no experience-boosting items or bonus experience. Your own session will land higher or lower depending on your stamina, your pace and whether you use boosts.
AFK Mining Versus Active Clicking: What Should You Choose?
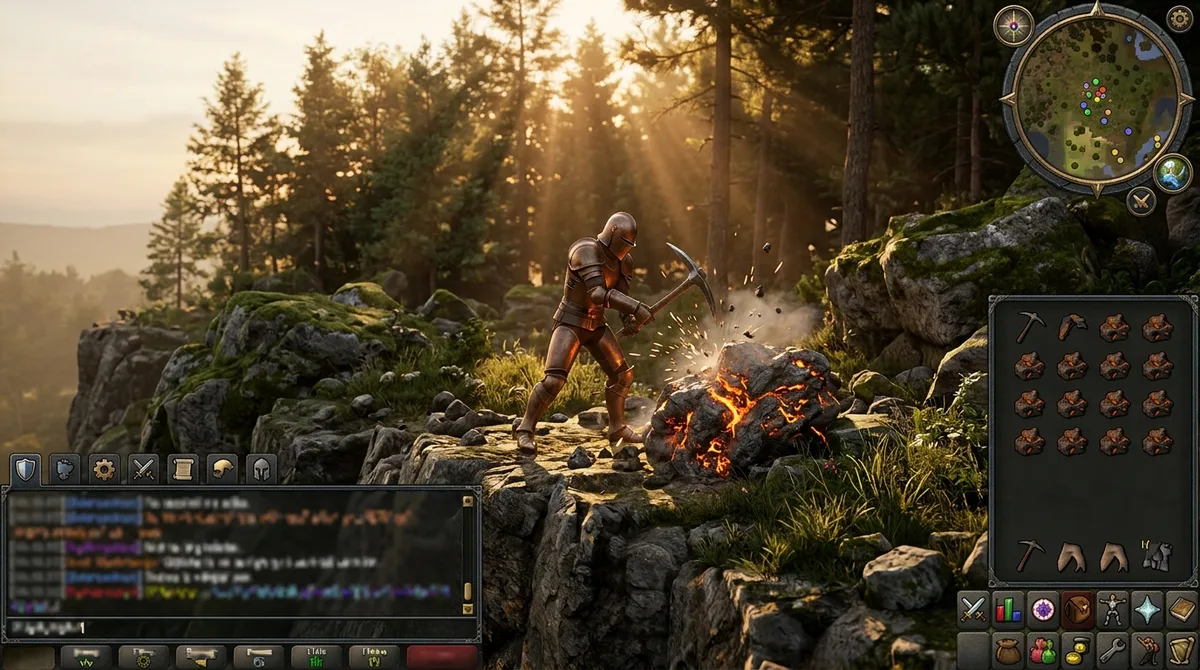
Choose rockertunities if you can click steadily and want the highest XP per hour. Choose semi-AFK mining if your attention is split and you want steady progress with less effort. Rockertunities come out ahead at every band the guide lists, so the choice comes down to how much focus you can give each session.
Semi-AFK mining is slower, but it asks much less of you. You set up your rock, keep an eye on your stamina and inventory, and let the game handle most of the swinging. It suits long evenings, busy days and sessions where you want to chat or watch something while you train.
The gap grows as you climb. At levels 60 to 70, orichalcite or drakolith gives about 74,202 XP per hour with rockertunities, compared with 59,805 XP per hour semi-AFK. At levels 80 to 90, banite widens that gap further, so rockertunities pull clearly ahead of semi-AFK mining.
4-ticking is a faster clicking technique. Instead of clicking whenever you feel like it, you click on a steady rhythm tied to the game’s ticks, so more strikes land each minute. It takes real focus, because one missed beat breaks the rhythm and costs you strikes. Start slowly, and only push the pace once the clicks feel automatic.
Energetic mining starts to matter at Mining level 15. Your strikes deal full damage at full stamina, 90% damage while stamina is above zero, and only 20% damage at zero stamina. That drop is why stamina management matters so much on a long session. Check your stamina before each big push, and top it up before it reaches zero, so your rate stays close to the estimate.
If you’re unsure which style to pick, try rockertunities for one session and semi-AFK for the next. Compare how many levels you gained in each, and how tired you felt afterwards. Whichever you pick, you can stay on the same rock as long as you like, since rocks no longer deplete after you obtain ore.
Powermining, Banking and Superheating Your Way Up
Powermining at Kandarin Monastery gives you a stable place to train. You stand in one spot, swing at the rocks around you, and focus on your pace instead of chasing new locations. Because rocks stay put after you take ore, you can keep mining without moving on.
The real trick is what you do with the ore. Rather than stopping to sell it, you can keep it in the metal bank, which can store up to two billion of each core ore and bar, so a long grind won’t run you out of space.
You can also access the metal bank while you smith. That means the ore you mined is ready when you need it, and you don’t have to leave your Smithing session to fetch it. Superheating links the two skills directly. Cast Superheat Item on the ore you’ve mined, and it turns into a bar, which trains Smithing as you go. Each cast uses fire runes and nature runes, so stock up on those before you start.
Banking your ores keeps the loop moving. You mine, deposit, grab what you need, and head straight back to your rock. Over a full session, those short trips add up to far less waiting than selling would.
Check the bank before each session. Make sure you have enough fire runes and nature runes for superheating, your best pickaxe for your current Mining level, and a free bank space for the bars you plan to make. A missing rune stack can stop your loop halfway through, so a quick look at the bank before you log in saves a lot of frustration.
Late-Game Mining: Corrupted and Primal Ores
The first is corrupted ore. You need at least level 89 Mining and must have completed Plague’s End before you can mine it at Seren stones. The same guide estimates corrupted ore at about 146,400 XP per hour. Boosted players at level 110 can reach 270,000 XP per hour or more, but that figure depends heavily on the boosts you bring.
Primal ores are the second option. From level 100 Mining, the same guide lists them at 143,420 XP per hour with rockertunities and 109,080 XP per hour semi-AFK. The gap between the two methods is still wide, so your choice between clicking and semi-AFK mining will shape your results here too.
The 12 August 2024 Mining and Smithing update changed the top end of both skills. It raised the level cap for Mining and Smithing from 99 to 110. It also made ten primal ores mineable on the surface around Daemonheim, as long as you have level 100 Mining. That means the high-tier ores are no longer limited to one area of the map.
- Level 89 Mining and Plague’s End for corrupted ore at Seren stones
- Level 100 Mining for primal ores from the surface mines around Daemonheim
- Level 110 as the new cap for both Mining and Smithing
Before you commit to either ore, check your quest log and your Mining level. A missing quest step can block corrupted ore even if your level is high enough. Pack your best pickaxe too, since the rates in the guide assume you’re using the top tool for your level.
Expect the pace to slow down if you use semi-AFK mining, and expect your stamina to matter more on long sessions. Keep a few food items and energy restores nearby so you can keep your strikes at full power while you grind.
Free-to-Play Options: Mining Guild and Crashed Stars
The Mining Guild is free-to-play, so you can train there without paying for membership. You do need level 60 Mining to enter, so it’s a route for players who have already worked through the early and middle ores. Check your level before you walk over, since the guild’s entry requirement is the only thing standing between you and the training floor.
Crashed stars give you a different kind of session. Mining a size-5 crashed star down to its core takes 25 minutes and grants about 36,700 XP. Over an hour, that adds up to roughly 88,000 XP per hour, which is a strong rate for a free-to-play method. Because the job is one long block of strikes on the same star, you can settle in and keep your stamina topped up without worrying about moving between rocks.
This free-to-play route suits Ironman players well. Ironman accounts can’t buy gold or trade for ores from other players, so every bar and every XP point has to come from your own mining. Budget players benefit too, since you don’t need to buy a membership or spend money on boosts to reach a solid rate. Bring your best pickaxe for your level, and you’re set.
If you want a change from rocks and stars, gem rocks and geodes are worth a look. Gem rocks give you uncut gems, which can be a welcome break from ore-only training. Geodes add another option when you want to vary your session. Check each one’s level requirement before you start, and keep an eye on your stamina during longer runs so your pace stays steady.
How Do You Plan Your Route With a Mining Calculator?
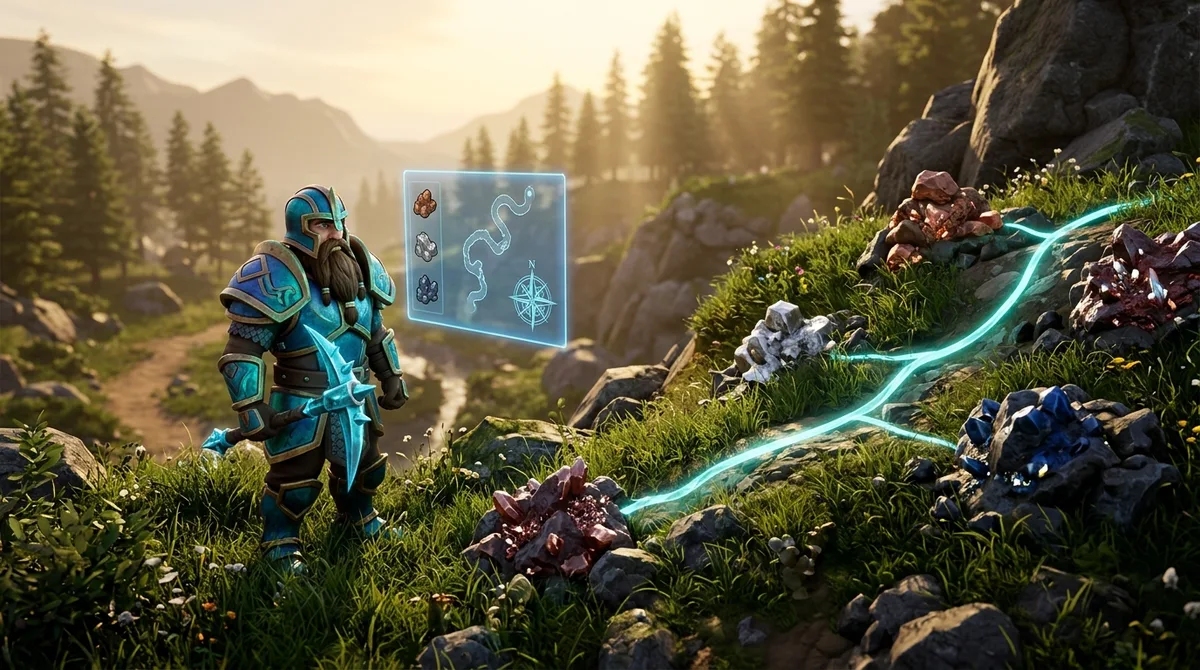
You plan your route by entering your current Mining level, your target level, the ore you want to mine and your AFK style, then comparing the XP per hour each option gives you. A calculator gives you a starting estimate, so run the numbers for every route you’re considering before you log in.
Calculators show baseline rates that assume the best pickaxe for your level and no experience boosts or bonus experience. Any boost you carry, such as an experience-boosting item or a perk, needs to be added to that figure by hand. Leaving it out will make your route look slower than it really is.
World hopping can help if you’re mining for gold. A busy world may leave you with no free rock of the ore you want, so hopping to a quieter world can get you a spot faster. The trade-off is time, because every hop means walking to a new location and finding a rock. For a short session, that lost time can cancel out the gain.
When you’re training, compare routes by XP per hour. A route with a higher number will move your level faster, so it suits players who want to hit a target quickly. When you’re making gold, compare routes by value per hour instead. Work out how much your ore or bars sell for each hour, then subtract what you spend on supplies, such as the fire runes and nature runes you use for superheating.
Here’s how to run the comparison:
- Enter your current Mining level and your target level.
- Select the ore band that matches those levels.
- Choose rockertunities or semi-AFK mining as your AFK style.
- Write down the XP per hour the calculator gives you.
- Add any boosts or perks you carry to that figure separately.
- Repeat the steps for a second route, then compare the two results.
Keep your goal in front of you while you compare. If you’re aiming to level up, the route with the higher XP per hour usually wins. A slower route you can sustain may still suit a long session better, though.
Choosing Your Mining Route Before You Log In
Start by writing down three things: your current Mining level, the level you want next, and whether you can click steadily for a full session. Those answers point you to one row of the rates above, so you don’t have to guess which route fits.
If you’re below level 60, pick the ore that matches your level and try rockertunities for one hour. Note how many levels you gain. Then run the same length of semi-AFK mining on another day, and compare the two results before you choose your method for longer sessions.
If you have level 60 Mining or higher and play free-to-play, the Mining Guild is a route worth checking. Bring your best pickaxe, and make sure your level meets the entry requirement before you walk over.
If your goal is corrupted ore, confirm two things first: you have at least level 89 Mining, and you have completed Plague’s End. Then open your quest log before you head to the Seren stones, so a missing step doesn’t waste your trip.
Finally, open a calculator or a simple spreadsheet and enter your chosen route. Add any boosts you carry as a separate line, and save the number. After your next session, compare your real XP gain with that estimate to see how close your plan came.