
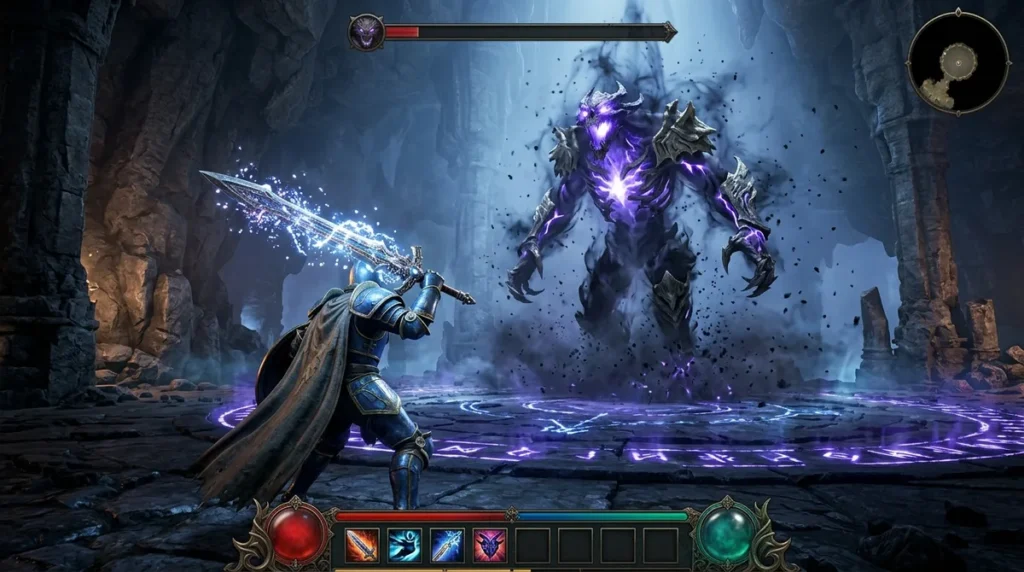
RS3 Raksha Guide: Raksha is a four-phase boss in the Orthen Oubliette, and this walks you through how each phase plays out before your first attempt. Jagex released Raksha on December 7, 2020, and set its difficulty between Araxxor and Telos. Each of the four phases gives the boss 200,000 hitpoints in solo mode or 400,000 in duo mode, which sets each phase’s length.
Raksha uses a special attack after every four normal attacks in phases one to three, then after every two in phase four, so learning that rhythm is your first job. You will also flick prayers against all three combat styles. Check the current requirement list on the wiki before you travel.
Key Takeaways
- Membership is mandatory, so free-to-play accounts must upgrade before entering the Orthen Oubliette.
- Solo players should test their damage on a few practice pulls, since nobody else can cover a mistake after a stun.
- Raksha’s damage rises 10% for each anima he absorbs, so clearing pools early in phase three keeps him weaker.
- Laceration boots no longer drop from Raksha, so hunt dinosaur Slayer creatures on Anachronia instead.
Where Do You Find Raksha and What Do You Need First?
Raksha, the Shadow Colossus, lives in the Orthen Oubliette, and you need two things before you can start a fight: a members account and a completed Raksha miniquest. Sort both out before you spend time or gold on gear.
Membership is required to access the boss at all. If you play free to play, you will need to upgrade before you can enter the Oubliette and reach Raksha.
The miniquest is the second gate. The Raksha miniquest must be completed on your account before you can fight him, so finish it before you plan your first trip.
Combat and quest requirements can change over time, so don’t rely on numbers from an old forum post or a video from years ago. Open the RuneScape Wiki’s Raksha page and check the current quest and combat requirements before you travel. Write the list down and tick off each item on your account.
Once your account meets every item on that list, you are ready to head to the Oubliette and start learning the boss.
Should You Fight Raksha Solo or With a Duo?
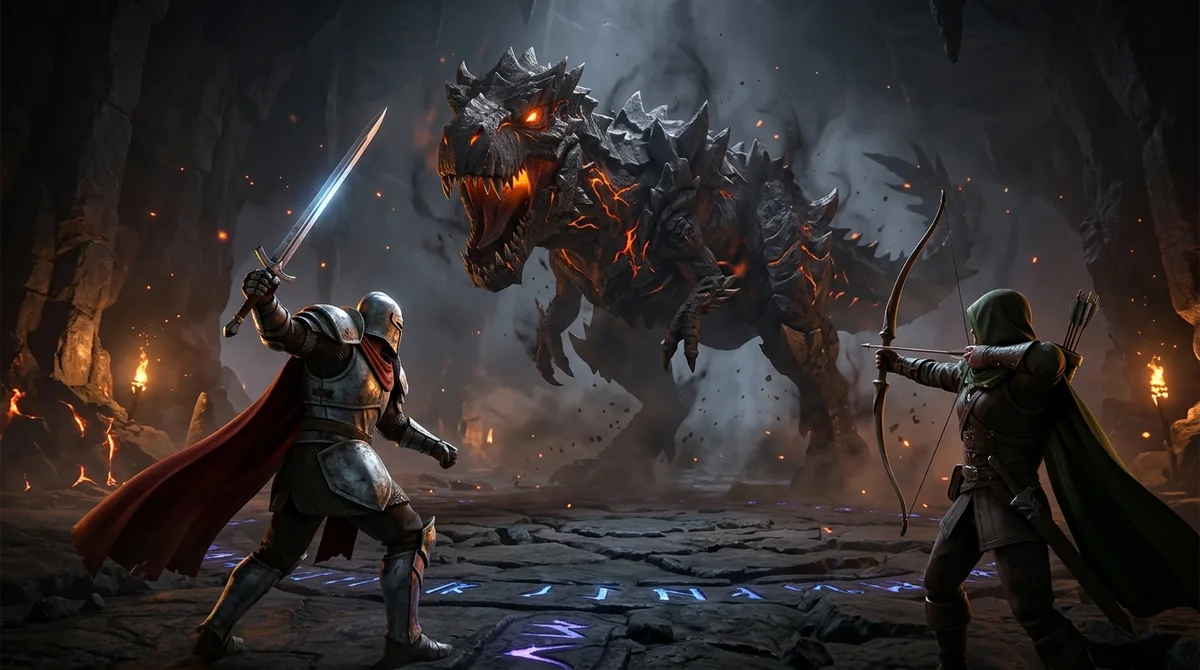
Choose solo if you can keep a steady damage output on your own, and choose duo if you would rather share the workload with a partner. Either way, the mode sets how much health each phase has. Jagex released Raksha as a solo-and-duo boss on December 7, 2020, and placed its difficulty between Araxxor and Telos, so expect a real step up from many bosses you may already know.
In solo mode, each of the four phases has 200,000 hitpoints. In duo mode, each phase has 400,000, so you and your partner have twice as much damage to deal before the phase changes. That stretches every phase and changes the pace of the whole fight.
Your damage output matters more in duo mode. A longer phase means more time under pressure, so keep your attacks flowing between special attacks and don’t let gaps build up. Keep your food and prayer potions topped up before each phase, because you will need them for the full stretch.
Solo has fewer hitpoints to chew through, but you have no one to cover a mistake. If you get stunned by a charge or caught by a shadow bomb, nobody else is there to take the pressure while you recover. Try your solo damage on a few practice pulls before you commit to the full fight.
What Gear, Stats and Prayers Should You Bring?
Bring overloads, tier-80 or higher armour, augmented gear, and a quick way to clear shadow-anima pools, and plan your defence around Raksha’s weaknesses. Overloads need Herblore level 96 or higher, so train that before you travel if you want them. Tier-80 or higher armour is the common target, so check that your weapon and armour meet it. Augmented equipment with advanced perks is worth the effort once you reach level 120 Invention.
Prayer flicking matters more than almost anything else here. Raksha can attack with all three combat styles, so you will need to switch your protection prayers as each attack comes in. Practise that switch on its own before you add the boss’s other mechanics.
Shadow-infused damage also changed. On December 14, 2020, Jagex changed Raksha’s power scaling from 0.5% to 1% per shadow energy. Now 100% energy increases damage by 100% instead of 50%, but the maximum damage stays the same. Keep that in mind when you decide how much energy to let build up.
Choose your attack style and defensive stats with all three of Raksha’s combat styles in mind, so your defence covers each one he uses against you.
Clearing anima pools quickly is the last piece of your kit. Each shadow-anima pool has 1,000 hitpoints, and Raksha absorbs them in phase three. Pack these items so you can clear them fast:
- A lance for quick damage to each pool
- Laceration boots, if you already own a pair
- Bladed Dive, the ability that helps clear pools quickly
How Do Phases One and Two Play Out?
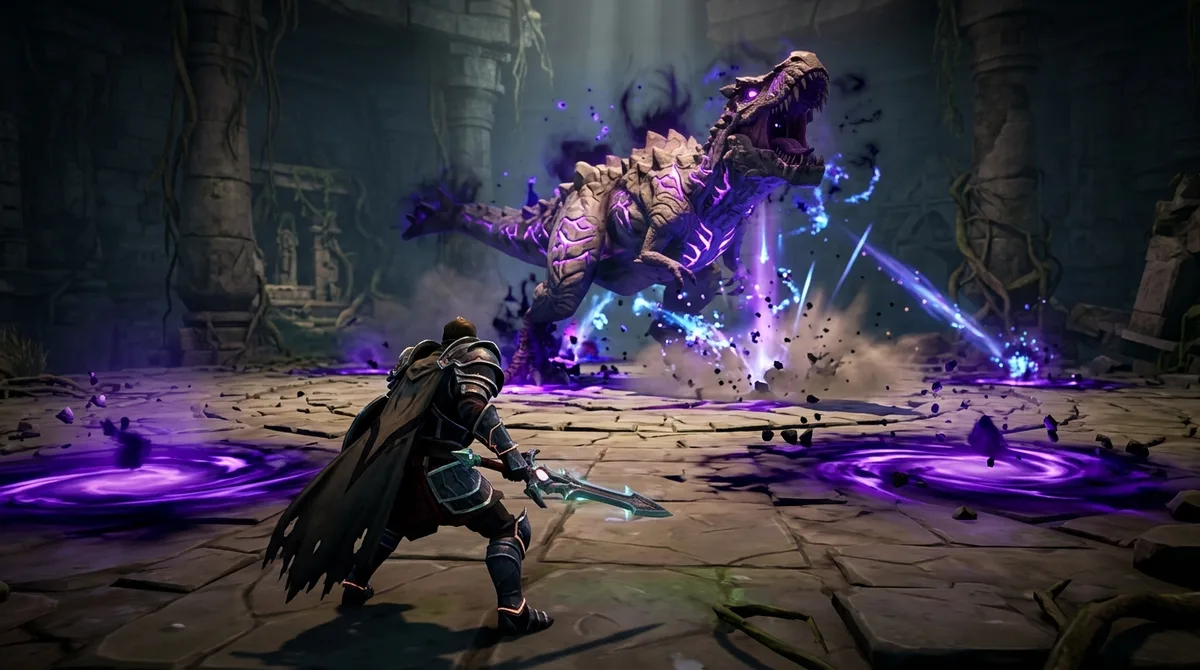
Phases one and two follow one main rhythm: Raksha uses a special attack after every fourth normal attack, so start counting from your first hit. Keep the count in your head and plan your movement around the attack that comes next, not the one that just finished. Each phase change between phases one and three brings a rockfall. Raksha drops 5×5 areas of rocks, and each rock deals heavy typeless damage. Look for the marked landing spots on the floor as the phase ends and step out of them before the rocks fall. Choose your exit route early so you don’t get pushed into a corner. Your distance from the boss decides which attack you face. Stay in melee range and Raksha uses its tail swipe. Move farther away and it charges at you instead. Both attacks deal heavy typeless damage and stun you, so the stun is often the bigger danger. Stay aware of how far you are standing from the boss before each attack lands. Shadow bombs are the trickiest of the phase one and two attacks. A bomb stuns you before it hits, and the impact leaves a poison cloud covering a 3×3 radius. You won’t have time to react once you’re stunned, so spot the bomb while you can still move. Keep one eye on Raksha and one on the floor. Before you step anywhere, check for incoming bombs, rock markings and any poison cloud on the ground. Moving into a stun is what costs you the most time, so pause, check the ground, then move. Stay in open space where you have room to step out of trouble.
Phase Three: Clearing Anima Pools and Minions
Phase three is where Raksha starts absorbing shadow-anima pools. Each pool has 1,000 hitpoints, so you can clear it quickly if you bring the right kit. The recommended tools are a lance for fast damage, Laceration boots if you already own a pair, and Bladed Dive to speed up the clear. Don’t plan on getting Laceration boots from the boss, though. A July 2025 update removed them from Raksha’s drop table, and they now come only from dinosaur Slayer creatures on Anachronia.
Mind Poison is your warning that the minion is coming. While it’s active, Raksha summons a melee minion with 10,000 hitpoints. Keep your melee protection prayer ready, because the minion attacks in melee range.
Use this routine each time phase three starts:
1. Hit the nearest shadow-anima pool with your lance as soon as it appears. 2. Watch the minion and the ground around you for orbs. 3. Click each orb to expel it. Two to five orbs can spawn, and each one deals damage if it sits there. 4. Go back to the pools and keep the cycle going until the minion is gone.
Clearing pools and handling the minion early keeps the pressure low. The anima Raksha absorbs in this phase matters later, because the health of the Erebus Charge dome in phase four scales with how much anima it has collected.
Phase Four: Dome, Healing and Inner Power
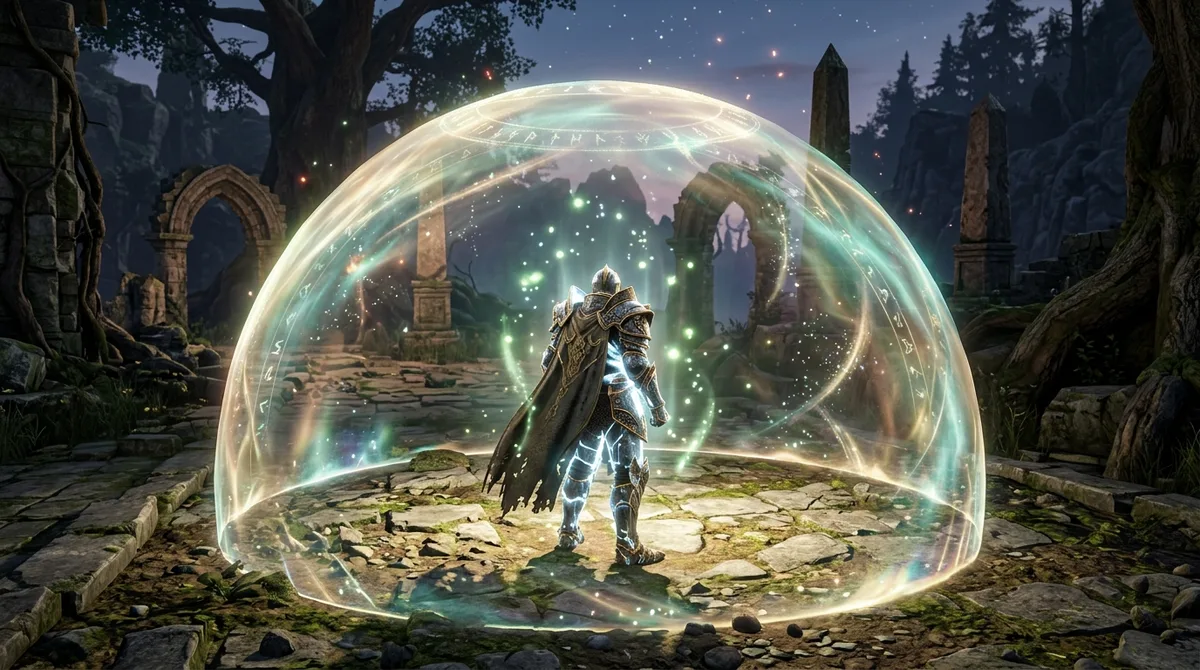
Phase four is where Raksha fights hardest, and he can heal up to 400,000 hitpoints during it. A long damage race can be wiped out by one big heal, so keep your hits steady and don’t let him recover ground you have already won.
The Erebus Charge dome is the next thing to plan for. Its health scales with the anima Raksha absorbed in phase three, so every pool you clear early leaves him with less anima to turn into a stronger dome. Treat phase three as your chance to shrink the dome before it appears.
Inner Power works the other way. Raksha’s damage goes up by 10% for each anima he has collected, so a fight where he has absorbed a lot of anima hits much harder. Keep track of how much anima he has built up, and push to break the dome before his damage climbs too high.
Phase four also moves faster. Raksha now uses a special attack after every two normal attacks instead of every four, so you have half as many normal attacks to count between specials. Keep your protection prayers flicking on that shorter cycle, and step out of the way of each special as soon as you see it coming.
What Drops, Rewards and Gear Costs Should You Expect?
Raksha no longer drops Laceration or Blast Diffusion boots, so don’t plan a run around getting them from the boss. The July 2025 update removed both from the drop table and made them exclusive to dinosaur Slayer creatures on Anachronia. If you want those boots, you’ll have to hunt those creatures instead.
Your bigger spending question is gear. Overloads, armour and a weapon that meets the tier-80 target will shape how smoothly your fight goes, so budget for them before you think about rewards. Decide which upgrades matter most for your account, and buy those first.
For a rough picture of costs, RuneSquire’s Raksha page, updated November 19, 2026, estimates a displayed gear setup at about 1.89 billion GP. That setup uses a tier-90 weapon and tier-80 armour. The same snapshot lists the Greater Ricochet ability codex at around 314.8 million GP.
Treat these numbers as a dated price snapshot, not a fixed entry cost. Gold prices move with player demand, game updates and new items, so the totals may be higher or lower by the time you read this. Check live prices in the Grand Exchange before you spend anything. Then work out how many hours of your usual money-making it would take to cover the setup, and decide whether that time is worth it to you.
Your Next Step Before the First Kill
Start with a short practice plan before you touch the boss. Learn the attack rhythm first, since it shapes every other move you make. In phases one to three, count four normal attacks before each special, then switch to counting two once phase four begins. Set a timer or count out loud during a few training pulls until the switch feels automatic.
Then choose your mode based on your habits. If you lose focus after a stun, a duo partner who can cover your mistakes may suit you better. If you can keep your damage steady and your prayers flicking on your own, solo mode gives you fewer hitpoints to chew through. Either way, agree on who clears the phase three pools before you log in.
Finally, write your gear list before you spend a single coin. Put overloads, tier-80 armour, a lance and your anima-clearing kit on it. Check Grand Exchange prices, then compare the total with what your usual money-making method earns per hour. When the list is complete and your account meets every requirement, walk into the Orthen Oubliette and start your first attempt.