Unlockable passives from the Monolith can completely change how you play, giving you an edge in everything from high-level bossing to relaxing skilling sessions. Finding the perfect rs3 archaeology relic combinations is essential because you only have 650 energy to work with, meaning every point counts toward your total power. Whether you want to boost your adrenaline with Heightened Senses or save food with Persistent Rage, your setup determines your efficiency.
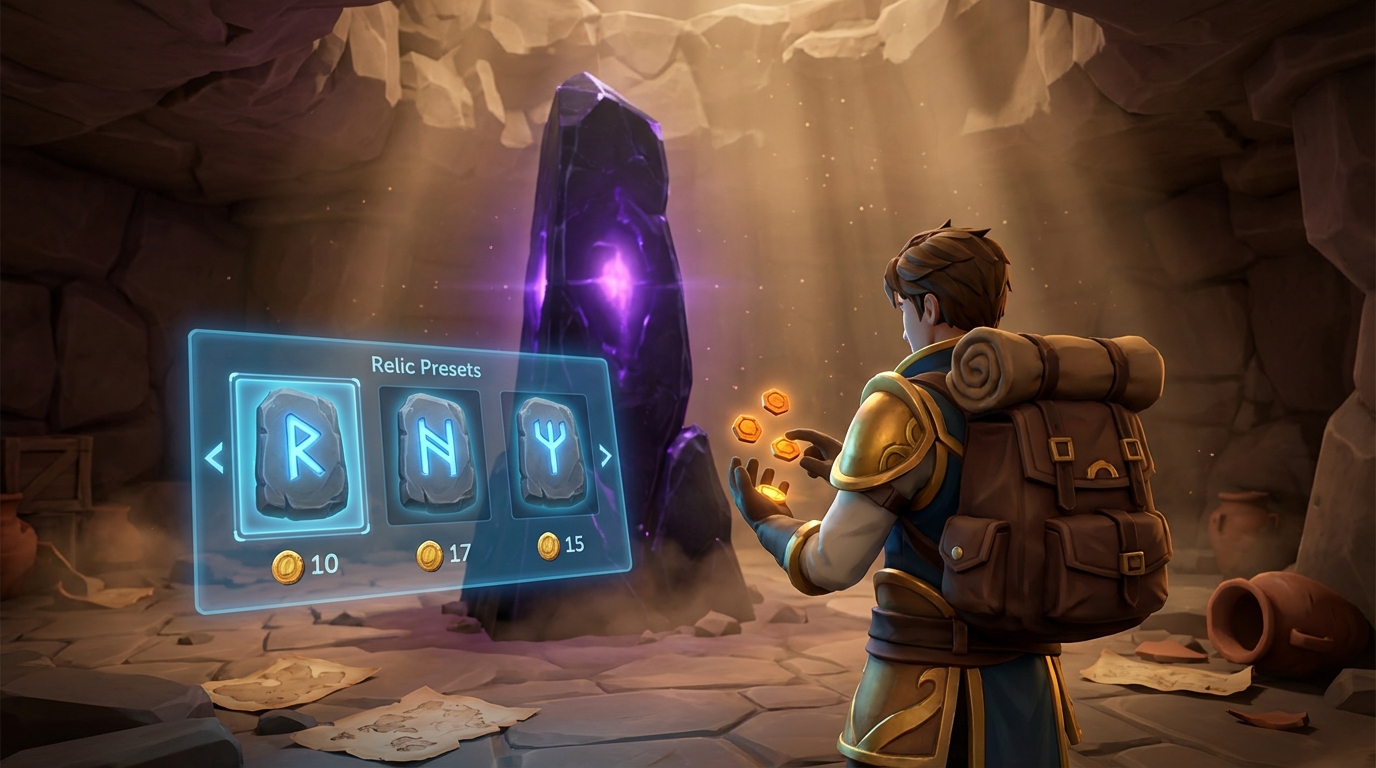
The recent addition of relic presets means you no longer have to manually swap powers every time you switch from slaying Telos to training your Woodcutting. You can now save specific loadouts for different activities, though you will still need to keep an eye on your Chronote balance when making the switch. Balancing your energy costs while maximizing your three active slots is the secret to getting the most out of your hard-earned level 120 Archaeology.
Key Takeaways
- The 650 Monolith energy cap at level 120 Archaeology requires careful balancing of high-impact powers like Conservation of Energy and Berserker’s Fury to maximize combat efficiency.
- Utilizing the relic preset system significantly streamlines the transition between PvM, Slayer, and skilling activities, though players must still account for Chronote costs during swaps.
- Top-tier PvM rotations rely on the synergy between Conservation of Energy and Heightened Senses to maintain adrenaline and execute powerful threshold abilities more frequently.
- Skilling efficiency is best achieved by combining the Flow State relic for increased precision with Inspiring Presence to maximize the utility of gathering familiars.
Top Tier Combat Relic Combinations For PvM
Choosing the right combination of relics is the best way to turn your character into a boss-slaying machine in RuneScape 3. For the ultimate high-end setup, you should prioritize Conservation of Energy because it saves 10% of your adrenaline after using an ultimate ability. This means you can get back into your rotation much faster, allowing for more frequent use of powerful thresholds like Wild Magic or Snapshot. When you pair this with Berserker’s Fury, your damage increases as your health drops, rewarding you for staying in the heat of the fight. This synergy ensures you are always hitting as hard as possible while maintaining the resources needed for your strongest attacks.
Heightened Senses is the final piece of this powerful puzzle, raising your maximum adrenaline cap from 100% to 110%. Having that extra buffer is helpful because it prevents you from wasting adrenaline gains while you wait for your ultimate abilities to come off cooldown. This specific trio of relics fits perfectly within the 650 Monolith Energy limit you reach at level 120 Archaeology. Since changing these powers costs a significant amount of Chronotes, using the new Relic Presets feature is a smart way to swap between this PvM loadout and your skilling needs. You will notice a massive difference in your kill times at bosses like Raksha or Telos once you have these passives working together.
Efficient Slayer And Area Of Effect Combinations

Mastering your Slayer tasks in RuneScape 3 becomes much easier when you pair the right Archaeology relics to handle both loot and experience. The Death Note relic is a major advantage because it automatically notes all bone and ash drops, saving you tons of inventory space and bank trips. When you combine this with the Inspire Effort relic, you gain a constant 2% boost to all Slayer experience earned during your task. This setup ensures that your trips last significantly longer while you consistently climb toward your next level. It is the perfect balance for players who want to make a steady profit without sacrificing their training speed.
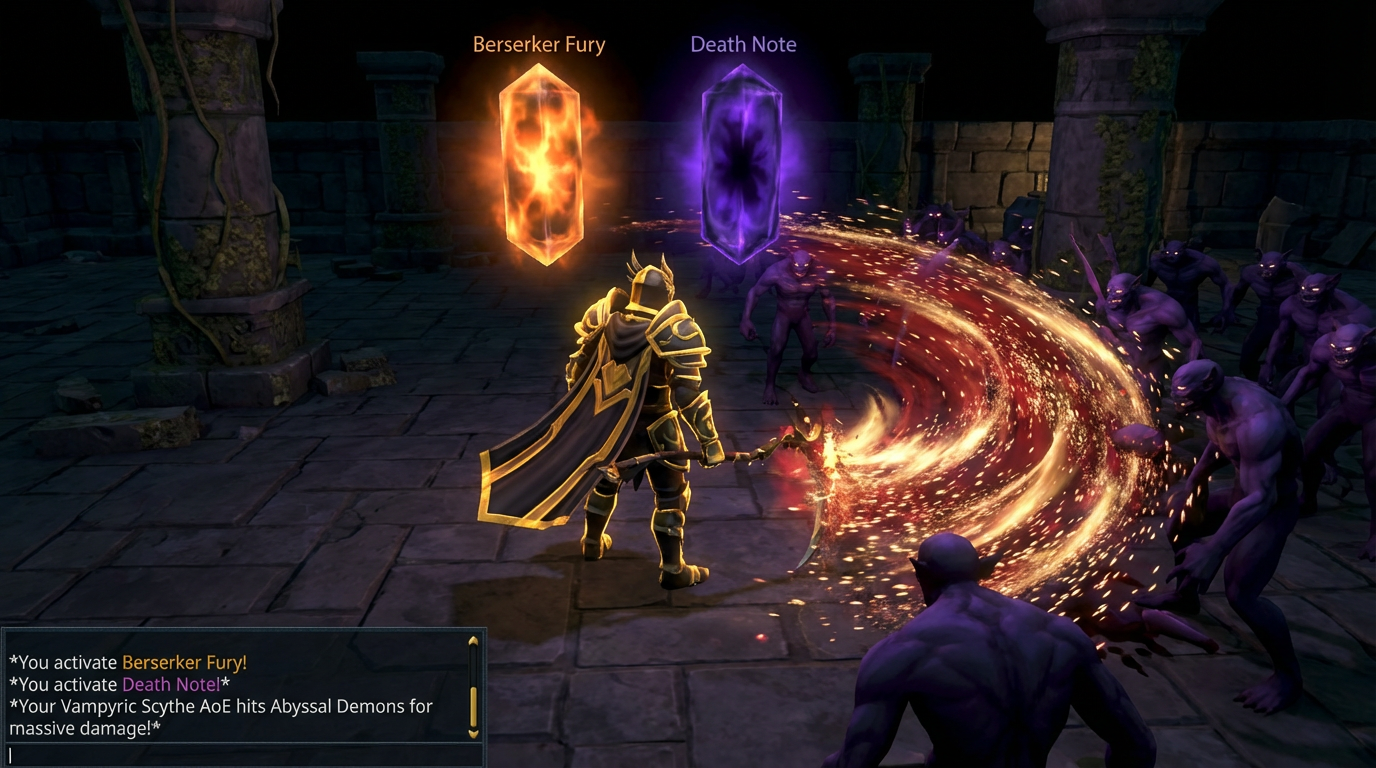
Maximizing your area of effect damage is the next step to speeding up those crowded Slayer dungeons. You should consider using the Berserker Fury relic, which increases your damage output as your health gets lower, making those aggressive multi combat encounters much faster. If you find yourself taking too much damage while pulling large groups, the Font of Life relic provides an extra 500 life points to keep you safe. Using these powers together allows you to clear mobs of Abyssal Demons or Dark Beasts with much less effort. You will notice a massive difference in how quickly your task counter goes down when your relics are working in harmony.
Since you now have access to relic presets, you can easily swap between these high efficiency setups without manually picking each power every time. Managing your 650 Monolith Energy is simple when you focus on these specific combinations that prioritize utility and combat strength. Keep in mind that while switching presets costs some Chronotes, the time you save by noting drops and boosting your damage more than makes up for the price. This approach turns Slayer from a slow grind into a fast paced and highly profitable activity. Experimenting with these combinations will help you find the perfect rhythm for your daily reaper tasks and general training.
Ultimate Skilling Combinations For Maximum Experience
Maximizing your skilling efficiency in RuneScape 3 often comes down to how well you manage your Monolith Energy. If you want the ultimate low-effort training experience, you should pair the Flow State relic with Inspiring Presence. Flow State is effective because it increases your precision by 20% while gathering materials, which means you get items and experience much faster. The trade-off is that you no longer gain soil, but for most players, the boost in raw experience is well worth the loss of extra materials. This combination allows you to stay focused on your training nodes for longer periods without worrying about inventory management.
Adding Inspiring Presence to your setup takes your AFK potential to the next level by boosting your Familiar’s special move energy regeneration. When you are using skilling familiars like the Beaver for Woodcutting or the Lava Titan for Mining, this relic ensures their helpful abilities are available more often. You will find that your gathering rates stay consistently high without you needing to constantly click or use scrolls manually. This pair is perfect for anyone trying to reach level 99 or 120 in gathering skills while watching a movie or working on another task. Since switching relics costs Chronotes, using the new Relic Presets feature allows you to save this specific skilling loadout for whenever you are ready to grind.
Managing Relic Presets And Chronote Costs

Maximizing your Monolith energy is much easier now that you can save specific setups for your favorite activities. Instead of manually swapping individual powers and burning through your Chronotes, you should use the Relic Loadouts system to switch between a dedicated combat set and a skilling set. For example, a heavy-hitting combat loadout might feature Berserker’s Fury and Font of Life to help you survive tough boss encounters. When you are ready to train, you can swap to a skilling preset that includes Inspire Love or the Always Adorned relic for extra experience and efficiency. Since switching loadouts costs 80 percent of the total activation price, planning your swaps around long sessions will save you a fortune in the long run.
You should always be mindful of your 650 energy cap when designing these combinations to avoid wasting precious slots. A great slayer setup often combines the Genocidal relic with Death Ward to give you both a damage boost and extra protection during tasks. If you prefer gathering materials, you can create a loadout with the Flow State relic to increase your success rate while training Archaeology itself. By grouping these specific buffs into your two free presets, you won’t have to check a beginner bossing order every time you want to go from the God Wars Dungeon to a fishing spot. Keeping your most-used relics saved ensures you are always getting the most value out of your hard-earned Chronotes.
Maximizing Your 650 Monolith Energy Combinations
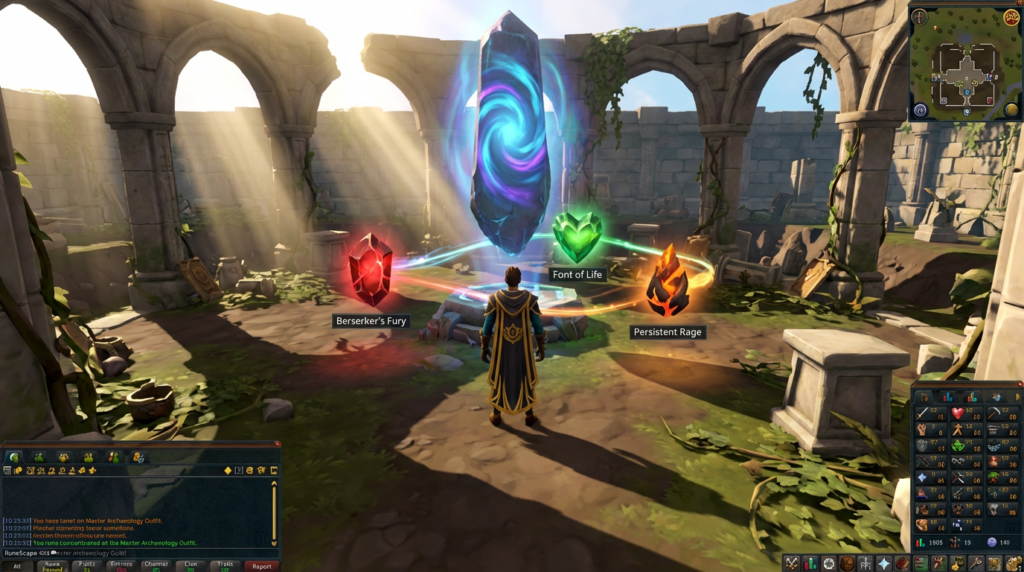
Choosing the right combination of Archaeology relics is one of the most impactful ways to permanently upgrade your RuneScape character without needing to equip specific gear. Since you only have 650 Monolith Energy to work with, every choice you make needs to count toward your specific goals. For example, a dedicated bossing setup might include Berserker’s Fury and Font of Life to help you survive high-level encounters while dealing maximum damage. By taking the time to plan your loadouts, you ensure that your Chronote investment translates directly into faster kill times or more efficient skilling sessions.
The introduction of relic presets has made it much easier to switch between different activities like Slayer or gathering resources. You can now save a dedicated skilling loadout featuring powers like Inspire Love or Always Adze and swap to it whenever you need a break from combat. This flexibility allows you to maximize your gains across the entire game without the constant headache of re-selecting individual powers every single hour. Managing these presets effectively means you spend less time at the Monolith and more time actually playing the game with your favorite buffs active.
Ultimately, your relic choices define how your character interacts with the world of Gielinor on a fundamental level. Whether you are using the Persistence relic to keep your adrenaline high between fights or relying on Divine Conversion for faster Divination training, these passives are essential for modern gameplay. Staying updated on the best combinations for your level ensures that you are never leaving potential experience or gold on the table. Investing in your Monolith setup is a long-term strategy that pays off every single time you log in to complete a task, much like how you would use an rs3 gold optimization tool to ensure your farm runs are as profitable as possible.
Frequently Asked Questions
1. How many relics can you have active at the same time in RS3?
You can have up to three relic powers active at once as long as you do not exceed your total Monolith energy cap. At level 120 Archaeology, you have 650 energy to work with, so you must choose a mix of powers that fit within that limit.
2. Do you have to pay Chronotes every time you change your relic setup?
Yes, changing your active relics always requires a specific amount of Chronotes, even when using the new relic presets. While presets make the process much faster, you should still plan your combinations carefully to avoid wasting your hard earned currency.
3. Why is Conservation of Energy considered a top tier relic for bossing?
This relic is a must have because it saves 10% of your adrenaline every time you use an ultimate ability like Sunshine or Death’s Swiftness. This allows you to jump straight into powerful threshold attacks without having to build your adrenaline back up from zero.
4. What is the benefit of using the Heightened Senses relic?
Heightened Senses increases your maximum adrenaline cap to 110% instead of the standard 100% or 110%. This extra room prevents you from wasting adrenaline gains while you are waiting for your big abilities to come off cooldown during a fight.
5. Can I use the same relic setup for both combat and skilling?
While you can, it is much better to use the preset system to create separate loadouts for different activities. A combat setup with Berserker’s Fury is great for slaying bosses, but you will want different powers for relaxing activities like Woodcutting or Fishing.
6. How does the Berserker’s Fury relic help you deal more damage?
This relic boosts your damage output as your current health gets lower, which is perfect for experienced players who can manage their life points. It rewards you for staying in the fight and helps you clear phases faster at bosses like Telos.
7. What happens if I don’t have enough Monolith energy for a combination?
If your chosen relics exceed the 650 energy limit, the Monolith will not allow you to activate them together. You will need to swap out a high energy cost relic for a cheaper one to make the combination work.

