Mastering your rs3 necromancy ability bar is the secret to unlocking massive damage without constantly stressing over your keyboard. Unlike other combat styles, Necromancy is all about managing your resources, specifically those Residual Souls and Necrosis stacks that power your strongest attacks. Whether you want to sit back with Revolution or take full control, your setup needs to balance building energy with unleashing devastating finishers.
You need a bar that handles the basics like Touch of Death and Soul Sap automatically so you can focus on timing your biggest hits. With the addition of the new Phantom conjure alongside your Skeleton and Ghost, managing your summons has never been more important for high-level bossing. Getting your abilities in the right order ensures you always have enough stacks for a massive Finger of Death exactly when you need it.
Key Takeaways
- Prioritize Soul Sap and Touch of Death at the front of your Revolution bar to ensure a constant supply of Residual Souls and Necrosis stacks.
- Automate the Conjure Undead Army ability to maintain your Skeleton, Ghost, and Phantom summons without manual micromanagement.
- Use a hybrid playstyle by letting Revolution handle resource generation while manually triggering high-impact finishers like Finger of Death and Volley of Souls.
- Align manual weapon special attacks and Tier 95 finishers with the Living Death ultimate to maximize burst damage during critical combat windows.
Essential Generators For Building Souls And Necrosis
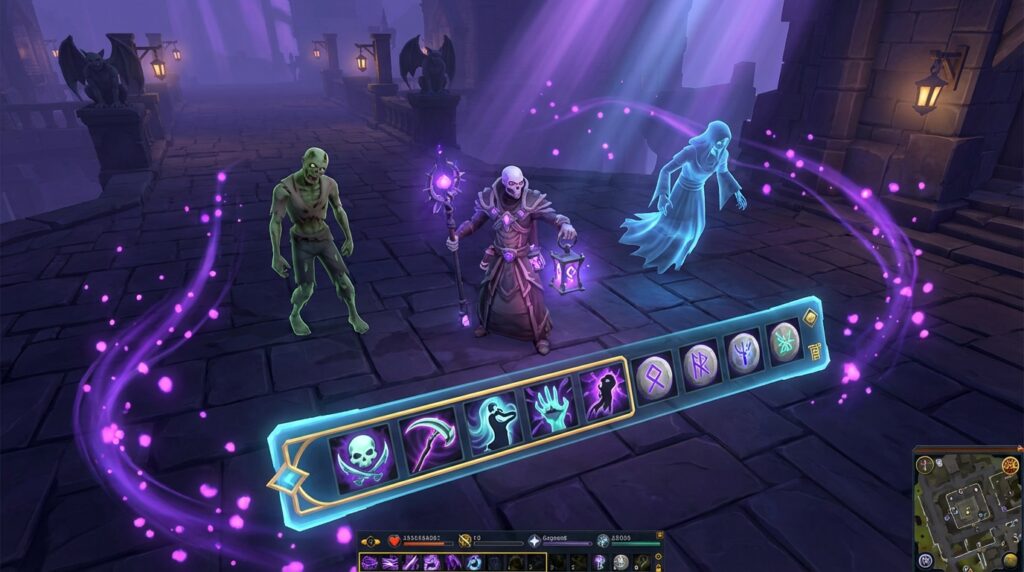
To get the most out of your Necromancy ability bar, you need to prioritize the abilities that build your resources. Soul Sap and Touch of Death are the two most important generators because they provide the Residual Souls and Necrosis stacks required for your heavy hitters. By placing these at the very front of your Revolution bar, you ensure your character automatically gathers these resources as soon as the abilities are off cooldown. This setup prevents you from running out of steam during a boss fight or a slayer task. Without a steady supply of souls and necrosis, your high damage abilities will remain greyed out and useless.
Once you have these generators firing off consistently, you can focus on using your powerful spenders like Volley of Souls or Finger of Death. Having Soul Sap at the start of your bar means you will always be ready to unleash a barrage of souls without having to click manually for every stack. Similarly, keeping Touch of Death active ensures that your Finger of Death ability becomes cheaper to use and deals massive damage more often. This flow is essential for maintaining high damage per minute while keeping the gameplay feeling smooth and responsive. It turns your combat rotation into a well oiled machine that handles the resource gathering for you.
You should also remember that Necromancy is all about balancing these stacks to maximize your efficiency in combat. If you place your spenders before your generators on a Revolution bar, your character might try to use an attack that you do not have the resources for yet. This results in wasted time and lower damage output because your character will just stand there waiting for a basic attack. By keeping Touch of Death and Soul Sap in those first few slots, you guarantee that every global cooldown is spent building toward your next big finisher. It is the simplest way to upgrade your combat performance without needing complex gear or expensive upgrades.
Automating Your Undead Army And Phantom Conjures

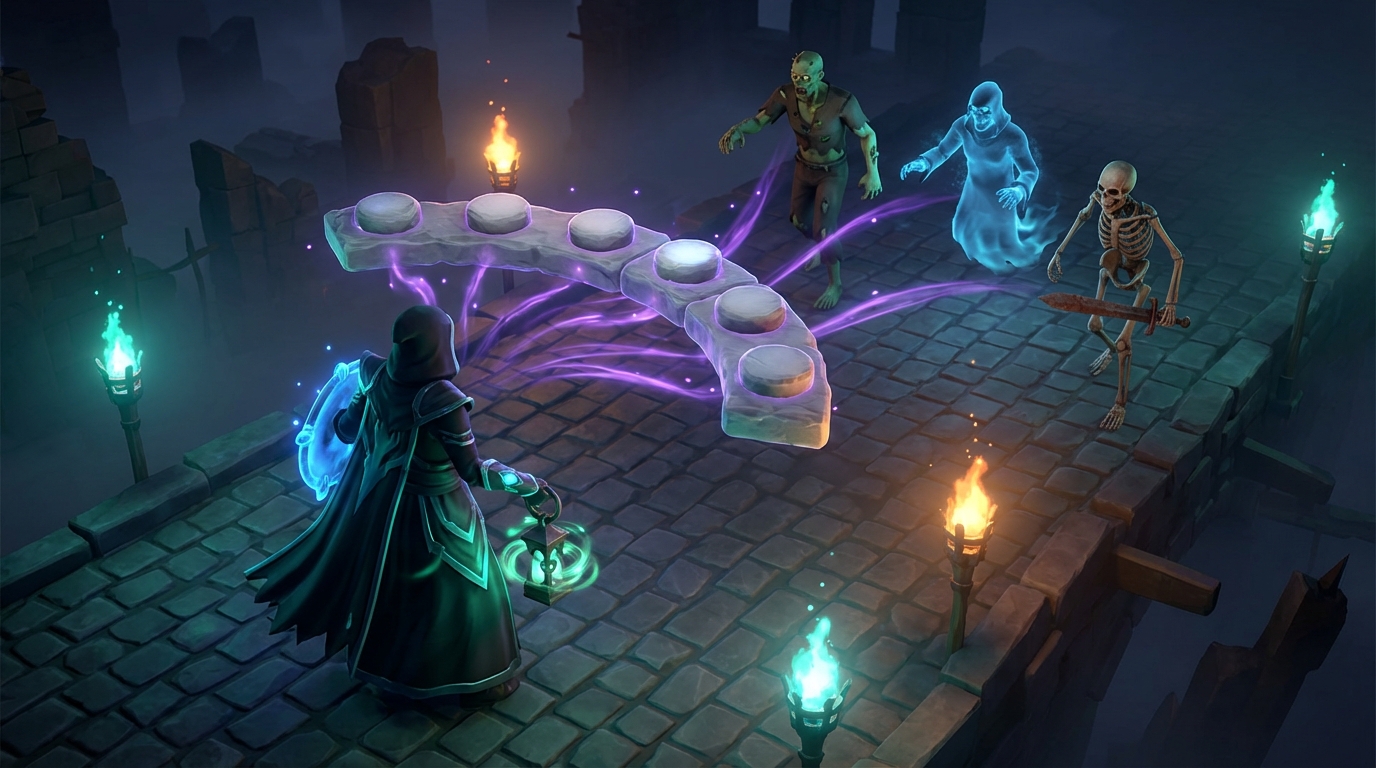
Setting up your Necromancy ability bar for success starts with mastering the Conjure Undead Army ability. This powerful tool allows you to summon your entire squad of spirits, including the Skeleton Warrior, Putrid Zombie, Vengeful Ghost, and the new Phantom, with just a single click or keybind. By placing this ability at the very beginning of your Revolution bar, your character will automatically summon your minions the moment they expire during a fight. This setup is helpful for players who want to focus on boss mechanics instead of micromanaging summon timers. It ensures your undead allies are always on the battlefield providing consistent damage and utility without any manual effort on your part.
The addition of the Phantom spirit has made this automation even more valuable for your combat rotation. When you use Conjure Undead Army, the Phantom joins your ranks to provide unique buffs that enhance your other summons and increase your overall damage output. Because the style relies so heavily on maintaining these spirits to build stacks and pressure enemies, letting Revolution handle the summoning keeps your rhythm steady. You will no longer find yourself mid-fight with zero active spirits because you forgot to click an individual icon. This technical tweak allows you to spend your manual inputs on high-impact spenders like Finger of Death or Volley of Souls instead.
To get the most out of this automation, make sure you have enough adrenaline and ectoplasm in your inventory before the fight begins. The Conjure Undead Army ability is smart enough to skip any spirits you haven’t unlocked yet, so it works perfectly regardless of your current Necromancy level. If you prefer a more hybrid playstyle, you can still manually trigger the command abilities, like the Skeleton’s Rage, while the bar handles the basic summoning. This balance between automated summons and manual finishers creates the most efficient workflow for modern RS3 combat. Keeping your bar organized this way ensures your phantom and undead army are always ready to fight by your side.
Optimized Revolution Bars For Bossing And Slayer
Setting up your Necromancy ability bar requires a smart balance between generating resources and spending them for massive damage. To get the most out of your Revolution bar, you should place Soul Sap and Touch of Death at the very front of your rotation. These two abilities ensure you are constantly building Residual Souls and Necrosis stacks while your character fights. By automating these generators, you never have to worry about running out of the energy needed for your strongest attacks. This setup allows you to focus on the boss’s mechanics while the game handles the basic resource gathering for you.
When it’s time to deal heavy damage, the placement of Volley of Souls and Finger of Death is what truly defines your combat efficiency. You should position Volley of Souls early on the bar to automatically fire off once you reach three souls, which prevents you from wasting any soul generation. Finger of Death is best used when you have high Necrosis stacks because the ability costs less adrenaline for every stack you have stored. For Slayer tasks, you can let the game fire these off automatically to clear mobs quickly. During high level bossing, you might prefer to trigger these manually to line them up with damage boosts like your Living Death ultimate ability.
Your conjures also play a massive role in your overall damage output and should be prioritized on your bar. Make sure your Vengeful Ghost and Skeleton Warrior are summoned at the start of every fight to provide consistent passive damage and healing. The addition of the Phantom conjure adds even more utility to your bar, especially when dealing with groups of enemies in the Undercity or during Slayer tasks. By keeping your summons active and your spenders correctly ordered, you can achieve top tier damage per second with minimal effort. This optimized approach ensures your Necromancy setup is ready for everything from a simple task to a challenging encounter with Rasial.
Manual Inputs For High Damage Necromancy Finishers

To get the most out of your Necromancy damage, you need to take control of your biggest finishers instead of letting Revolution handle them. While the game can automatically fire off basic attacks to build your Residual Souls and Necrosis stacks, it does not know the best time to spend them. Keeping high-impact abilities like Finger of Death or Volley of Souls off your automated bar ensures you don’t waste stacks on a weak enemy. By manually clicking these or using a keybind, you can save your power for when your target is vulnerable or when you have reached the maximum stack count. This prevents the game from firing a Finger of Death with zero stacks, which would cost you a massive amount of adrenaline for very little reward.
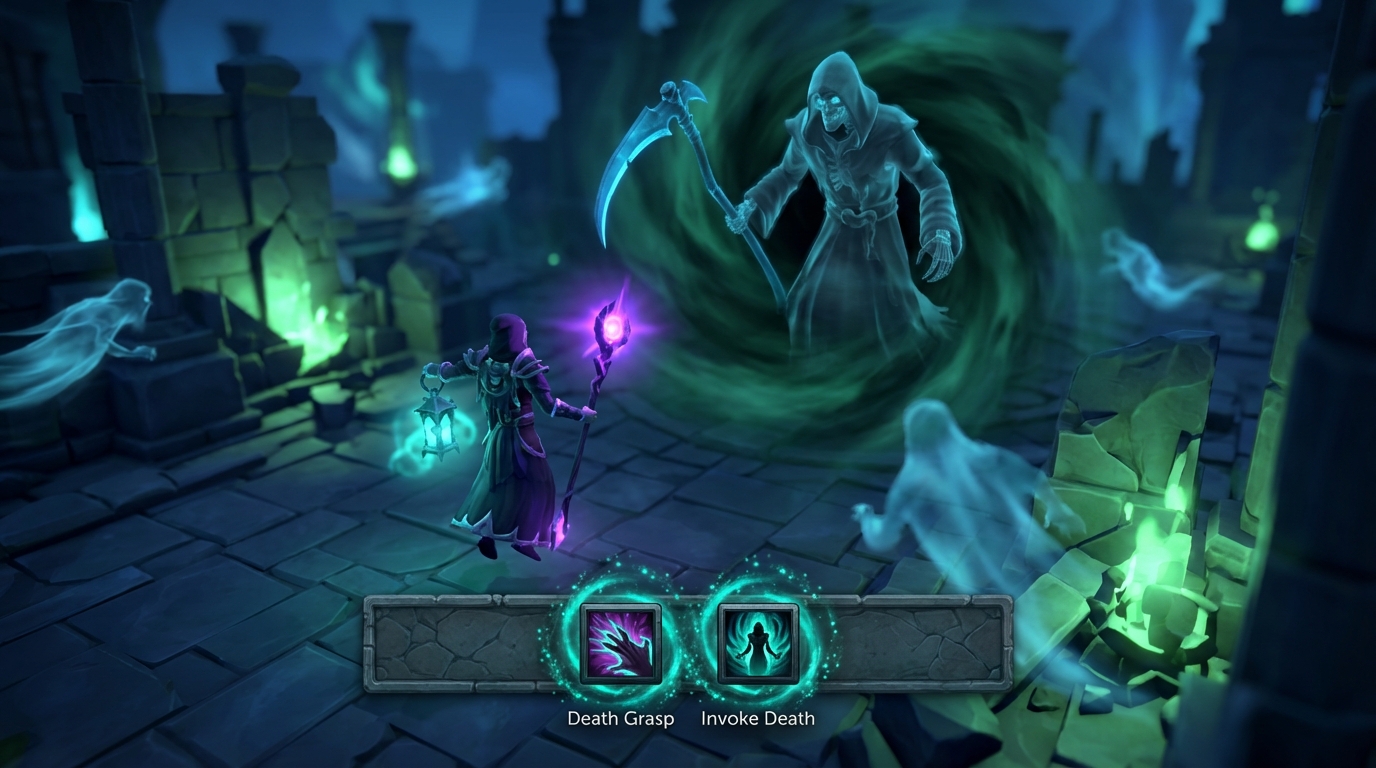
Weapon special attacks and high-tier finishers like Death’s Grasp from the Omni Guard require even more precision to be effective. If you leave these on an automated bar, your character might trigger a massive special attack right as a boss phase ends or while the enemy is immune to damage. You should also manually manage the Deathbound special from the First Necromancer’s Blade to ensure it aligns with your Living Death ultimate. This specific timing allows you to cram as many high-damage hits as possible into your damage window, which is something a standard Revolution bar simply cannot do. Taking these abilities off autopilot gives you the freedom to react to the fight and land those satisfying ten-thousand damage hits.
Your goal is to find a balance where your bar builds your resources while you decide exactly when to spend them. For example, you want your bar to automatically use Soul Sap and Touch of Death so you are always ready for a big play. Once you see your stacks are full, you can manually press the button for your Tier 95 weapon special or a powerful Spectral Scythe strike. This hybrid approach keeps your gameplay relaxed during the buildup but gives you total authority over your burst damage. Mastering this manual control is the fastest way to improve your kill times at bosses like Rasial or Hermod.
Mastering Your Necromancy Revolution Bar
Setting up your Necromancy ability bar correctly is the fastest way to see a massive jump in your damage output and survivability. By prioritizing generators like Soul Sap and Touch of Death at the front of your Revolution bar, you ensure that you are always building the resources needed for your big hits. This setup allows you to focus your attention on the mechanics of the boss fight while your character automatically gathers Residual Souls and Necrosis stacks. You will find that your training becomes much more relaxed when you aren’t constantly worrying about your basic resource generation.
Once your basic rotation is handled by the bar, you can manually trigger powerful spenders like Finger of Death or Volley of Souls to finish off enemies. This hybrid approach is the secret to mastering RS3 combat because it combines the ease of automation with the precision of manual control. Don’t forget to keep your conjures, including the newer Phantom, active to maintain a steady stream of passive damage and healing. With these small tweaks to your action bar, you will notice that your boss kill times get faster and your overall Necromancy journey becomes much more enjoyable. To further optimize your character, consider using archaeology relic combinations that boost your adrenaline gain or damage potential. You can also master your RS3 Necromancy rituals to gather the necessary materials for upgrading your gear and unlocking even more powerful abilities.
Frequently Asked Questions
1. What are the most important abilities to put at the front of my bar?
You should always place Soul Sap and Touch of Death at the very beginning of your bar. These abilities automatically build the Residual Souls and Necrosis stacks you need to use your most powerful attacks.
2. How do I deal the most damage with my Necrosis stacks?
Finger of Death is your go-to move for spending Necrosis stacks to deal massive damage. By using Touch of Death consistently, you can lower the cost of this ability and fire it off more often during boss fights.
3. Which conjures should I include in my rotation?
You should manage your Skeleton, Ghost, and the new Phantom conjure to keep your damage output high. These summons provide constant support and are essential for high level bossing in RS3.
4. Can I use a Revolution bar for Necromancy successfully?
Yes, you can set up a great Revolution bar that handles your basic resource building automatically. This lets you focus on manually timing your big finishers like Volley of Souls for the best results.
5. What happens if I don’t use Soul Sap enough?
If you don’t prioritize Soul Sap, your Volley of Souls ability will stay greyed out and you won’t be able to use it. Keeping it at the front of your bar ensures you always have the souls required for your heavy hitters.
6. Why is the Phantom conjure important for my setup?
The Phantom conjure adds extra utility and damage to your Necromancy setup alongside your other spirits. It is especially helpful during difficult boss encounters where you need every bit of extra help you can get.

