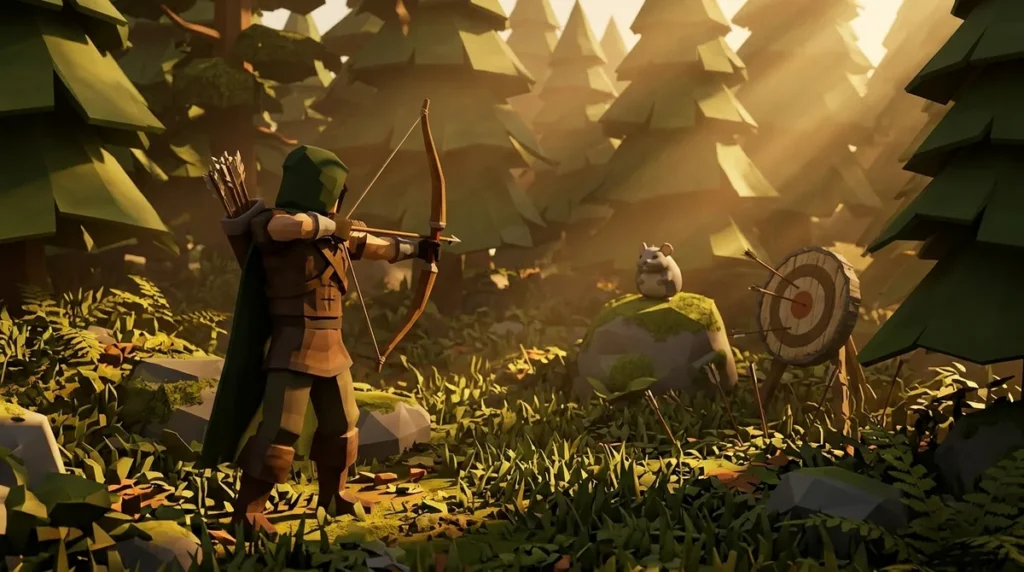
OSRS Ranged Training takes you from level 1 to level 99, and that climb requires 13,034,431 experience points in total. Few players finish it. The OSRS Wiki counted 700,196 level 99 Ranged players as of 1 October 2026, so reaching the top is rare. You don’t need to start there, though. Free-to-play players usually begin with seagulls, cows, goblins and chickens for levels 1 to 20, since their low Defence and negative Ranged Defence make them easy targets. As your level and gear improve, faster methods become worth considering, and the right choice depends on the level you’re aiming for.
Once you’re past the early levels, the options get quicker and more expensive. Free-to-play players can reach roughly 45,000 to 50,000 Ranged XP per hour around level 63, but that rate depends heavily on optimal equipment, adamant arrows, arrow collection and bone burying. Members have more shortcuts. Completing the Dwarf Cannon quest unlocks the dwarf multicannon, which is the fastest method up to level 45 and can be bought as a complete set from Nulodion for 750,000 coins. Chinchompas at maniacal monkeys are much faster from level 45, but they cost far more to use. Each option asks something different from your wallet and your time, so it helps to know what you’re trading before you start.
Key Takeaways
- You can skip much of the early Ranged grind by completing Shadow of the Storm, Death to the Dorgeshuun and Horror from the Deep, which together award 16,662.5 Ranged XP and can lift a new account from level 1 to about level 32 when their rewards are assigned to Ranged.
- You should start Ranged on low-Defence monsters like seagulls, cows, goblins and chickens for levels 1 to 20, then move up to ogresses once your level, gear and supplies can handle them.
- You should budget for cannonballs and repairs before cannoning ogres east of Castle Wars, since steel cannonballs cost 206 coins each in the November 2026 price table and your dwarf multicannon needs repairing after 25 minutes of use.
- You should only train chinchompas at maniacal monkeys once you reach level 45 Ranged and have the coins for roughly 1,970 chinchompas per hour, which cost 951 coins each in the November 2026 price snapshot.
What Level Should You Aim for With Ranged?
Aim for the Ranged level that matches your goal, not the top of the table. Level 99 takes 13,034,431 experience points in total, and the OSRS Wiki counted 700,196 players at that level as of 1 October 2026. Most players will spend a long time in the middle, so it helps to think of Ranged as a series of stages.
The first stage is cheap and low-risk. Monsters with low Defence keep your costs down and your mistakes cheap, so you can train without much planning. Once you have the basics, the second stage opens up with cannons and quest rewards.
Quests can skip a lot of the early grind. Shadow of the Storm, Death to the Dorgeshuun and Horror from the Deep award 16,662.5 Ranged XP together when the rewards are assigned to Ranged, which takes a new account from level 1 to level 32. You still need to finish the quests first, so check their requirements before you plan your route.
Cannons are the other big step up. Cannoning ogres east of Castle Wars needs no extra quest, and the cannon alone gives around 40,000 XP per hour. Steel cannonballs cost 206 coins each in the price table from November 2026, so the ammo bill adds up quickly. The cannon also needs repairing after 25 minutes of use, so you’ll be checking it often. A custom “Load X” option was added on 24 September 2025, which saves you a lot of clicks when you reload.
The third stage is chinchompas, which you can use once you reach level 45 Ranged. To train on maniacal monkeys, you need to have completed enough of Monkey Madness II to enter Kruk’s Dungeon. At level 45, the chinchompa method reaches about 290,000 XP per hour, and at level 99, the best setups reach 740,000 to 1,030,000 XP per hour. Those numbers assume top damage gear, Rigour, divine ranging potions and about 1,970 chinchompas per hour. The highest-rate setup also stacks two accounts on the monkeys, which is a lot of work. Chinchompas cost money to use, and one chinchompa sold for 951 coins in the same snapshot. Since 30 April 2025, they no longer get destroyed when you die, which removes one loss you would otherwise have to plan for.
Your goal should decide which stage you target. If you want quick levels and have coins to spare, the cannon or chinchompas will move you faster than anything else. If you want cheap levels, stick with low-risk monsters and quest rewards, and let your coins build up before you spend them. Ironman players have to earn every coin themselves, so a steady cannon or monster route often makes more sense than a costly shortcut.
Bossing and PvP are different again. Ranged is useful in both, and a mid-level Ranged account often matters more than a maxed one. You need enough Ranged to use the gear and prayers your chosen boss or fight calls for, and the rest of your levels and coins may be better spent on the items that make those fights safer. Decide what you want to do with Ranged first, then pick the stage that gets you there.
Where Do Free-to-Play Players Train Ranged?
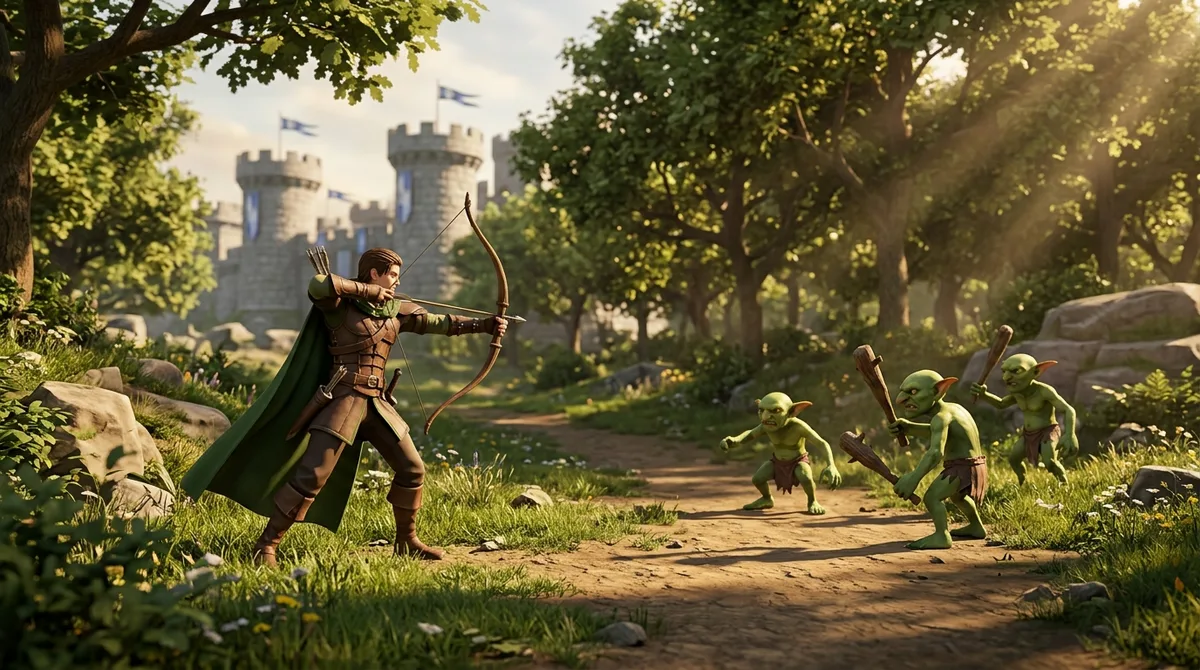
Free-to-play players start Ranged on low-Defence monsters, then move up to ogresses once their level and gear can handle them. Seagulls, cows, goblins and chickens suit levels 1 to 20 because their Defence is low and their Ranged Defence is negative, which makes them easier to hit and keeps early training cheap.
Early on, the monster matters less than whether you can fight it safely. Before you pick a target, check a few things about your character and your bag:
- Your combat level should be high enough that the monster’s attacks won’t knock you out of a fight you can’t finish.
- Your bow and arrows should match your current level, and you should have enough arrows to last a few trips.
- You should have food and a plan for getting back to a bank if your health runs low.
You don’t need the best bow to start. Pick a monster that fits your level, bring the arrows you can afford, and accept that some of them will be lost along the way. Arrows that drop on the ground can be picked up again, so collecting them early saves coins later.
Once you’re past level 20, the training becomes faster and more demanding. Ogresses are the higher-level option for free-to-play Ranged, and they come with valuable drops that can help pay for your arrows. Many players choose them over lower-level monsters for that reason, so keep an eye on what you receive from each kill.
The free-to-play Ranged guide reports about 45,000 to 50,000 Ranged XP per hour at level 63. That figure assumes optimal equipment, adamant arrows, arrow collection and bone burying, so every part of the setup matters. Adamant arrows hit harder than the cheaper options, arrow collection keeps your ammo from running out, and burying bones gives you extra Prayer XP while you fight. Take away any one of those and your rate will drop. Prayers and your overall setup also change the number, so treat 45,000 to 50,000 as a best-case target, not a promise.
The XP rate is only part of the story. Arrow costs and drops decide how much profit you actually make. If you spend more on arrows than you earn from drops, your training is costing you coins even while your Ranged level climbs. Check the Grand Exchange prices yourself before you commit, because those prices change from day to day.
Ironman players need a different mindset. You can’t buy supplies from the Grand Exchange, so every arrow you use has to come from your own efforts. For you, drops and arrow recovery matter more than fast XP. A slower trip that brings back most of your arrows and a useful drop can be worth more than a quick trip that burns through your ammo. Keep track of how many arrows you lose on each outing so you know whether your method is sustainable.
A good free-to-play route moves in steps. Start on the low-Defence monsters, build up a stock of arrows you can afford, and move to ogresses only when your level, gear and supplies can handle the extra demand. Each step asks more of your time and coins, so move up when your setup is ready, not just because the XP rate looks better.
Can Quests Skip the Early Ranged Levels?
Yes. If you’re a member, three quests can take you most of the way through the early Ranged levels. Shadow of the Storm, Death to the Dorgeshuun and Horror from the Deep award 16,662.5 Ranged XP together when you assign their rewards to Ranged, which lifts a new account from level 1 to about level 32.
That boost costs you time instead of coins. You won’t spend arrows or cannonballs to earn it, so there’s no ammo bill building up while you work through the quest steps. You’ll still need to sit through the dialogue and complete each objective, but nothing on the Grand Exchange has to change hands. That makes quest rewards a useful start for Ironman players, who have to earn every coin themselves.
Check the quest journal before you begin. Each quest has its own requirements, and quest requirements and rewards can change over time, so don’t rely on an older guide to tell you what you need. Open the journal, read the requirement list and confirm the reward is set to Ranged before you finish the last step. Once a quest is complete, the choice is locked in, so take a minute to make sure you’ve picked the right skill.
Be aware that the XP arrives in one lump when the quest is finished. You won’t see your Ranged level climb steadily through the questline the way you would on a monster. If you like tracking progress as you go, plan a few quick Ranged trips alongside the quest steps so your level doesn’t sit still for a long stretch.
Finish the quests before you grind if you want a faster start and don’t mind spending some time reading and clicking through quest steps. They make the most sense when your next goal is the dwarf multicannon or chinchompas. Getting to the early 30s quickly means you can reach those methods sooner, and you won’t have to spend the cheap low-Defence stage on monsters just to get there.
If you haven’t finished the Dwarf Cannon quest yet, it belongs in your plan too. Completing it unlocks the dwarf multicannon, and you can then train without a Ranged level requirement for the cannon itself. Working it into your route after the three Ranged quests gives you a clear order: quest rewards first, then the cannon.
Quests are less useful if you’re already at a higher level. Once you’ve passed the early stages, the XP from these three quests is a smaller share of what you need, so your time may be better spent on cannoning or other methods. Look at your current Ranged level before you commit, and decide whether the quest boost is worth the steps it takes to earn it.
How Does Dwarf Multicannon Training Work?
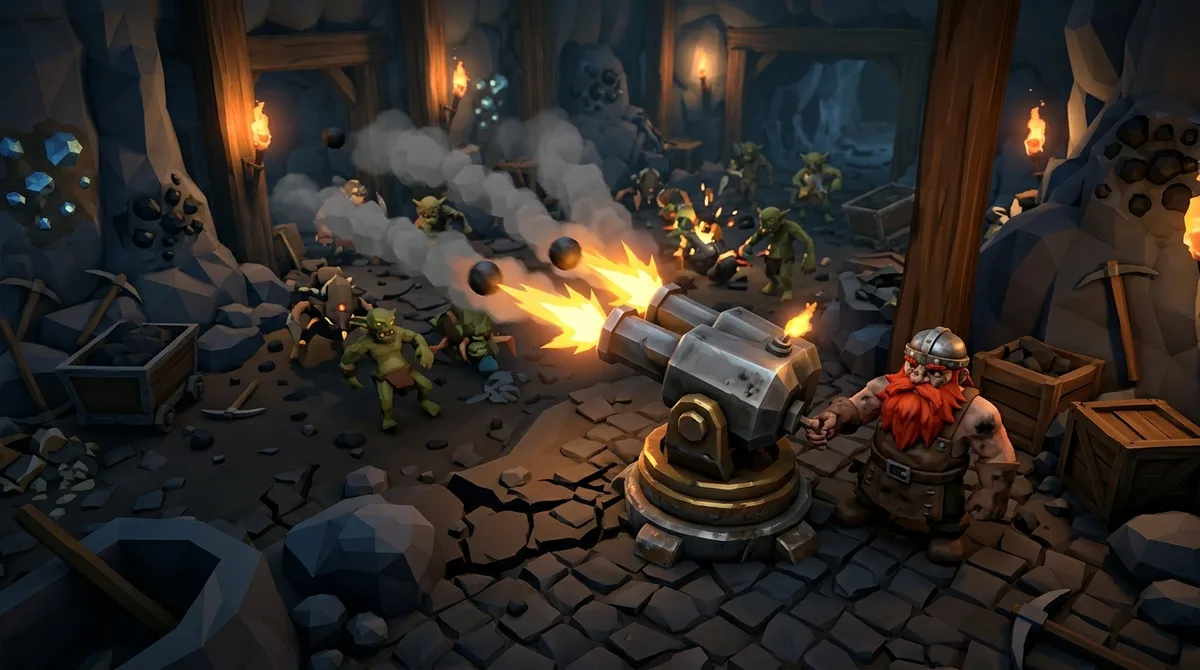
You unlock the dwarf multicannon by completing the Dwarf Cannon quest, and after that you can use it to train Ranged without meeting any Ranged level requirement. The pay-to-play guide calls cannoning the fastest method up to level 45, which is why so many members reach it early. The cannon is the middle step between the cheap monster stage and the faster, costlier chinchompas.
Once the quest is done, you don’t have to hunt for the cannon. Nulodion sells the complete cannon set through dialogue for 750,000 coins. The set includes four parts, and the Grand Exchange price table in the November 2026 snapshot put those four parts at a combined 762,999 coins if you buy them separately. Buying the set from Nulodion may save you some legwork, but check the current Grand Exchange prices before you decide, since the numbers move.
The ammo is a steady cost. Steel cannonballs were listed at 206 coins each in that same snapshot, so a long session can burn through a stack quickly. Every shot uses a cannonball, which means you’ll be restocking often. Plan your coin budget around the cannonballs you expect to fire in an hour, not just the price of the cannon.
Repairs are the other routine task. The cannon needs repairing after 25 minutes of use, so keep a hammer in your bag and check the cannon every time you return to it. If you forget, the cannon stops firing until you fix it, and that’s time you won’t get back. Setting a timer on your phone is a simple way to stay on top of it.
Loading is where the Load X option helps most. A custom “Load X” option for cannonballs was added on 24 September 2025, so you can type the number of cannonballs you want to load instead of clicking through each one. Over a long session, that saves a surprising amount of clicking and keeps your attention on the monsters.
Cannoning ogres east of Castle Wars is the most common way to use the cannon. It needs no extra quest, so you can start as soon as the Dwarf Cannon quest is finished. The cannon alone gives around 40,000 XP per hour, which is a big jump from the free-to-play monster stage. Your rate still depends on how many ogres you can reach, how well you keep the cannon loaded, and how often you stop for repairs.
A typical session looks something like this. You set up the cannon on a spot where the ogres walk toward you, load it, and let it fire while you handle food, prayer and banking. Every few minutes you check the cannon, reload it, repair it when the 25-minute mark comes up, and pick up any drops that land nearby. It’s a rhythm of short checks rather than constant clicking, so you can keep an eye on other things between shots.
That brings up the main trade-off. Active cannon play rewards you with fast XP, but you have to stay focused to keep the cannon working. A monster method that runs on its own gives you slower XP but lets you step away more often. If you like to stay busy and want your levels to climb quickly, the cannon suits you. If you’d rather wander off, check your messages or do something else for a while, a slower monster route may fit your style better.
The cannon can also help with Slayer. Many Slayer tasks involve monsters that stand in one place or wander into the same area, and a cannon can hit several of them at once if they’re in range. This means you can train Ranged while you work toward a Slayer task, as long as the monsters you need are in a spot where the cannon can reach them. Check the spot before you set up, because a cannon placed in the wrong place may fire at nothing for a long time.
Before you commit, ask yourself how much you want to spend on cannonballs and repairs, and how much attention you can give the cannon during a session. The cannon rewards players who are happy to stay active and keep their supplies topped up. If that sounds like too much, a slower route may be a better fit for the time you have.
Are Chinchompas Worth the Cost for Ranged?
Chinchompas are worth the cost only if you have spare coins for ammo and a clear reason to level Ranged quickly. They are the fastest method in this guide once you reach level 45, but every hour you train uses a lot of ammunition, so the speed has to match your budget.
To start, you need level 45 Ranged, which is the same level the chinchompa method begins at. You also need enough progress in Monkey Madness II to enter Kruk’s Dungeon, where the maniacal monkeys live. Most players reach this stage after the cheaper steps, so the chinchompa route usually makes sense as your next move, not your first.
Chinchompas cost 951 coins each in the Grand Exchange price snapshot from November 2026. The method uses about 1,970 chinchompas per hour in the setup the guide describes, so you’re buying close to 2,000 of them every hour you train. Prices move, so check the current Grand Exchange price before you plan a session, and budget for the ammo first rather than the gear.
The guide’s chinchompa table reports 290,000 XP per hour at level 45. At level 99, the best setups reach 740,000 to 1,030,000 XP per hour. Those figures assume your gear is the best damage setup for your level, that you use Rigour and divine ranging potions, and that you go through about 1,970 chinchompas per hour. If your gear, prayer or supplies fall short, your rate will drop, so treat the table as a target that needs the full setup behind it.
The top of that range depends on two accounts stacking monkeys. Only the highest-rate setup uses this trick, and it means running two accounts at once while keeping both supplied and paying attention to the monkeys. Most players can’t manage that comfortably, so plan around what one account can do with your own gear and budget. Think of the upper figure as the ceiling for a special setup, not the rate you’ll get on your first trip.
On 30 April 2025, chinchompas stopped being destroyed when you die. Before that change, a death could wipe out ammo you had already paid for, and that loss had to go into your budget. Now a death no longer takes your chinchompas with it, so the cost of a bad moment is smaller. You still need to plan for the coins you spend, but you no longer have to treat every trip as a risk to your whole stack.
It helps to compare the chinchompa method with the cannon using the same yardstick. Cannoning ogres east of Castle Wars gives around 40,000 XP per hour from the cannon alone, and steel cannonballs cost 206 coins each in the November 2026 price table. That is far less XP per hour than chinchompas at level 45, but the ammo price per unit is also much lower. To compare them fairly, work out your hourly ammo bill for each method, then divide it by the XP you expect to earn in that hour. The method with the lower cost per XP stretches your coins further, even if its hourly bill looks smaller.
Free-to-play players have a different comparison. The free-to-play Ranged guide reports 45,000 to 50,000 Ranged XP per hour at level 63, using optimal equipment, adamant arrows, arrow collection and bone burying. That is a strong rate for a method with no cannon or chinchompa costs, but it depends on your arrows being recovered and your setup being complete. Lay your arrow spending next to your XP gain and see which one you can afford to repeat every day.
Ironman players face a different limit. You can’t buy chinchompas from the Grand Exchange, so you’d have to catch them yourself in the Feldip Hills before you can train on them. That changes the budget math completely. Your time becomes the cost, and a catching trip has to be worth the Ranged levels you gain afterward. For most Ironman players, a cannon or monster route that you can fund from your own drops is the more practical choice.
Here’s a simple way to decide. If you have plenty of coins, want levels fast and can keep a steady stack of chinchompas on hand, the method is worth it. If your coins are tight, or you want to keep your spending slow and predictable, stay on the cannon or the cheaper monster stages and let your savings build. Either way, watch your budget after each session, because the method that feels fastest can drain your coins the quickest.
Which Ranged Weapon, Armour and Combat Style Should You Use?
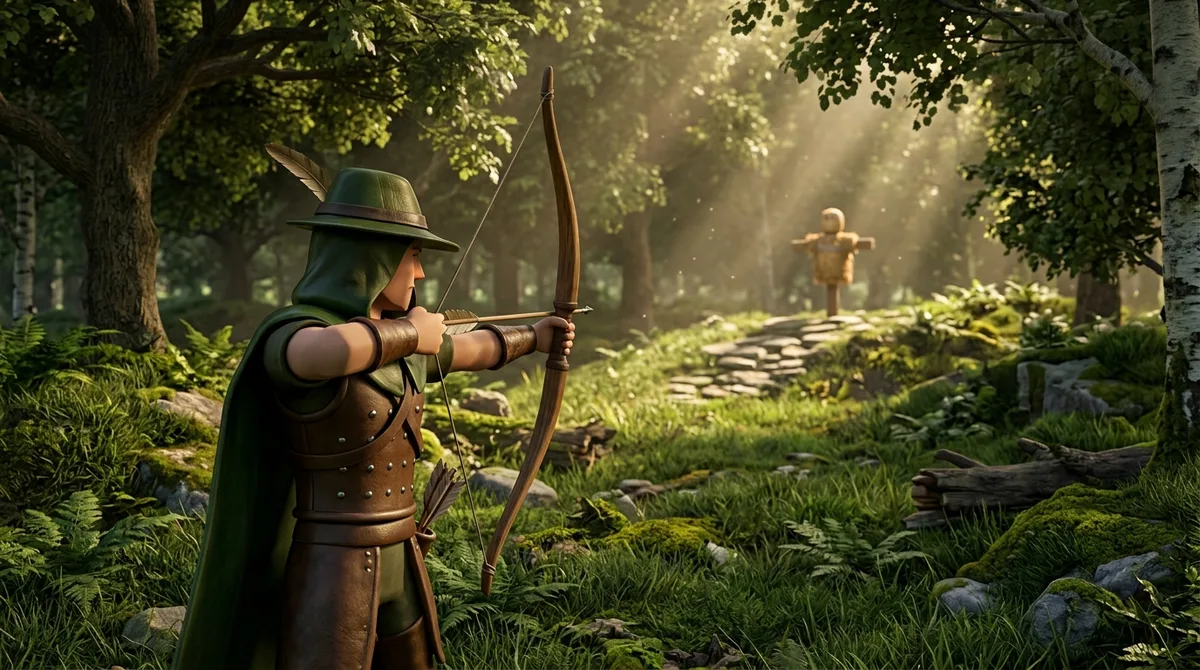
Choose your bow or crossbow based on the Ranged level it requires and what you can afford, starting with a cheap option and moving up as your level allows. Every weapon shows its level requirement when you examine it, so check that before you spend coins. Early bows such as the shortbow and oak shortbow are inexpensive and work well on low-Defence monsters. Stronger bows like the willow, maple and yew cost more and need higher levels, so buy them once your level and budget can support them.
If you’re an Ironman, you can’t buy weapons from the Grand Exchange, so your choices come from what you make or find. Fletch your own arrows or bows when you can, and keep an eye on drops that might upgrade your gear. A bow you can make from your own resources is often a better early choice than waiting for a stronger one you can’t get.
Ranged armour does two jobs. It adds Defence, which helps you take fewer hits, and it adds a Ranged bonus, which improves your chance to hit with ranged attacks. Leather and studded sets are the usual cheap starting points for training. Match the armour to your level and goals rather than buying the most expensive set you can find. A set that suits a monster route may not be the right fit for a boss you’ll face later.
Combat style changes how your attacks behave, and the two main options for training are accurate and rapid. Accurate gives you a higher chance to hit, which makes it a good fit for lower levels, when a missed shot costs you more time and arrows. Rapid makes your attacks happen faster, so you deal more damage per second. Once your gear and level can handle it, rapid is often the better choice for training because it moves your XP along more quickly.
Your style should also match the fight. Some bosses and PvP fights call for a particular style, so check what the boss or opponent needs before you change your setup. Accurate can be the safer pick when you’re learning a fight, while rapid suits you when you’re confident in your gear and prayers. Don’t assume one style is always better, because the right answer depends on the job in front of you.
Bossing and PvP setups use different gear than training, so buy for the job you want next. A training bow and cheap armour can get you through early levels, but a boss fight may ask for better damage gear, stronger armour and specific prayers. If you plan to train on chinchompas, for example, the guide’s best-case numbers assume top damage gear, so that gear is part of the cost. Think about where you want your Ranged to take you, then spend on the piece that gets you there.
Gear, prayers and setup all change how much XP you earn per hour, so compare methods using the same setup. If you test the cannon with one set of armour and prayers, then test monsters with a stronger setup, the numbers won’t tell you which method is better. Keep your prayers, armour and weapon the same for each comparison, and change only the method you’re testing. That way, the difference you see in XP per hour comes from the method, not your gear.
Start with the weapon and armour you can afford, and let your upgrades follow your level and goals. Cheap gear keeps your early training safe and your coins available for arrows, cannonballs or the next upgrade.
How Much Does Ammo Really Cost, and How Do You Save?
Ammo is the biggest ongoing cost for most Ranged methods, and the cheapest way to cut that cost is to get as much of it back as you can. Every arrow you lose is money gone, so your budget depends on how many you fire and how many you lose each hour.
Your arrow choice is the first lever you control. Cheaper arrows cost less per shot, which matters most at the early levels, when you’re fighting low-Defence monsters for hours at a time. Adamant arrows are the ammo behind the free-to-play rate of 45,000 to 50,000 XP per hour around level 63. They hit harder than the cheaper options, which helps that rate, but each one costs more. Before you buy a big stack, work out whether your recovery rate can keep up with the extra cost.
Arrow collection does most of the saving. Arrows that land on the ground after a kill can be picked up and fired again, so a few seconds of walking replaces a brand-new arrow. Collect them between fights instead of letting them pile up. A long trip back to a patch of lost arrows wastes more time than the arrows are worth, and time is also money in your training plan.
Bone burying cuts costs in a different way. You still get the Prayer XP from burying, and the bones don’t cost you anything to use. Burying takes only a click, so do it during quiet moments, such as when a monster is walking toward you or you’re waiting for your next target to respawn. That keeps your training moving without adding a separate chore to your session.
Ava’s devices are the next step for recovering ammo. Ava’s accumulator and Ava’s assembler collect some of the arrows you fire that would otherwise be lost, so you buy fewer replacements. The share they recover depends on the device and how you set it up, so check how each one works before you rely on it. Setting them up has a cost of its own, so compare the arrows they save with what you spend to run them.
Grand Exchange prices are snapshots, and they move. Check the current price of each arrow type before you plan a budget, and check again after a few days, because a price that looked cheap last week may not be cheap now. Write down the price you used so you can compare it later.
Ironman players need to count ammo differently. You can’t buy arrows from the Grand Exchange, so your supply comes from the arrows monsters drop, the ones you recover from kills, and the ones you make yourself. When you plan a session, add up the arrows you expect to recover and any drops you expect to pick up, then subtract the ones you’ll lose. Track that net number over several trips. If it keeps falling, your method is burning through your supply faster than you can replace it, and you should move to a lower-cost monster or slow down your fighting until your numbers recover.
Which Ranged Method Is Fastest, and Which Is AFK?
The fastest Ranged methods are chinchompas and high-level cannon setups, and they need the most gold and the most of your attention. The lowest-effort methods let you step away between checks, but they train more slowly. Your choice comes down to how quickly you want levels, how much time you can spend at the screen, and how much coin you can put into ammo and supplies.
Fast methods usually cost the most because they burn through ammunition quickly. Chinchompas and cannonballs run out in large amounts each hour, so you need a steady budget before you start. You also need to keep an eye on your setup, since a cannon that stops firing or a monkey fight that goes wrong can cost you more than the time you lost. If you like a fast pace and have coins to spare, these methods reward you for paying attention.
AFK-friendly methods work differently. A method counts as AFK-friendly when the monsters come to you, you rarely need to reload or swap gear, and a mistake is unlikely to cost you your whole supply. Food and prayer should last a long session, and the spot should be safe enough that you don’t need to watch every hit. AFK does not mean unattended, though. You still need to check your health, your supplies and your surroundings every few minutes, so think of it as low attention rather than no attention.
Gemstone Crab is a common choice for Ranged players who have moved past the early monster stages and want a mid to high level setup. The method asks for stronger gear than a cheap monster route, so your starting cost is higher. In return, the gems and other drops can help offset what you spend on arrows and supplies. Check the current Grand Exchange prices for the gems and your ammunition before you commit, because the profit depends on what you can sell and what you have to buy. If your gear is already solid, the trade-off can work in your favour.
Nightmare Zone suits players who want to train without spending a lot on gear. It is an arena with its own rules, and you need to meet its entry requirements and bring the basic supplies the fights call for. Food, prayer restoration and a reliable way to get back to safety matter more here than expensive weapons. You earn points through the arena’s fights, and those points can be spent on useful items, so your training can pay for some of its own upgrades. Read the arena’s rules before you go in, since mistakes there can cost you supplies quickly.
Slayer training is a good middle ground because the work you do for your tasks can also train Ranged. Starting Slayer masters such as Turael send you after monsters you’d fight anyway, so you can pick up Ranged XP while you chase task goals. Your choice of Ranged weapon matters less than whether the monsters you need are easy to hit and stay in one area. Slayer also offers a way to speed things up with the cannon. If your task monsters gather in a spot the cannon can reach, you can set up there and let it fire at several targets at once. Choose the spot carefully, because a cannon placed where nothing walks past will sit idle while you wait.
Start by deciding how much time you have each day. If you can give a session an hour or more of steady attention, the cannon or chinchompas can move your levels quickly. If you only have short sessions, a monster route or Slayer tasks will fit better, because you can stop and start without losing much progress. Next, look at your budget. Chinchompas and cannonballs need a bank that can carry the ammo cost, while a Slayer route or low-Defence monsters keep spending low. Finally, consider your account type.
– Ironman: You can’t buy ammo, supplies or gear from the Grand Exchange, so favour methods you can fund from your own drops, such as monsters, Slayer and cannon use with ammo you’ve earned. – Pure: Your combat levels are limited, so focus on methods that don’t need heavy gear or high stats. Low-Defence monsters and cheap Slayer tasks suit this route well. – Main: You have the most options, so you can choose a fast method for quick levels or an AFK method when you want to relax. Keep an eye on the ammunition and repair costs, because they add up fast on a main account.
Compare the methods using the same gear and prayers each time, so the difference you see comes from the method and not from your setup. Then pick the one that matches your time, budget and account type.
Picking Your Next Ranged Training Step
Start by picking the one Ranged goal that matters most to you right now, whether that’s quick levels, cheap levels or a specific boss. If you’re a free-to-play player under level 20, head to the seagulls, cows, goblins or chickens with a shortbow and a stack of arrows you can afford, and collect every arrow you fire at them.
If you’re a member who has finished the Dwarf Cannon quest, try cannoning ogres east of Castle Wars for one session. Set a timer for the 25-minute repair, and note how many cannonballs you fire in an hour so you know your real ammo bill before you commit.
Once you reach level 45, Kruk’s Dungeon and maniacal monkeys are worth a look, but only after you’ve worked out your chinchompa budget. Buying close to 2,000 chinchompas an hour adds up fast, so check the current Grand Exchange price first.
Ironman players should skip the shortcuts and build their supply from their own kills. For three trips, write down how many arrows or cannonballs you used and how many you got back. If that number is climbing, keep your method. If it keeps falling, drop to a cheaper monster until your numbers recover.