
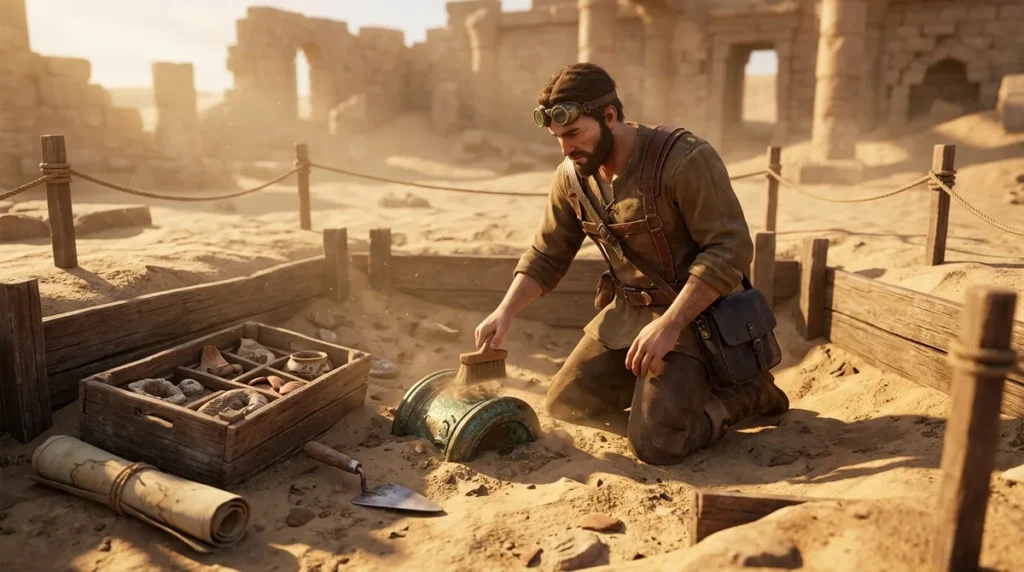
RS3 Archaeology Collections are sets of restored artefacts that you hand in to named collectors in exchange for chronotes and, in some cases, extra rewards. There are 78 of them in total, and the Collectors Assemble achievement rewards you for finishing every one. Collectors are non-player characters marked by a collector icon on the world map and minimap, so they’re easy to spot. Art Critic Jacques, for example, stands on the top floor of the Varrock Museum. The newest addition, the Moonrise Dig Site, arrived on June 15, 2026, with 15 artefacts across two collections.
Only members can complete collections, but free players can still submit individual artefacts and earn chronotes along the way. Most collectors pay chronotes for each artefact plus a set bonus equal to 100% of those individual rewards, while Velucia’s museum collections pay a 125% set bonus for 225% total. The museum donation bin is the weakest option, awarding just 40% of the chronotes an artefact would earn in a collector set, so saving pieces for a collection usually pays off. Non-quest collections can be repeated without limit, but some rewards are only given the first time you finish one, so keep that in mind before you start.
Key Takeaways
- You should hand your finished RS3 Archaeology pieces to a collector or Velucia, because the museum donation bin pays only 40% of what a collector set would give for the same artefact.
- You can expect Velucia’s RS3 museum collections to pay a 125% set bonus, for 225% total, while most collectors pay a 100% set bonus, for 200% total.
- You should check which first-completion rewards you still need in RS3 Archaeology collections before you start, since those rewards can only be claimed once, while repeatable non-quest collections can be run again and again.
- You can submit single artefacts and earn chronotes on a free RS3 account, but you need a members account to complete full Archaeology collections.
- You need to finish the quest Secrets of Amberfell before you can dig at the RS3 Moonrise Dig Site, and you should plan your route around its Archaeology level brackets of 52 to 75 and 82 to 88.
What Are RS3 Archaeology Collections and How Do They Work?
A collection is a set of restored artefacts that a named collector asks for, and each one pays out chronotes when you hand the pieces in. Every collection has its own list of required artefacts, so you know exactly what a set needs before you spend any time on it. The collections reference lists the artefacts, the excavation hotspots where you can dig them up, the Archaeology level you need, and the rewards for finishing. Think of it as a shopping list with a payout at the checkout.
The handing in part is simpler than it sounds. You don’t need the whole set in your bag before you start. You submit each artefact to the collector as you finish restoring it, and you get chronotes for that piece right away. The set bonus arrives once the last piece goes in. That means a collection you’re halfway through is still paying you, which keeps the early effort from feeling wasted.
Collectors are non-player characters, and you find them through the collector icon on the world map and minimap. Not every collector runs the same kind of set. Velucia handles the museum collections, and those pay a bigger set bonus than most collectors do, so it’s worth knowing which collector belongs to which set before you start digging. Check the collector’s location once and keep it in mind, because you’ll be visiting again every time you finish a batch.
Who can take part depends on your account. Full collections are for members only, so if you’re on a free account, your focus is on submitting single artefacts as you dig them up. You still earn chronotes for every piece you hand in, so your digging isn’t wasted without membership. If you later upgrade, the pieces you’ve already gathered can go toward the full sets, which makes it easier to plan ahead.
Repeatability is where collections start to feel like a regular activity instead of a single quest. Once you finish a non-quest collection, you can start it again and work through the same list with the same goals. Some rewards only come the first time, so check which ones are still open before you run a set again. After the first run, the rest of the loop is just digging, restoring and submitting, which gives you something steady to do between other goals.
Collections also support different goals, and that’s the real reason to pick one over another. Some sets are about chronotes, some unlock rewards, and some help you collect tetracompass pieces. Your current Archaeology level matters too, because a set you can’t yet dig is just a list you can’t work through. Ask yourself what you want from your next few sessions, then choose the set that fits.
The Moonrise Dig Site, added in June 2026, shows how level and access can shape your choice. You need to finish the quest Secrets of Amberfell before you can get to the site. Its excavation content is split into two Archaeology level brackets, 52 to 75 and 82 to 88, so your current level decides which part of the site you can work on right now. If you’re between the two brackets, you can still build up levels with other collections and come back when you’re ready.
How Much Do Collectors, Museum Bins and Velucia Actually Pay in Chronotes?
Collectors and Velucia pay the most chronotes for a finished set, while the museum donation bin pays the least. Handing pieces to a collector or Velucia usually beats donating them, and the numbers below show why.
Most collectors pay chronotes for each artefact you hand in, then add a set bonus equal to 100% of those individual rewards once the collection is complete. The bonus doubles what the pieces were worth on their own. Velucia’s museum collections work the same way but pay a 125% set bonus, for 225% total. That extra 25% is the main reason Velucia’s sets are worth a close look.
To see the gap, imagine a set whose artefacts would pay 100 chronotes if you handed them in one at a time. A regular collector would pay those 100 chronotes plus a 100 chronote bonus, so 200 in total. Velucia would pay the same 100 plus a 125 chronote bonus, so 225 in total. The same pieces put into the museum donation bin would earn only 40% of what a collector set would give for each artefact, which works out to a small fraction of either set option.
The table below lays out the three options side by side, using that same 100 chronote example.
| Where you hand in artefacts | Chronotes per artefact | Set bonus | Total for a set worth 100 chronotes |
|---|---|---|---|
| Most collectors | Individual rewards paid as you submit each piece | 100% of the individual rewards | 200 chronotes |
| Velucia (museum collections) | Paid per piece as you submit it | 125% of the individual rewards | 225 chronotes |
| Museum donation bin | 40% of what the artefact would earn in a collector collection | None, because the bin works piece by piece | 40 chronotes |
The table makes the choice clear. If you’re holding the pieces for a collection you can finish, a collector or Velucia set gives you far more chronotes for the same effort. Velucia’s set bonus gives you an edge over most collectors, so if you’re choosing between two collections with similar artefacts, the museum set is the stronger pick for chronotes alone.
The museum donation bin still has a place. It accepts artefacts without limits or restrictions, so it’s a simple way to get rid of pieces you don’t need for any collection you plan to run. You won’t be stuck waiting on a set to finish, and you won’t need to keep track of which collector wants which artefact. You do give up a big chunk of the value for that convenience, so the bin works best as a fallback rather than your first choice.
Keep in mind that the table only compares chronotes. Some collection rewards are only given the first time you finish a set, and those rewards don’t show up in the chronote totals above. Non-quest collections can be repeated as often as you like, so the 225% total from Velucia’s sets can come around again on every run. The first-completion rewards, however, are a one-time bonus, so check which ones you still need before you choose which set to chase.
Before you decide where your artefacts should go, look at which collection you can actually dig out right now. A Velucia set pays the most, but it only helps if you can restore every piece in it. If one artefact is missing from your plan, the other pieces can sit in your bag until you find it. Then, once the set is done, you’ll see the full 225% come in at once, which makes the effort feel worth it.
Which Collections Should You Finish First?
First-completion rewards can only be claimed once, so they deserve your attention before anything else. Start with the collections that hold the rewards you want, then move on to the repeatable sets that fit your goals and current level.
Non-quest collections can be repeated an unlimited number of times, so a repeatable set will always be there later. Some of their rewards, though, are awarded only the first time you finish. Make a short list of the collections that offer a reward you care about, then check the collections reference to see whether that reward is still open on your account. Once those first runs are done, every later run is about chronotes, goals and steady digging.
After that, your goal decides which set is worth your time. Most players are chasing one of three things:
- Chronotes: choose the set with the best payout for the pieces you already have, and favour Velucia’s museum collections when two sets look similar.
- Unlockable rewards: look for sets that lead to a reward you want, and finish those before you run anything else.
- Tetracompass pieces: pick sets that help you collect tetracompass pieces, and plan repeat runs around them so each one brings you closer.
Chronotes can also be a goal in their own right. The Archaeology Guild Shop sells an extra relic-loadout tab for 80,000 chronotes once you reach the Professor qualification. A repeatable set that you run often will add up over time, so it can carry you toward that purchase without much extra planning.
Your current Archaeology level is the filter that keeps your plan realistic. A set you can’t dig is just a list you can’t work through, so check the level requirement on the collections reference before you commit. Early on, choose sets whose artefacts sit at or just above your level. That way you can restore every piece and submit the full set, instead of leaving half of it sitting in your bag.
Material costs matter just as much as level. The RuneScape Wiki’s market-based table puts the Museum – Guthixian I collection at about 3,070,149 coins in materials, based on Grand Exchange prices. Treat that number as a general figure rather than a fixed price. Grand Exchange prices move, so the total can rise or fall from one week to the next, and the number you see today may not match the one you see when you’re ready to start.
Before you begin any set, look up its current material cost and compare it with the coins you can spare. A set that costs more than you expected doesn’t have to be dropped. You can work on a cheaper repeatable set first, build up your funds, and come back to it when the numbers make sense for your account.
A simple order works well for a first-timer. Start with the first-completion rewards you want. Then pick a set that matches your goal and sits within your level. Next, check its material cost against your coins. Finally, fill your gaps with repeatable sets, which you can run as often as you like once the first-completion rewards are done. Keep a note of the set you’re working on, along with its level requirement and material cost, so you can pick it up again without starting from scratch.
Where Do You Find Artefacts at Excavation Hotspots?
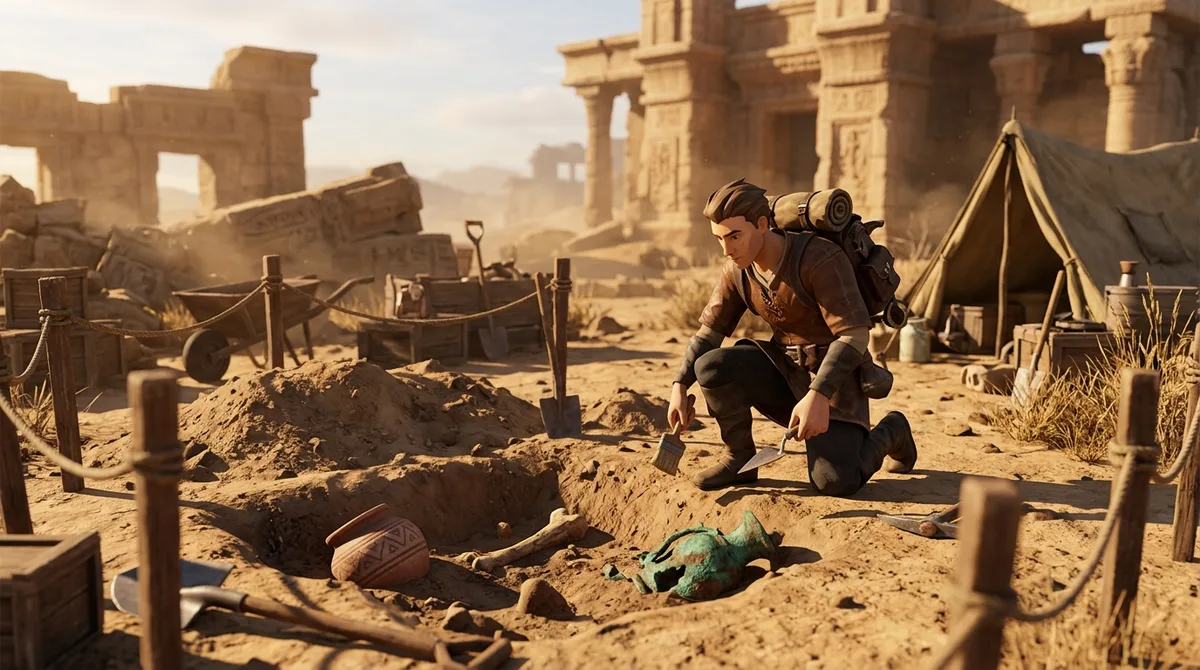
You find collection artefacts at excavation hotspots, the specific dig spots listed for each piece in the collections reference. Every artefact in a set has its own hotspots, so you never have to guess where a missing piece might turn up.
Before you head out, open the collections reference and find the set you want to run. Look at each artefact on the list and write down the hotspots that give it. Some pieces are tied to a single hotspot, while others appear in more than one place. A short note like this saves you from wandering the map and digging at spots that will never give you what you need.
Hotspots are the places where digging can turn up artefacts, and each one is part of the wider excavation system. When you dig at a hotspot, you’re working toward the pieces a collection asks for, so the collections reference is the link between what a set needs and where you need to be standing. Keeping that link in mind makes the whole process feel less like a random search.
The Moonrise Dig Site is the newest example of how this works. It was released on June 15, 2026, and it adds 15 artefacts across two collections, along with five mysteries. Each of those artefacts is found at its own excavation hotspots, so the site works like any other part of the game: check the reference, pick your target and go dig.
You can’t simply walk in and start digging at Moonrise, though. You need to complete the quest Secrets of Amberfell first. Once that’s done, the site’s excavation content is split into two Archaeology level brackets, 52 to 75 and 82 to 88. That split decides which hotspots you can actually work at, so it’s the first thing to check before you plan a trip.
That’s where the tip comes in. Plan your hotspot route around the level bracket you’re in, not around the whole site. If your level sits in the 52 to 75 bracket, make a list of only the Moonrise hotspots that fall in that range, and leave the rest for later. Players in the 82 to 88 bracket can do the same with the upper range. Working within one bracket keeps your route short and your effort focused.
Here is a simple way to build that route:
– Check your current Archaeology level and confirm which bracket it falls into. – Open the collections reference and list the Moonrise artefacts you still need. – Match each artefact to a hotspot inside your bracket, and skip any that sit outside it. – Group the hotspots that sit close together so you can dig them in one loop. – Dig the route, then restore and submit the pieces as you go.
Grouping nearby hotspots matters more than it sounds. Each stop costs time, and a tight loop lets you collect several pieces before you return to a collector. Ordering your stops this way also means you’re less likely to end up holding pieces for a set you can’t finish yet.
Your level will change as you train, so the route you build today may need adjusting next week. When you move up into a new bracket, take a fresh look at the reference and see which hotspots have opened for you. A route that worked at one level may need a new set of stops at the next, and that’s a good sign you’re making progress.
Keep your list handy while you work. A written record of the hotspots, the artefacts they give and the bracket you’re working in makes it easy to pick up where you left off. It also helps when a session gets interrupted, because you won’t need to rebuild the plan from scratch.
Finally, don’t be surprised if a single trip gives you pieces for more than one collection. Hotspots can feed several sets at once, so a route that targets your bracket may move you forward on more than one goal. Choosing your hotspots with the collections reference open in front of you is the easiest way to get that benefit.
How Can You Track Collection Progress in the Archaeology Journal?
You track collection progress by opening your Archaeology journal and choosing the Collector information option, which shows how far along each set you are. It works like a checklist that updates itself, so you never have to guess which pieces you’ve already handed in.
The journal tells you where you stand, and the collections reference tells you what each set asks for. The reference lists the required artefacts, the excavation hotspots where each piece turns up, the Archaeology level you need, and the rewards for finishing. Keep both in view and you won’t waste a dig on a spot that can’t give you what you’re missing.
Checking takes only a minute, so make it part of your routine before every session. Follow these steps each time you plan a trip:
- Open your Archaeology journal.
- Choose the Collector information option to see your progress across the collections.
- Pick the collection you want to work on next, and open its list of required artefacts.
- Note every artefact the list shows as missing, and skip the ones you’ve already restored and submitted.
- Match each missing artefact to a hotspot in the collections reference, and write down the level requirement beside it.
The last step is where the real planning happens. Some artefacts have one hotspot and some have several, so a quick look at the reference can show you a route that covers more than one piece in a single loop. If a hotspot sits outside your current level, put a mark next to it so you know to come back later.
That short written list is your most useful tool. Before each dig trip, jot down the artefacts still missing from your chosen collection, the hotspot for each one, and the collector who will take the finished set. Keep it to a handful of lines. A long list gets stale quickly, but a short one stays easy to scan while you’re moving between hotspots.
Your list also protects you from one of the most common mistakes, which is digging for pieces you already have. A collection can be half finished when you return to it after a break, and it’s easy to forget which parts you completed. Checking the journal first removes that guesswork, and it takes far less time than a wasted trip across the map.
The list is especially handy when you run a set you’ve finished before. Because non-quest collections can be repeated, the artefacts go back on the list every run. Rewriting the list from the Collector information screen each time means you always start from what’s actually missing, not from what you remember.
If you’re chasing more than one collection at once, keep a separate short list for each. Mixing them together makes it hard to see which pieces belong to which collector. Label each list with the collection name and the collector who takes it, so you can hand in a finished set without checking the reference again.
Finally, update your notes as soon as you submit a piece. Once you’ve handed in an artefact, cross it off, and check the Collector information option again if you’re unsure. That small habit keeps your progress accurate, and it means the next time you open the journal, you’ll know exactly where you left off and which hotspot to head for first.
Do Restoring, Materials and Storage Affect Your Collection Plans?
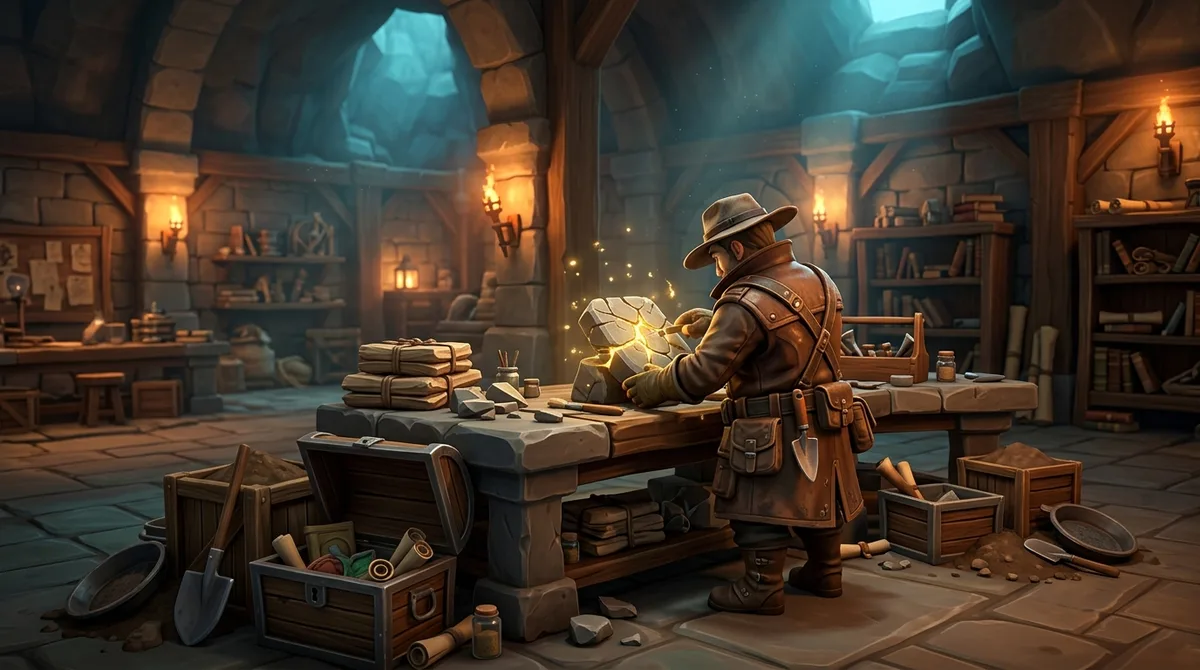
Restoring, materials and relic loadouts all shape what a collection costs you, so they belong in your plan from the start. Every damaged artefact has to be restored at a workbench before you can submit it to a collector, so a finished dig is only half the job. The restoring step is quick once you’re set up, but it’s easy to forget when you’re focused on hotspots and levels.
Plan your materials at the same time as the collection itself. Restoring pieces uses up materials, and those costs add to whatever the set takes from your coins. The figure you saw earlier for a set’s materials is only a starting point, so before you start, add up what each artefact needs to be restored and compare that total with what you have in the bank. If you’re short, you can still work through the pieces you can afford and leave the rest for a later run.
It helps to think of the restoring step as its own small list. Write down the artefacts you plan to restore this session, then note the materials each one uses. Check that your stock covers the whole batch before you walk to the workbench. Running out halfway through a set means a trip back to the bank and lost momentum, so a quick check beforehand saves you time.
Storage is the other part of the plan. Keep the materials for your current set together in the bank, and keep a note of which collection they belong to. That way you won’t mix them up with supplies for a different set. Once a collection is finished, you can clear out the leftover materials and start fresh for your next goal.
Relics are the next thing to think about, and they bring their own cost. Archaeology relics can be grouped into loadouts, and in February 2025 they gained a second three-relic loadout. That gives you two sets of three relics to choose from, so you can set up one loadout for a collection run and another for a different goal.
Switching between loadouts isn’t free, though. Switching to a loadout costs 80% of the chronote activation cost of the relics harnessed to it, so the more expensive the relics in that loadout, the more a switch costs. That’s a real drain when your chronotes are also paying for other things, so switch only when the new loadout will help with the goal you’re working toward.
Chronotes can also go toward a bigger goal. The Archaeology Guild Shop offers an extra relic-loadout tab for 80,000 chronotes once you reach the Professor qualification. If you’re planning to use more than the two loadouts you already have, that tab is the way to add room for more, and it’s worth saving up for if your collections are bringing in steady chronotes.
Think about the loadout and the collection together. If your next set needs relics you can harness, make sure you can afford to activate them and switch to the loadout before you start. A loadout you can’t pay for is just as useless as a collection you can’t dig, so check both before you commit your time.
Should You Train Archaeology Before Chasing Mysteries and Collections?
Yes, train to the next Archaeology level bracket first, then take the collections and mysteries that unlock once you get there. Your level decides which sets you can dig at all, so chasing a collection you can’t reach yet only wastes time you could spend getting stronger.
Start with the level requirement on the collections reference. Every set lists the Archaeology level it needs, and that number tells you which collections are open to you right now. If your level is below a set’s requirement, you can’t dig its artefacts, no matter how good the chronotes or rewards look at the end. Go through the reference and sort the sets into two piles: the ones you can work on today, and the ones you’ll reach after a few more levels.
The Moonrise Dig Site shows how a training gap can block a whole block of content. Its excavation work is split into two brackets, 52 to 75 and 82 to 88. If you’re at level 70, you can work the first bracket, but the second one stays closed until you reach 82. Levels 76 to 81 sit between the two brackets, so you’ll need to get through them by working on sets elsewhere in the game.
The Moonrise update also brought five mysteries. These are extra research content that you can work on alongside the collections, not a replacement for them. Think of the mysteries as a second list on the same site. When you plan a session at a given bracket, look at the mysteries and the collections together, because you may be able to move forward on both during the same trip.
Before you train, check whether any first-completion rewards sit in sets you can already reach. Those rewards can only be claimed once, so there’s no reason to leave them waiting while you level up. Claim what you can at your current level, then turn your attention to the training that opens the next bracket.
Here is a simple order to follow:
– Check your current Archaeology level and note which bracket it falls into. – Work out the next bracket you want to reach, and the level it starts at. – Train toward that level, using the sets you can already dig to build your levels. – Once you hit the level, open the collections reference and find the sets and mysteries that unlock in that bracket. – Make your first list for the new bracket, with the artefacts, hotspots and material costs you’ll need.
Training and collections work best as a loop rather than a straight line. Your early sessions can run sets that sit just below the next bracket, so every artefact you restore also moves your level up. A player working a set at level 68, for example, is still gaining experience toward level 75 while earning chronotes. You don’t have to choose between training and progress, because the right sets do both.
When you reach a new bracket, don’t rush into everything at once. Pick one collection and one mystery that you can finish within a few sessions, then add more as your materials and chronotes allow. Taking on too much at once often leaves you holding half-finished sets, and that’s exactly the problem the journal and your written lists are there to prevent.
It’s also worth thinking about what you want from the bracket you’re entering. If your goal is chronotes, look for collections with a strong payout that you can dig in that range. If you want a particular unlockable reward or tetracompass pieces, look for the sets that lead there, and make sure your level will still be high enough when you reach them. A bracket that matches your goal makes every session easier to plan.
Finally, keep an eye on the gap between brackets. Your level will keep rising as you work through sets, and the next bracket may be only a few levels away. Once you reach it, return to the collections reference, check which sets have opened, and rebuild your list. Training first and then taking the collections that unlock at that level is the easiest way to keep your Archaeology progress moving in the right direction.
Building Your Next Collection Run
Your next step is small: open your Archaeology journal, choose the Collector information option, and pick one collection you can dig at your current level. Start with just that one set so you can finish it in a few sessions instead of juggling several at once.
Next, open the collections reference and write down the artefacts still missing from that set. Beside each one, note its excavation hotspot and the Archaeology level it needs. Then add the set’s material cost and check that your coins cover it before you head to the bank. If the total looks too high, choose a cheaper repeatable set for now and come back to the expensive one when your funds grow.
When you start digging, restore each artefact and hand it in as soon as it’s ready. The chronotes for each piece arrive right away, and the set bonus follows when the final piece goes in. If two collections look equally good, pick the Velucia museum set, since its bonus is larger.
Once that first run is done, go back to the Collector information screen and see which set comes next.